Eliminating corrosion on your motorcycle
Rust is the number one enemy of all motorcycles. Here we show you how to eradicate it.
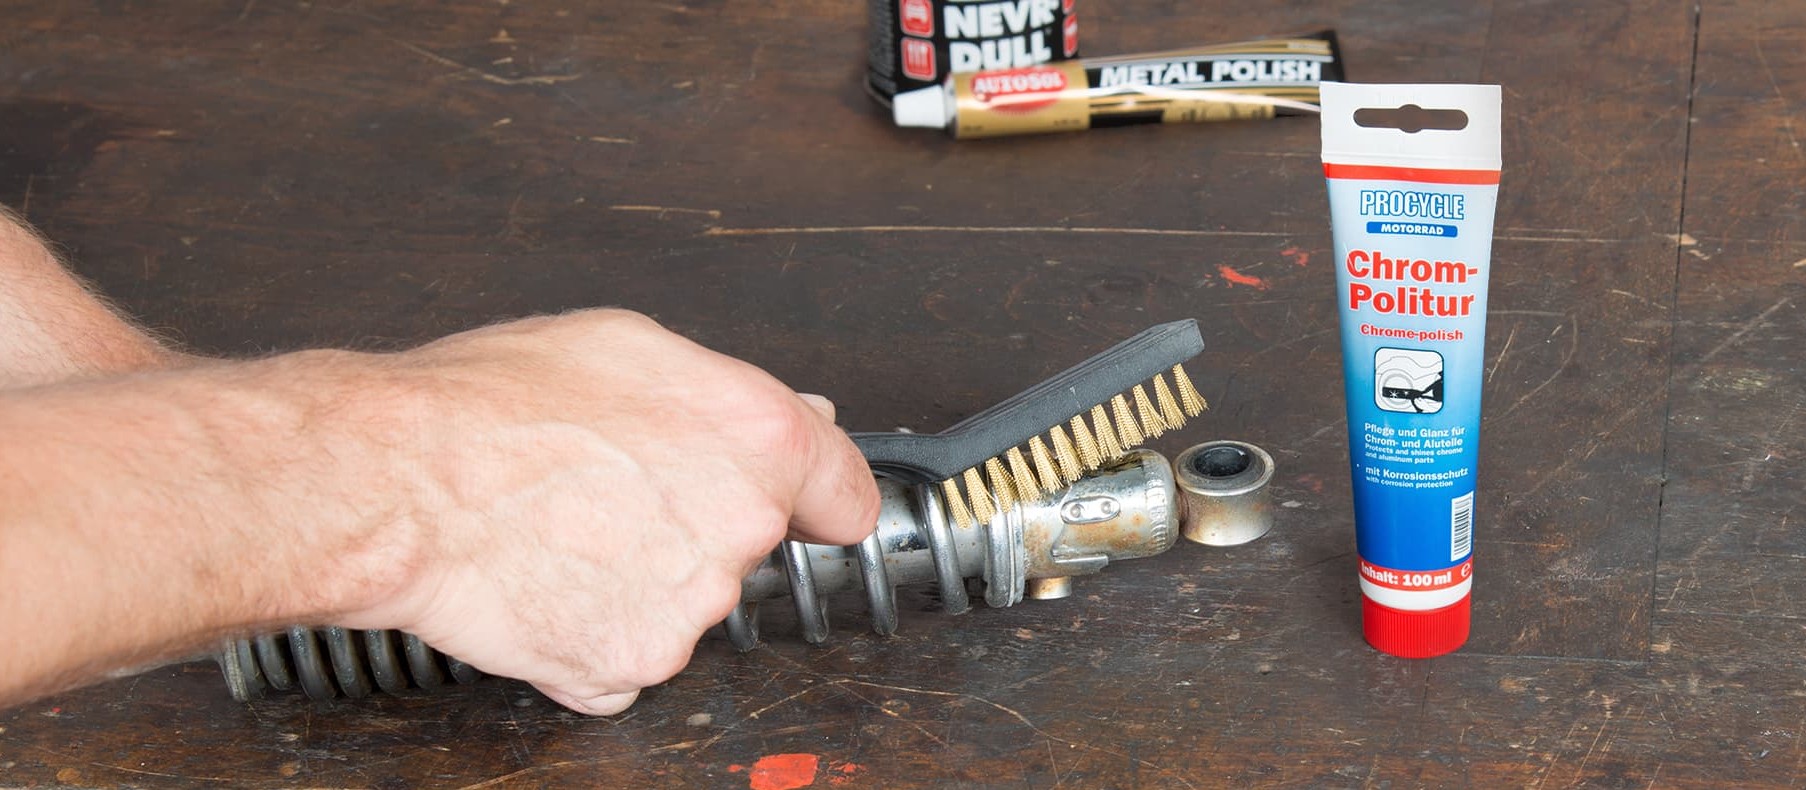
- Remove corrosion from the motorcycle
- Eliminating Corrosion – now let's get started
- 01 – Remove superficial flash rust
- 02 – Remove rust with brass brush
- 03 – Weak acid helps to dissolve rust
- 04 – Remove larger areas of rust
- 05 – Treat any last traces with rust remover
- 06 – Derusting your engine
- 07 – Care products protect against corrosion
- Cleaning also means greasing
Remove corrosion from the motorcycle
Pockets of rust on your bike don't look great! They also weaken the metal and keep on eating away until eventually you end up with holes. Everyone is familiar with the brown appearance of rusty steel, but aluminium also corrodes. Moisture causes the surface of the metal to be converted into a white powdery substance.
To prevent corrosion before it can start, metal parts are painted or chromed, for example. But that's not enough on its own – weathered paintwork or completely grease-free new chrome is still vulnerable to wind and weather because water molecules attack the fine pores in the surface of the metal. That's why painted or chromed metal parts (except for the exhaust) should always be treated with motorcycle wax, both when they're new and each time you clean your motorcycle. The wax seals the pores as well as producing a beautiful gleaming bike that simply looks great. So it's ideal for protecting a new chrome headlight, inside and outside, or a cruiser foot board, top and bottom, against the ravages of the weather. Never forget, rust which results from a lack of regular cleaning and care is not covered by any warranty!
For more on the subject of waxing and polishing, see our DIY tip Polishing Parts.
Eliminating Corrosion – now let's get started
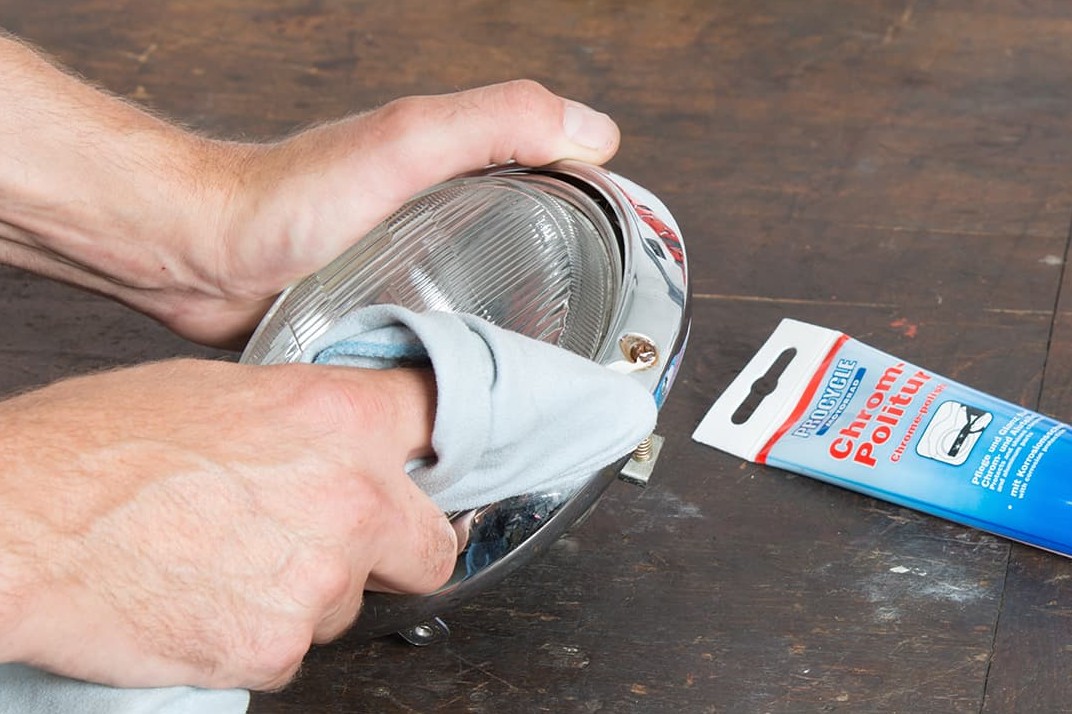
Step 1: Remove surface rust film with chrome polish
01 – Remove superficial flash rust
You should always tackle corrosion the moment you see it. A light rust film on chrome parts can often be removed without trace using chrome polish. Or at least only a few tiny spots remain, which don't really notice.
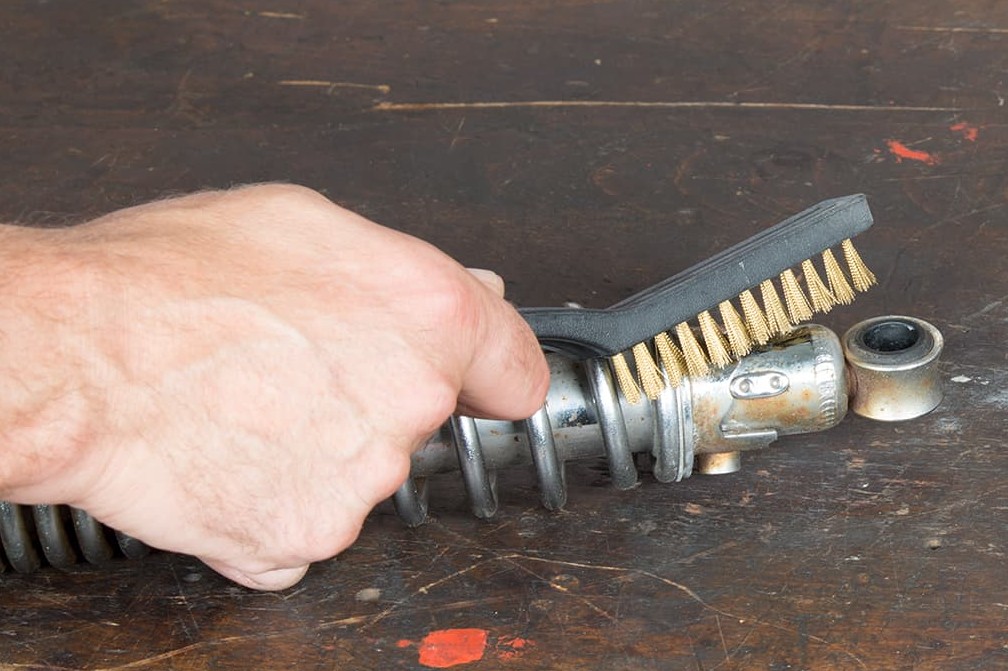
Step 2: A brass wire brush is good for removing rust film
02 – Remove rust with brass brush
If chrome polish alone doesn't do a satisfactory job, you can also use a brass wire brush. The brushing is likely to make chrome lose its characteristic shine, but it will still look better than with the rusty brown colour.
When it comes to derusting a fork tube or shock absorber rod, you must also polish away any tiny spots because the slightest roughness can cause the seal to wear out, allowing the hydraulic fluid to leak. If you don't succeed with polish, you can finish the job with very fine emery cloth.
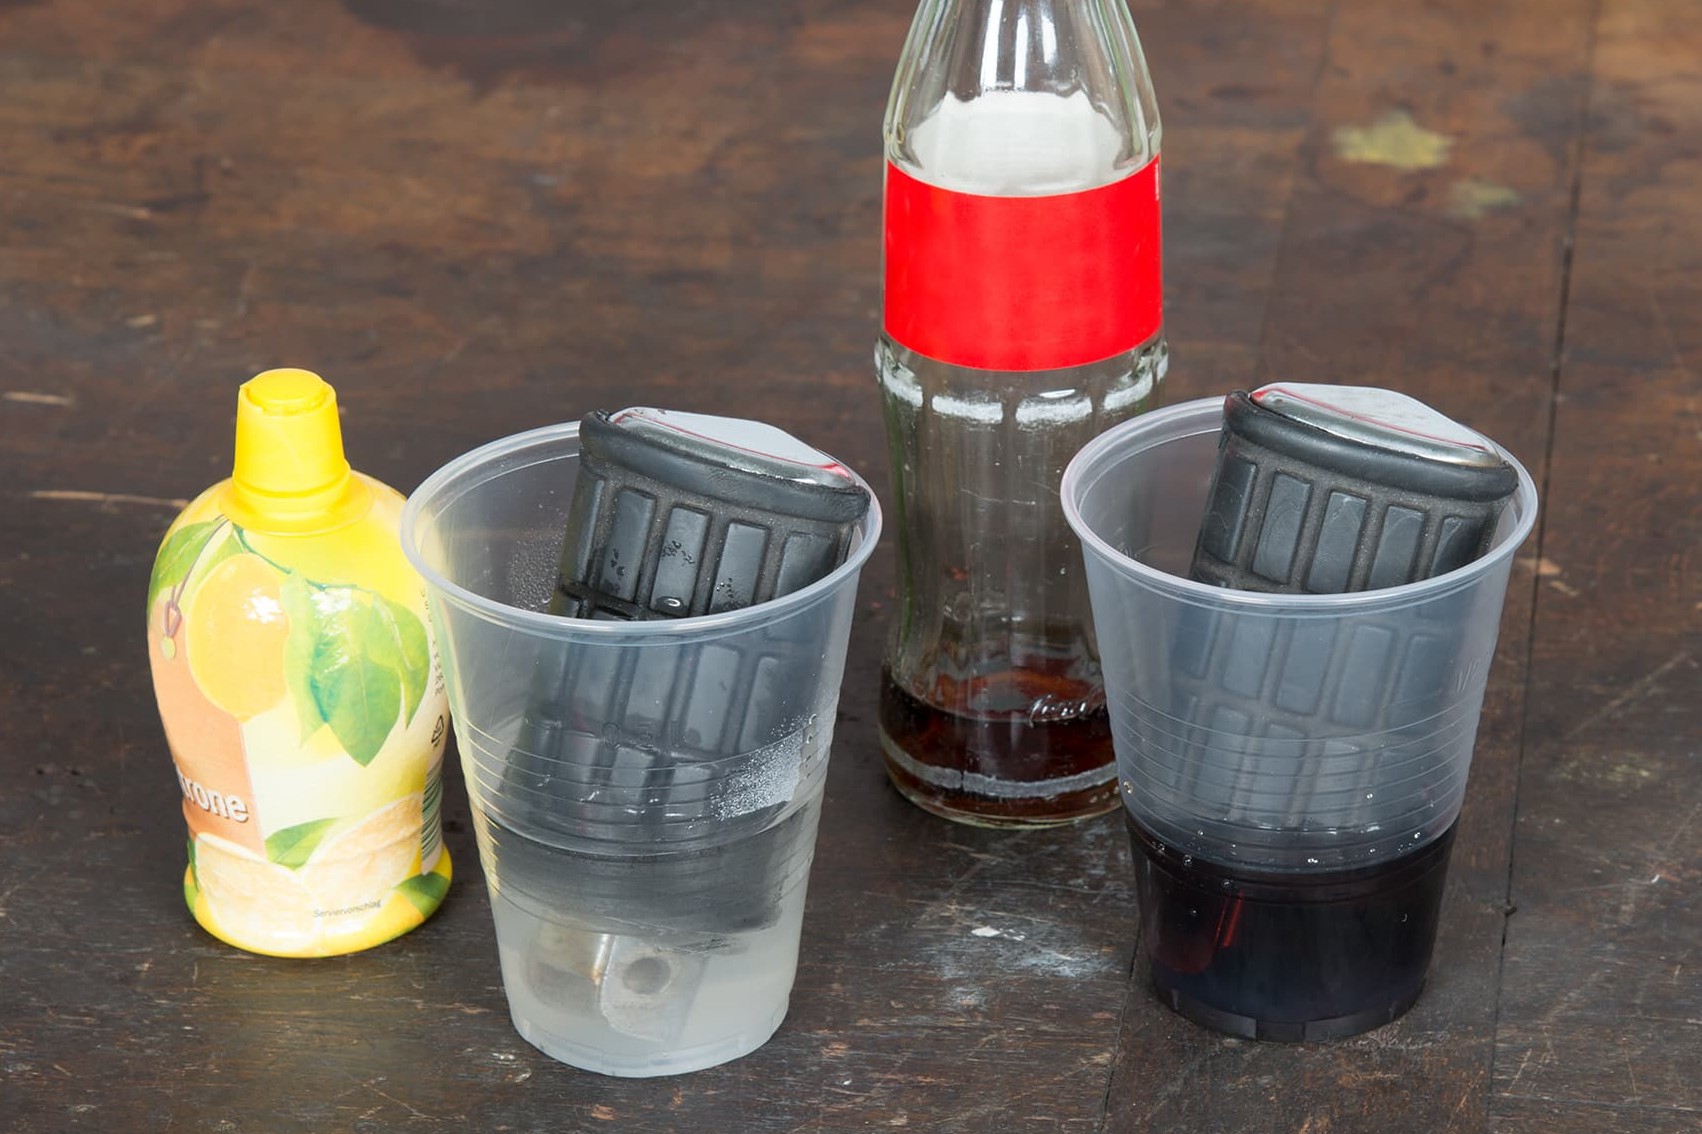
Step 3: Weak acid helps to dissolve rust
03 – Weak acid helps to dissolve rust
If the rust goes deeper, you can remove it either mechanically or chemically.
An excellent chemical rust remover that you can buy very cheaply in any supermarket is lemon juice (yes, the stuff you get in little plastic bottles shaped like a lemon) or cola. Small parts can be soaked in a tray of the undiluted citric acid. For larger parts, you can treat the rust by applying a bandage of absorbent paper towel (kitchen roll) soaked in the acid. Leave it in place for a few days, and you'll find that the rust is quite easy to remove with a stiff plastic bush or brass wire brush.
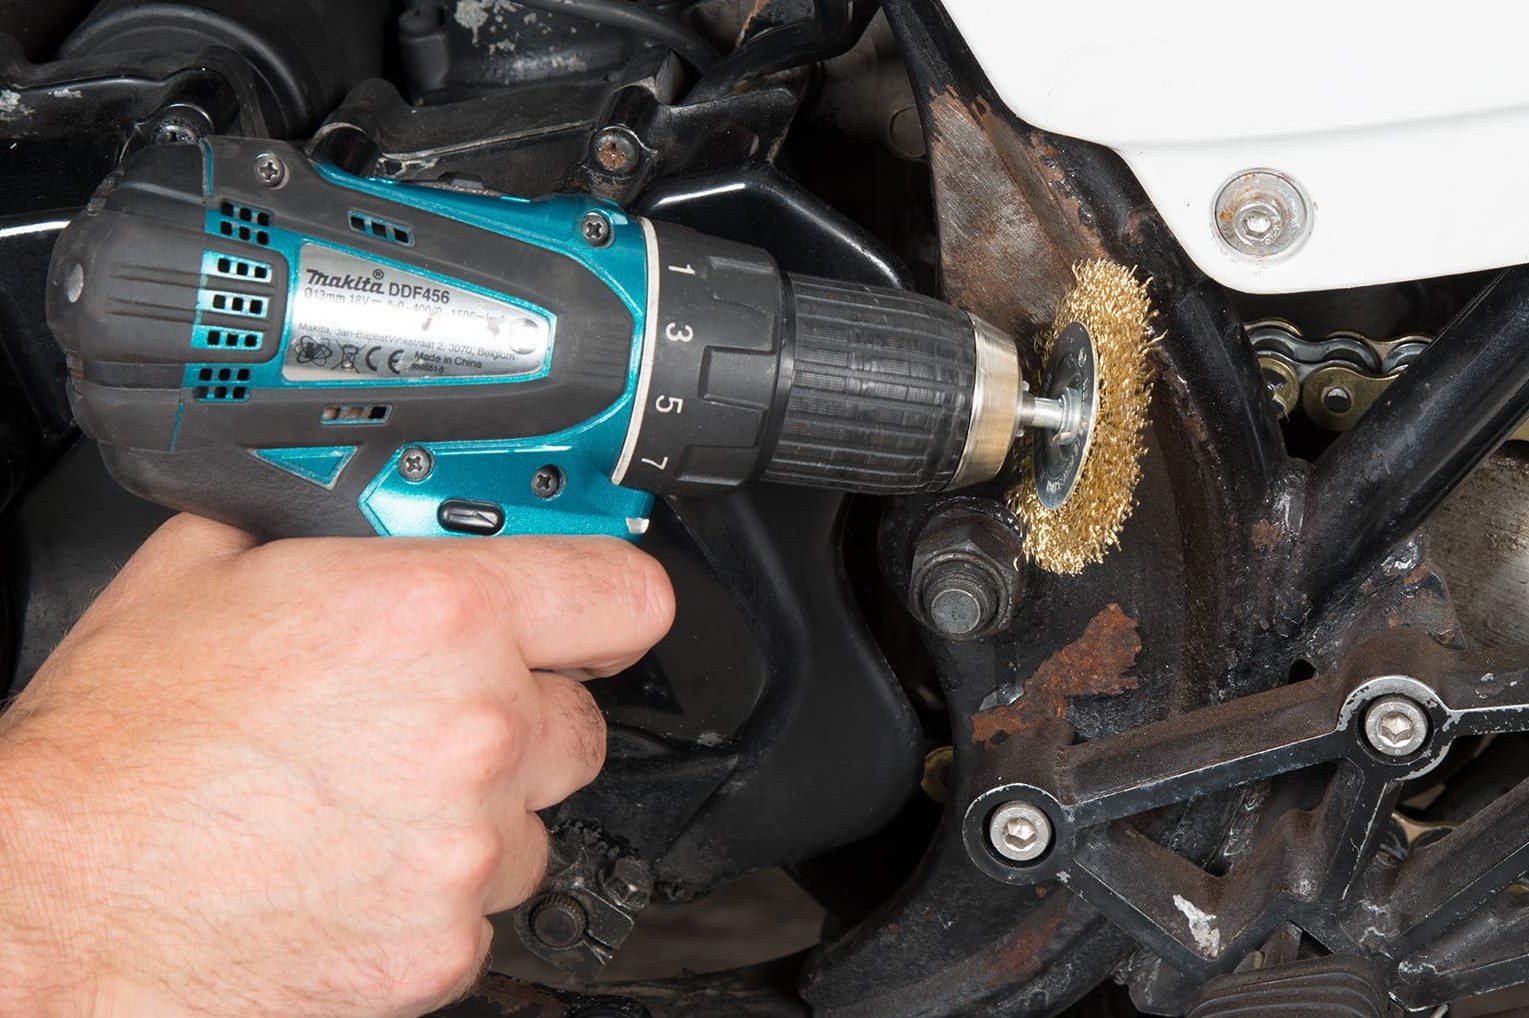
Step 4: Derust larger surfaces with a drill and wire bush attachment, for example
04 – Remove larger areas of rust
Large areas of rust can be removed with wet sandpaper, using progressively finer grit. The advantage of wet sanding is that it creates less dust.
You can do the job quicker and more thoroughly with wire brush attachments for a hand-held angle grinder or power drill. The wire brush penetrates rust pores better than sandpaper, which is only effective on the surface.
Of course, you can also do it by hand using a normal wire brush, but it will not be nearly as effective. Always wear a facemask and protective goggles, and preferably do this job outside, as it does create quite a lot of dust. This method is too harsh for chromed parts, as it would badly damage the chrome finish!
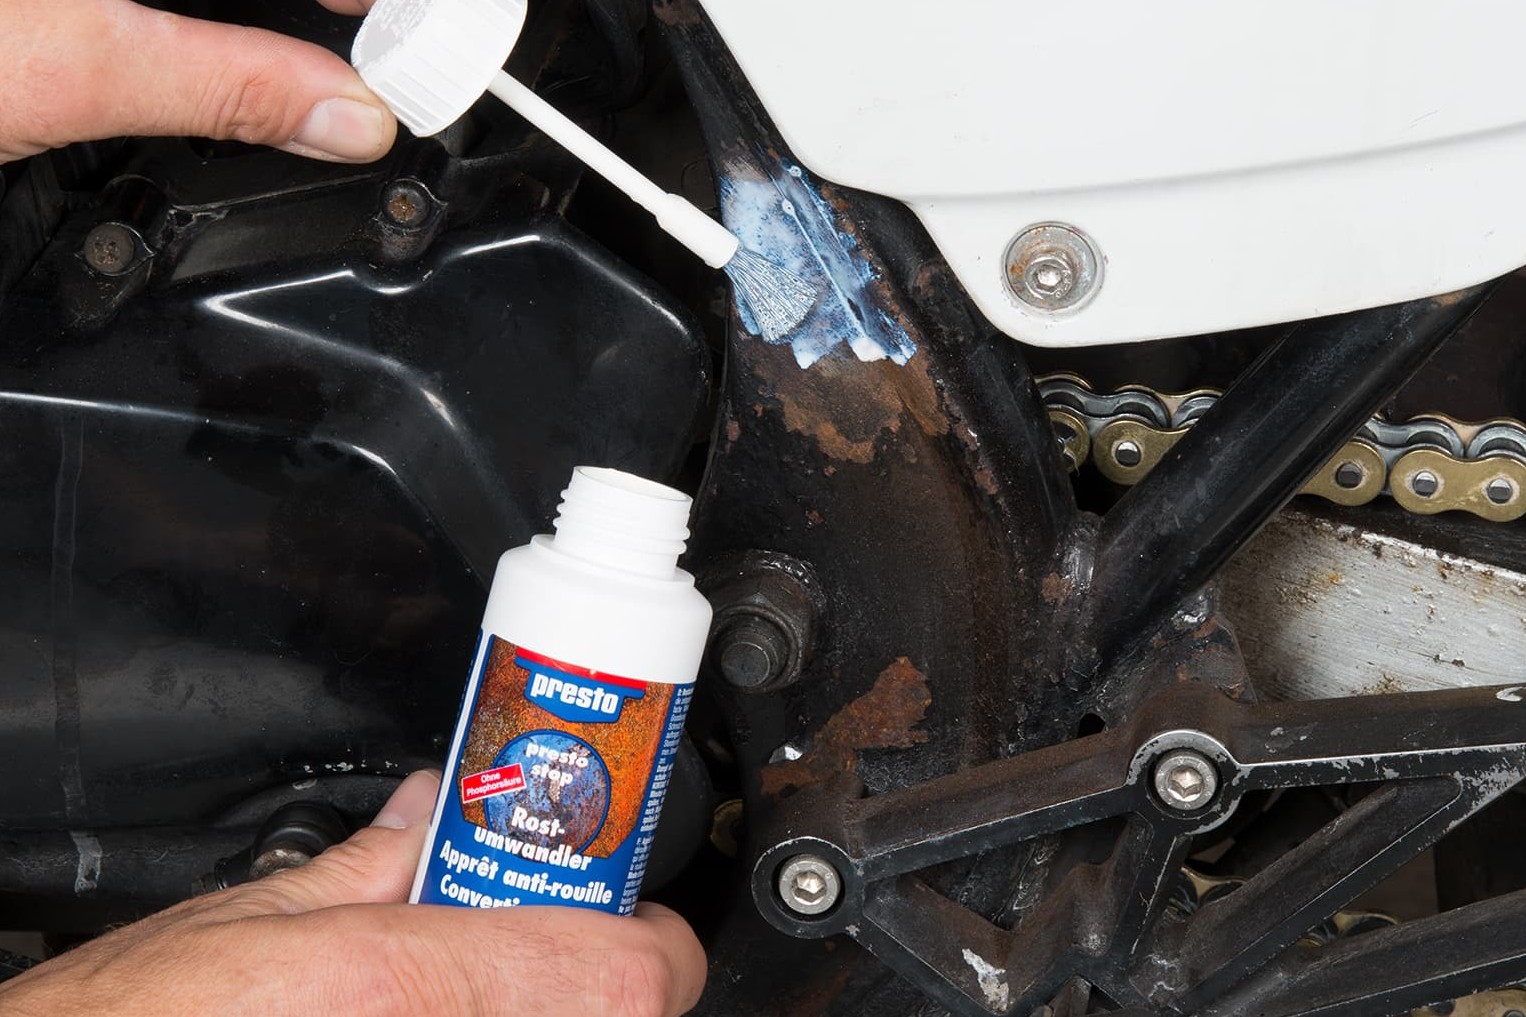
Step 5: Treat any last traces with rust remover
05 – Treat any last traces with rust remover
If there are still deep rust pits that you can't get rid of, and also for treating parts that are difficult to get at with sandpaper or a wire brush, such as brackets, pipe sockets, frame parts etc, you can finish the job by brushing on a rust converter. Once it has set, the rust converter can then be painted over.
But if you intend to chrome or powder-coat a part after cleaning it up, your derusting really will need to be a hundred percent. So it's best to have the part micro-blasted by a specialist workshop. Depending on the type of metal and how badly it has rusted, they will use walnut shells, glass beads or sand (the coarsest option), and the result will be a perfectly derusted and paint-stripped part with a matt, more or less rough surface.
06 – Derusting your engine
Before an engine can be derusted by sandblasting with any of the media mentioned above, it must be completely dismantled so that only the engine block, with all the sealing surfaces protected, is blasted. Never sandblast a complete engine! The blasting grit will always get inside, no matter how well the openings are masked off, and this will very quickly cause premature engine wear. There is one exception. A lightly corroded aluminium engine can be blasted with dry ice without having to be disassembled. It's an expensive process, but it does guarantee that no blasting grit can end up causing damage to your engine.
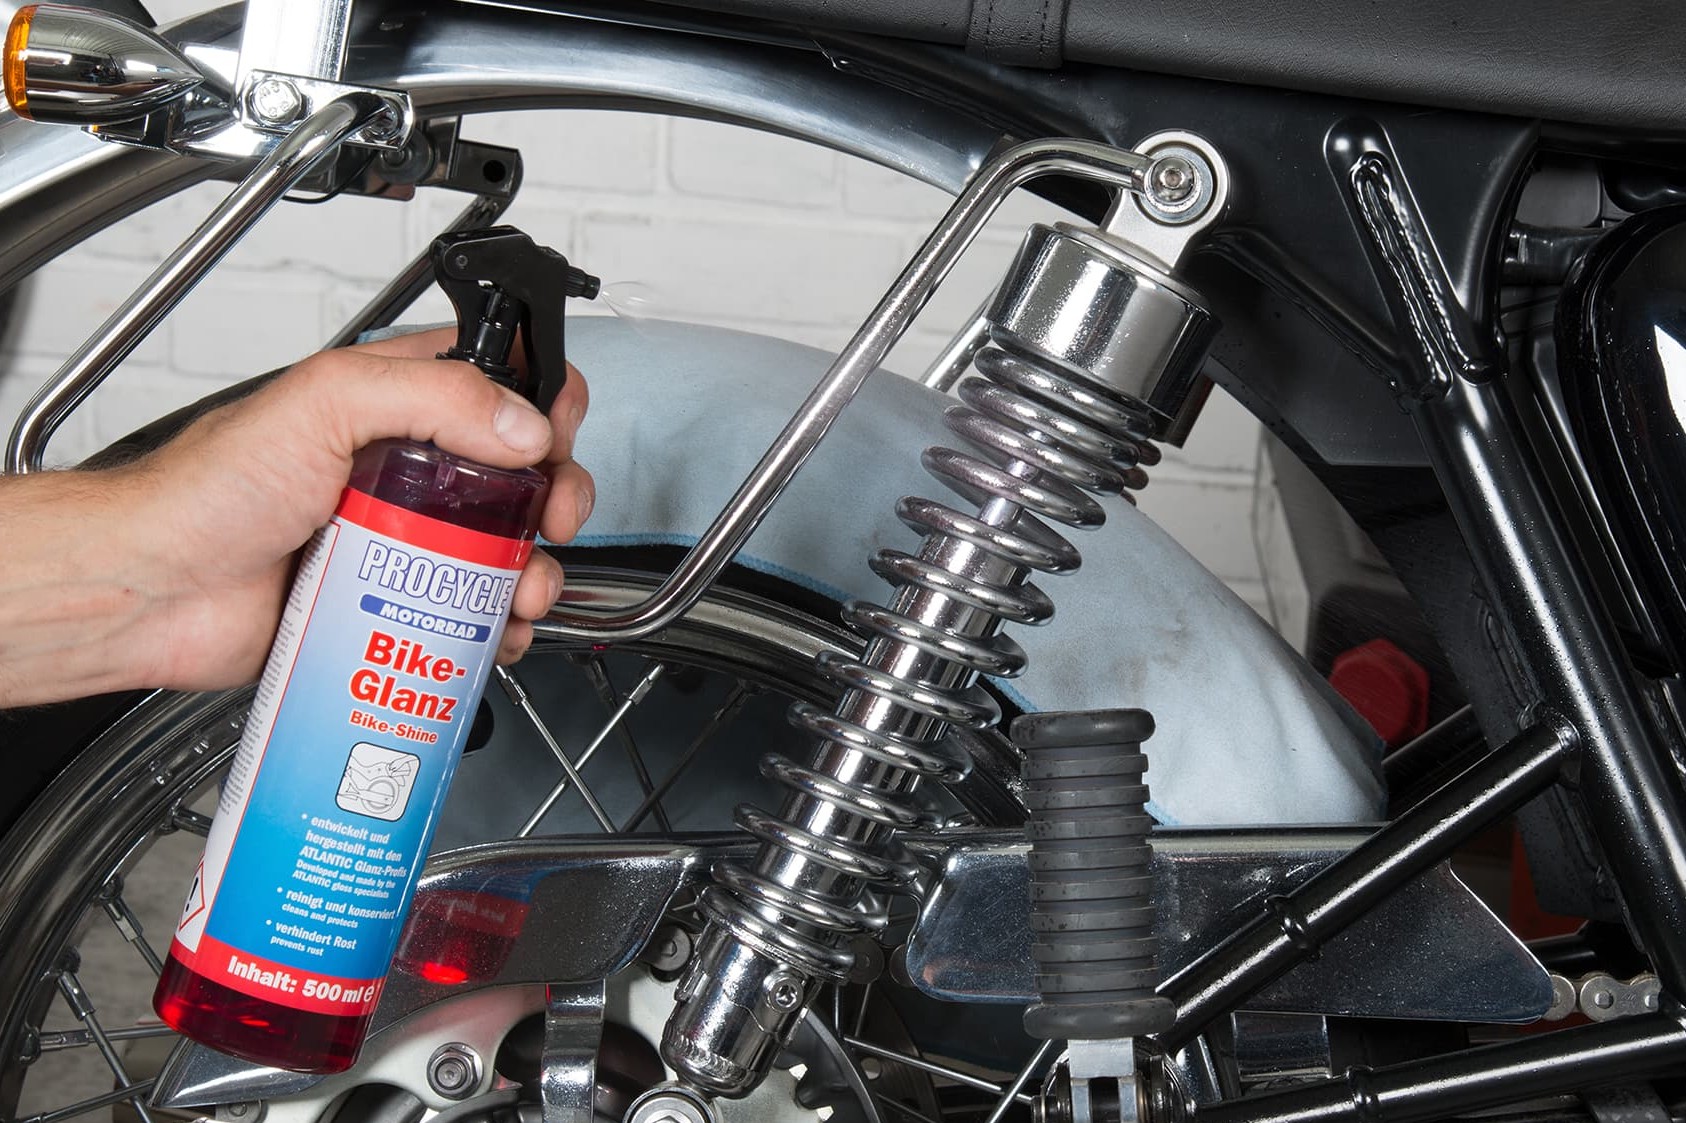
Step 7: Care products protect against corrosion
07 – Care products protect against corrosion
The derusted parts must then be properly protected to prevent them corroding again. That means painting, chroming, galvanising, waxing, greasing, or simply wiping over with an oily rag. Aluminium can also be anodised in a range of colours, while steel can be burnished. So there are numerous methods of preventing corrosion, which vary considerably in their effectiveness and cost. It's basically a question of making a choice according to the type of metal, the final look you're after, and how much you want to spend.
But never use anything oily or greasy on your exhaust, as the heat would bake it on, causing unsightly brown discolouration. Then you would have to get out the chrome polish to get it shining again.
Bonus tips for real DIY mechanics
Cleaning also means greasing
Nothing beats the look of a freshly cleaned motorbike gleaming in the sunshine. But don't forget, this is also the time to be lubricating with oil, grease, graphite, chain lube etc, so that everything works smoothly, and you keep the rust away!
The Louis Technical Centre
If you have a technical question about your motorbike, please contact our Technical Centre, where they have endless experience, reference books and contacts.
Please note!
These tips for DIY mechanics contain general recommendations that may not apply to all vehicles or all individual components. As local conditions may vary considerably, we are unable to guarantee the correctness of information in these tips for DIY mechanics.
Thank you for your understanding.


