


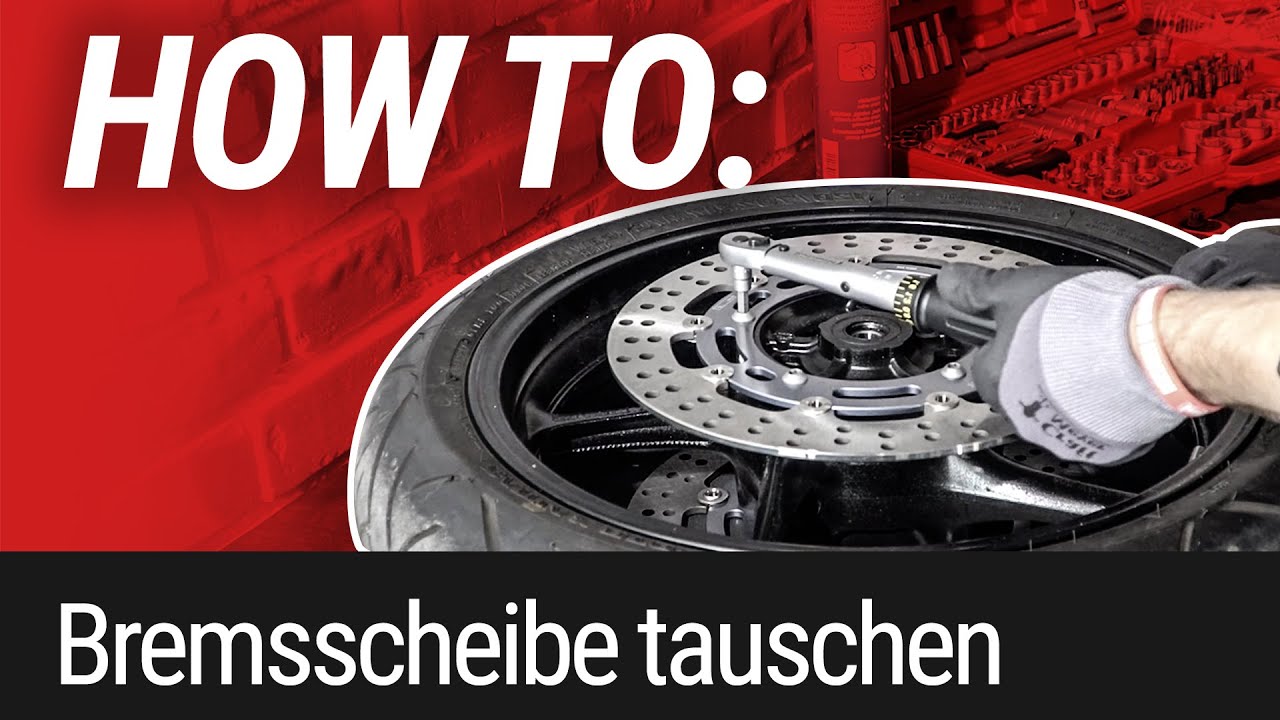
Replacing the brake discs
When riding in traffic, good brakes are quite simply a matter of life or death. Which is why it's vital that every biker regularly checks their brakes – and that means more often than just the vehicle safety inspection required by law once every two years.

Note: The videos are in German.


- Changing brake discs on a motorcycle
- Replacing the brake discs – now let's get started
- 01 – Release brake caliper
- 02 – Remove the wheel
- 03 – Undo the fastening bolts on the brake disc
- 04 – Remove the old brake disc
- 05 – Fit new brake disc and fasten securely
- 06 – Check brake and wheel
Important: You should only do work on your braking system, following the instructions below, if you are an experienced DIY mechanic. Don't put your safety at risk! If you're not sure you're able to do the job, definitely leave it to the professionals!
Changing brake discs on a motorcycle
Really good braking is absolutely essential in today's road traffic. Which is why it's vital that every biker regularly checks their brakes – and that means more often than the just the vehicle safety inspection required by law every year or two. Proper maintenance of your braking system includes changing old brake fluid, replacing worn brake pads and checking the brake discs. Every brake disc has a minimum thickness specified by the manufacturer, and when this service limit is reached, the disc must be replaced. You should check this with a micrometer, not a caliper gauge, because wear and tear causes the brake disc to form a small ridge at its outer edge which would falsify the measurement if you use a caliper gauge.
However, exceeding the thickness service limit is not the only reason for changing a brake disc. During heavy braking, the discs reach temperatures of up to 600°C.
Temperature differences between the outer ring and inner carrier of the brake disc in particular produce uneven thermal expansion, which can cause the disc to distort. Extreme temperatures also arise during everyday use. Travelling downhill on a mountain pass, where you're using your brakes constantly (often with heavy luggage and a pillion passenger), can push temperatures to mind-boggling heights. Sticking brake caliper pistons often generate high temperatures, and the constant contact with the brake pad can cause discs to wear extremely quickly. This can also cause discs to distort – a problem that particularly applies to discs with a large diameter and those that are rigidly mounted.
On modern motorcycles, the low-cost rigid discs tend to be used where the loads on the brake are relatively low. Today, the state of the art is floating brake discs on the front axle. These offer the following advantages:
- Reduced rotating mass enhances handling
- Less unsprung mass
- Better adaptation of the materials to the demands made on them
- More spontaneous brake response
- Less tendency for the brake disc to warp
Floating discs have an inner ring which is bolted to the wheel hub and connected by movable floaters (a.k.a. bobbins) to the outer ring, which the brake pads press against during braking. If the axial play of this connection exceeds 1 mm, the brake disc will rattle, which is when it needs replacing. Any type of radial play generates a type of "run-on" when braking and will also cause your bike to fail the vehicle safety inspection.
If you need to replace a brake disc due to warping, you should also check for the following potential problems, which can cause the disc to distort because the brake disc may not be parallel to the brake pistons in the caliper:
- Is the front wheel fork adjusted correctly/without any misalignment?
- Is the braking system correctly assembled (brake calipers original and suitable for your bike, and properly aligned with the brake disc)?
- Are the brake discs in absolutely even contact with the hub (residual paint/Loctite could cause an uneven contact surface)?
- Is the wheel correctly aligned on the wheel axle and in the centre of the front fork?
- Is the tyre pressure correct?
- Is the wheel bearing ok?
But exceeding the thickness service limit of the brake disc, or the disc being warped, or the floaters worn are not the only reasons for replacing the brake disc. A badly scored surface also reduces braking performance noticeably – and again the only solution is to replace the brake disc. If your bike is fitted with dual disc brakes, you should always replace both brake discs at the same time.
Similarly, in order to achieve optimum braking performance with a new brake disc, always replace the brake pads at the same time. Even if the old pads are still above the service limit, you still need to replace them, as their surface has adapted to the wear pattern of the old disc and would not be a snug fit with the new one – this would negatively affect braking performance and the new disc would wear down faster.
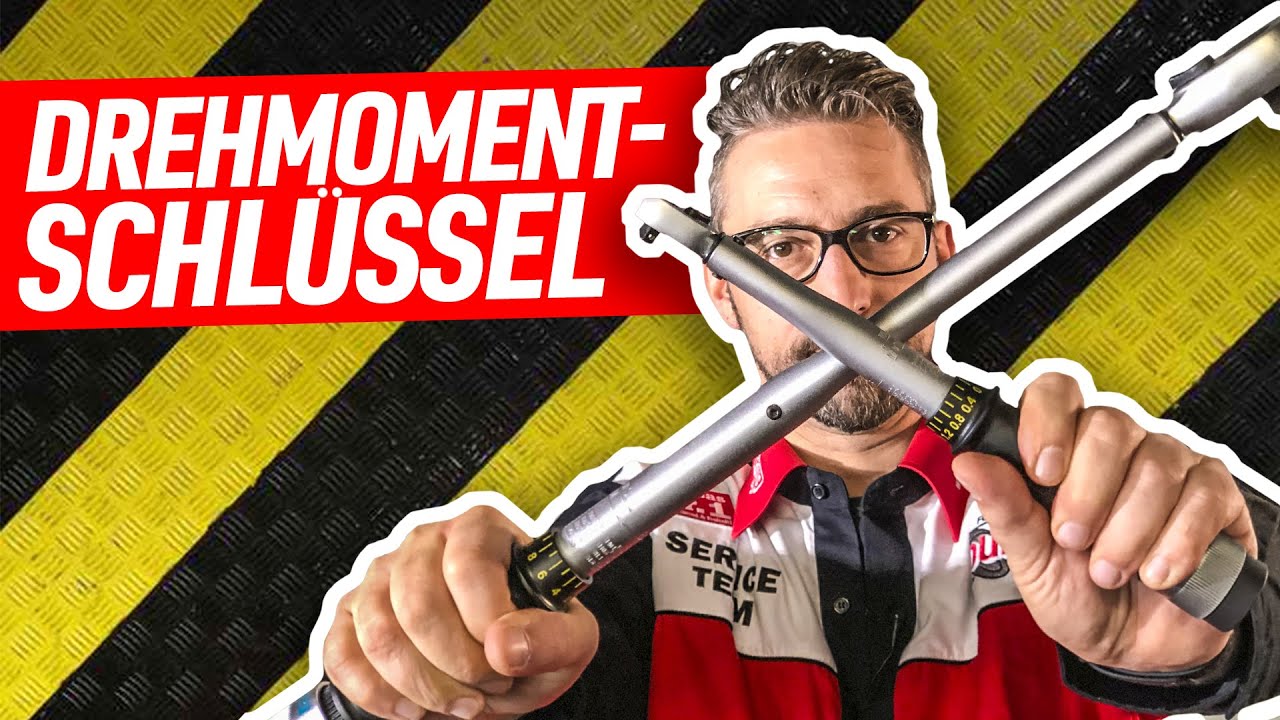
Double check that the disc you have purchased is approved for your specific bike and application according to the accompanying type approval. Only use the suitable tools for installing the disc. Always use a torque wrench to ensure that the screws of the brake disc and the caliper are correctly tightened. To make sure you have the correct torque and model-specific data for your braking system, always consult a workshop manual for your motorcycle model or ask your local authorised dealer.
Replacing the brake discs – now let's get started

Step 1: Jack up motorcycle, release brake caliper and hang up
01 – Release brake caliper
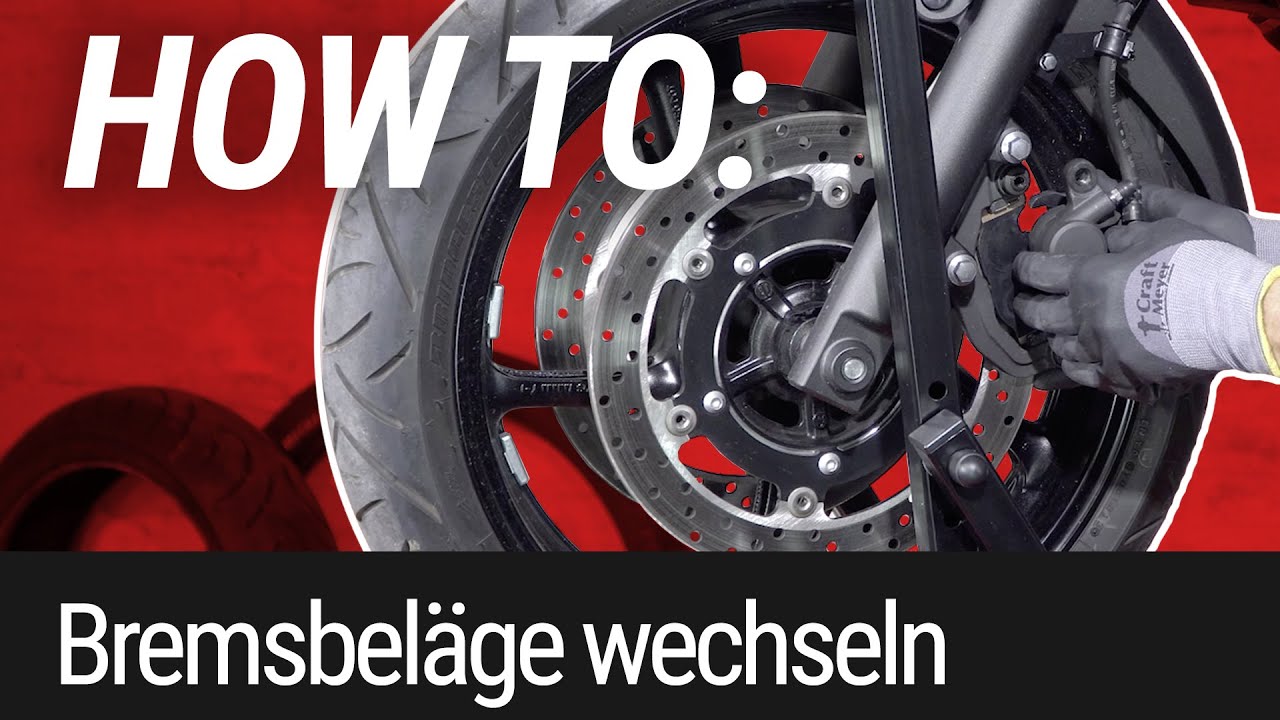
First jack up your motorcycle securely in order to unload the wheel you are working on. If your bike is not fitted with a centre stand, you will need to use a paddock stand. Release the brake caliper(s) from the mount and replace the brake pads as described in the DIY tip Brake pads. Secure the brake caliper, e.g. with an insulated wire, to a part of the bike where it won't get in the way while you're removing the wheel – don't let it dangle on the brake hose.

Step 2: Remove the wheel
02 – Remove the wheel
Loosen the wheel axle and remove the wheel from the front fork/rear wheel swing arm. If the wheel axle does not detach easily, check first whether it is still secured, e.g. with additional clamping screws. If you still cannot undo the screws, see DIY tip Releasing screws for assistance.

Step 3: Undo the fastening bolts on the brake disc
03 – Undo the fastening bolts on the brake disc
Lay the wheel on a suitable surface and undo the fastening bolts of the brake disc in diagonally opposite sequence. Always use quality tools that fit well, particularly if the hexagon socket screws are proving stubborn, and make sure that you insert the tool as far into the socket as possible to ensure a secure grip. If you strip the screw head so that no tool grips, removing the screw is going to be a real headache. If the screws prove very hard to shift, warming them with a hot air blower and giving the tool a knock with a hammer can often help to loosen them. If the hexagon socket of the screw head is stripped, you may be able to undo it by using a bit that is one size bigger and hammering it in so that it grips.

Step 4: Remove the old brake disc
04 – Remove the old brake disc
Take the old brake disc(s) off the hub and clean the contact surface. You need to remove any unevenness (residual paint or Loctite, etc.), and this is also a good opportunity to clean the rim and axle, as access is easier. If the axle has rusted, the rust can be removed, e.g. using sandpaper.

Step 5: Fit new brake disc and fasten securely
05 – Fit new brake disc and fasten securely
Fit the new brake disc(s). Tighten the fastening bolts to the torque specified by the vehicle manufacturer, in diagonally opposite sequence. Always replace badly corroded or damaged fastening bolts with new ones.
Please note: If the manufacturer recommends the use of threadlock adhesive, apply this sparingly and carefully. Under no circumstances must the threadlocker be allowed to run under the contact surface of the brake disc, as this may impair the parallelism of the disc, which in turn can cause the brakes to rub. Install the wheel and brake caliper in reverse order. Apply a light coating of grease to the wheel axle prior to installation so it cannot seize up. Observe the running direction of the tyre at the front and tighten all screws to the torque specified by the manufacturer.

Step 6: Check brake and wheel
06 – Check brake and wheel
Before actuating the handbrake cylinder, make sure that there is enough space in the brake fluid reservoir for the fluid level to rise. New pads and discs push the fluid upwards in the system, and you must make sure it doesn't exceed the "Maximum" mark. Actuate the main brake cylinder in order to bring the brake pads into contact with the disc. Check the pressure point of the brake. Check that the wheel turns freely once you have released the brake. If the brake drags, you may have fitted it incorrectly or the brake pistons may be sticking in the brake caliper.
Please note: While working on the brakes, make sure that no grease, paste, brake fluid or other chemicals come into contact with the surface of the brake pads. If there is any soiling of this kind, you need to clean the brake discs using a brake cleaner.
Important: Once you have fitted the new brake discs and pads, your bike needs to be "run in" gently. Try to avoid constant and violent braking for around the first 120 miles as far as possible. Also you should not ride the brake as the brake pads could overheat and lose their coefficient of friction.
The Louis Technical Centre
If you have a technical question about your motorbike, please contact our Technical Centre, where they have endless experience, reference books and contacts.
Please note!
These tips for DIY mechanics contain general recommendations that may not apply to all vehicles or all individual components. As local conditions may vary considerably, we are unable to guarantee the correctness of information in these tips for DIY mechanics.
Thank you for your understanding.