


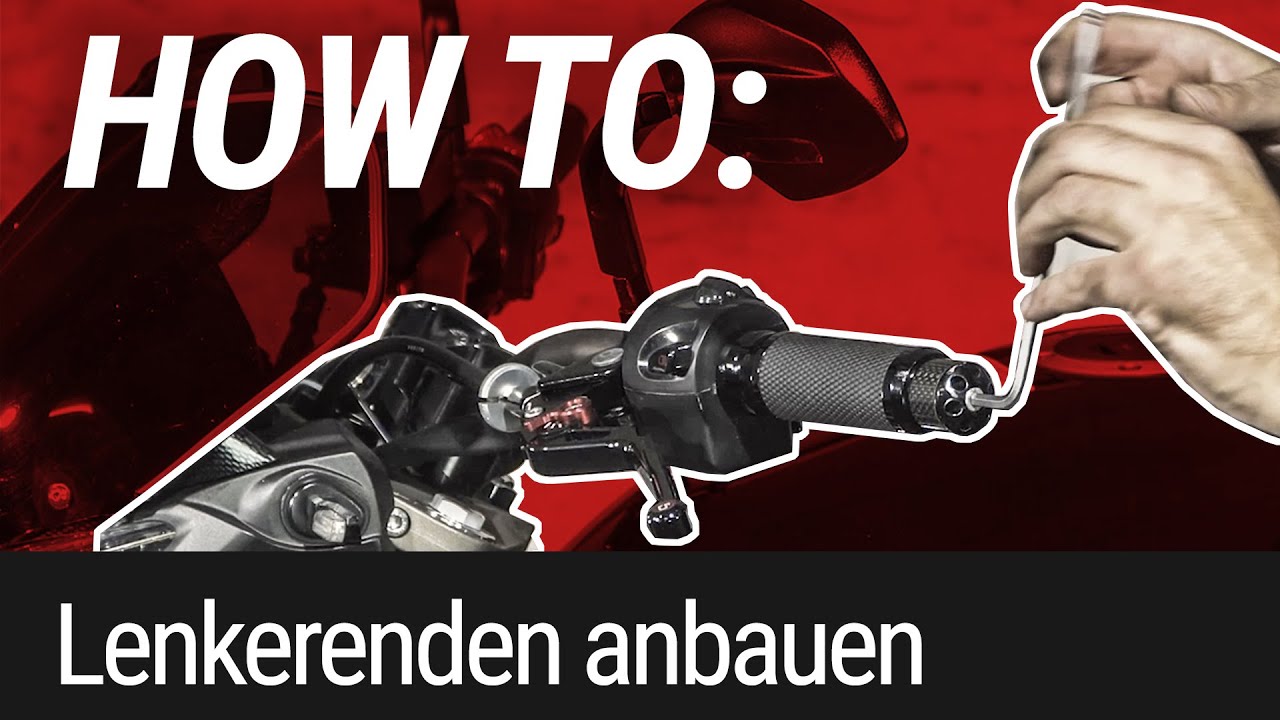
Installing heated grips
Heated grips allow you to extend your biking season for many weeks. They not only enhance comfort, but actually make for greater safety when riding your machine.

Note: The videos are in German.


- Installing heated grips – now let's get started
- 01 – Prepare motorcycle and grip heating
- 02 – Test wiring the electrical system
- 03 – Remove the seat
- 04 – Disconnect battery
- 05 – Remove the tank
- 06 – Loosen side cover
- 07 – Unscrew fuel cock extension
- 08 – Disconnect hoses
- 09 – Lifting and pulling handles
- 10 – Release handles
- 11 – Remove throttle tube
- 12 – Adjusting the throttle tube
- 13 – Clean handlebar
- 14 – Gluing heating grips
- 15 – Route the cables
- 16 – Mounting the switch
- 17 – Connect to the battery
- 18 – Determine position for relay
- 19 – Use insulated cable terminals
- 20 – Check electrical connections
- 21 – Reassemble all parts
Fitting your motorbike with heated grips
When the temperature outside drops, cold hands soon become a problem for the biker. You can protect your torso with a warm jumper, your legs with long underwear, your feet with thick socks – but it's your hands that get cold first when out on your bike. A freezing-cold biker's reactions and agility are not as sharp as they should be in traffic situations. Unfortunately, very thick gloves are not a good idea, as they make it more difficult to operate the controls properly, and that impacts on your safety. So heated grips are a low-cost, useful accessory if you want to start the biking season as early as possible and carry on long into the autumn. Of course, if you're a winter biker, you'll appreciate heated grips all the more. And if you want to get the most out of them, you can also fit handlebar cuffs or hand guards to keep the wind blast off your hands.
In order to use heated grips, your motorcycle must have a 12 V electrical system and battery. The battery must not be too small, as heated grips have quite a high wattage (up to 50 W, depending on the switch setting and type). The battery should therefore have a capacity of at least 6 Ah, and the alternator must also charge the battery adequately. If you mainly ride your motorbike in stop-and-go city traffic, only do short journeys, and use the starter motor a lot, you may overtax your alternator if you install heated grips, which would mean charging the battery every so often. For this reason, heated grips may not always be an option on small motorcycles. 6 V electrical systems and magneto ignitions without a battery, unfortunately, are not good enough for the job.
Important: If you want to install heated grips yourself, you should have a basic knowledge of vehicle electrics and be reasonably good with your hands, particularly for connecting the grips via a relay. The only time you may be able to do without a relay is with relatively low-power heated grips. But for most models a relay is needed in order to take load off the switch and the ignition and to prevent inadvertent power consumption, which is the risk with direct battery connection.
To ensure that the heated grips are securely attached to the handlebars, and especially the throttle tube, they should be fixed with a heatproof two-component adhesive. It's best to get yourself the adhesive, a relay, suitable insulated terminals for connecting the cables, brake cleaner and a good pair of crimping pliers before you start. You may need a plastic hammer, a socket wrench set, a thin screwdriver and, possibly, a drill and some cable for relay connection.
Installing heated grips – now let's get started

Step 1: Read installation instructions and familiarise yourself with the parts
01 – Prepare motorcycle and grip heating
Before you start, read the installation instructions for the heated grips and familiarise yourself with the components.

Step 2: Trial run: connect up grips, switch and lead
02 – Test wiring the electrical system
To avoid unnecessary work, try wiring up the heated grips, switch and battery lead, and test the system with a 12 V motorbike battery. If everything works perfectly, you can begin installation.

Step 3: Remove the seat
03 – Remove the seat
Place the motorcycle securely on the stand. A folding side stand is best fixed with a lashing strap so the bike cannot topple over. Now fold up the seat or take it off (it is usually fixed at the seat lock; see motorcycle manual) and find the battery. A side cover or battery box may have to be taken off as well. In rare cases the battery sits underneath a false tank, or in the rear fairing, or in a separate box on the frame.

Step 4: Disconnect battery at negative terminal
04 – Disconnect battery
Disconnect the battery at the negative terminal to prevent inadvertent short-circuits when you connect the cables later. Make sure you don't lose the terminal nut when disconnecting the negative cable.

Step 5: Unscrew tank
05 – Remove the tank
Next take off the tank. But first check where it is connected to the frame and/or other components.

Step 6: Remove tank, undo side cover
06 – Loosen side cover
On our demonstration bike, a Suzuki GSF600 Bandit, for example, the side covers are connected to the tank via push-in connectors, and first have to be disconnected and removed.

Step 7: Unscrew fuel cock extension
07 – Unscrew fuel cock extension
In addition, the fuel cock actuator extension must be screwed off so that it's not left hanging from the frame later.

Step 8, Fig. 1: Disconnect the tank ventilation,...
08 – Disconnect hoses
If the fuel cock is vacuum-controlled, set it to "ON", but not PRI – so that no fuel leaks out when you take off the hoses. If it is not vacuum-controlled, set it to "OFF".

Step 8, Fig. 2: ... vacuum and fuel hoses
Now you can take off the hoses: on the Bandit, this means the ventilation and vacuum hoses and the fuel hose to the carburettor.

Step 9: Lift grip with thin screwdriver and...
09 – Lifting and pulling handles
The best thing for getting the original grips off the handlebars is a solution of water and dishwashing liquid, which you spray under the grip while lifting the grip away from the handlebar or the throttle tube with a thin screwdriver. Then run the screwdriver around the handlebar once to distribute the solution, and it will be easy to remove the grip.

Step 10: ... free it from handlebar with brake cleaner or diluted dishwashing liquid
10 – Release handles
For rubber grips, you can also use brake cleaner but not with foam grips, as brake cleaner may dissolve the foam. If the grip has been glued to the control, you must first cut it free with a utility knife. Now have a look at the throttle tube. It's easiest to install the heated grips on smooth throttle tubes. If the grip slips on easily, you do not need to take the throttle tube off the handlebar.

Step 11: Disconnect throttle cable and take throttle tube off handlebar
11 – Remove throttle tube
However, if the tube is contoured or slightly too thick, you will need to saw, file and sand it so that the new grip fits on tightly but without using force. For this job, it's better to take the throttle tube off the handlebar. This means unscrewing the control so that the throttle cables can be disconnected. It's easier if you twist the cable adjuster knob a little so that there's more play in the cable. Metal throttle tubes are more robust than plastic ones and will withstand a tap with a hammer. But take care with plastic – it's best not to use a hammer when putting on the new grip, and definitely not if you're doing this with the throttle tube mounted on the handlebar, because if the control housing is also made of plastic and a small pin fixes it to the handlebar, it may break off under the least strain. Then the control will no longer be securely seated on the handlebar.

Step 12, Fig. 1: Carefully saw off protrusions on throttle tube...
12 – Adjusting the throttle tube
The Suzuki has protrusions on the throttle tube, which we saw off and then file down before fitting our new heated grips. In addition, the diameter has to be reduced slightly by rubbing with sandpaper so that the new grip will fit on without using force. You may have to do the same with your own throttle tube.

Step 12, Fig. 2: … and file smooth. Sand to reduce diameter
If you want to keep your old grips in reserve, the best thing to do is to buy a new tube right now and adapt it for the heated grip.

Step 13: Degrease and clean left end of handlebar
13 – Clean handlebar
Degrease and clean the handlebar and throttle tube with brake cleaner ready for gluing the grips.

Step 14, Fig. 1: Apply some adhesive to inside of grip and ...
14 – Gluing heating grips
Then mix the adhesive as directed on the pack. Work quickly, as two-component adhesive cures fast. Apply a little adhesive to the inside of the grip, mount the left grip so that the cable outlet is facing down, and repeat the step for the throttle tube. Of course, you've already tested that the new grip can be pushed onto the throttle tube.

Step 14, Fig. 2: … push grip on with the cable outlet facing down
Important: You must always leave a large enough gap for the control housing so that the throttle tube will twist easily and without sticking. After the adhesive hardens, the grips generally cannot be readjusted or taken off without damaging them!

Step 14, Fig. 3: Repeat for throttle tube

Step 15: Cables must not snag at full lock
15 – Route the cables
Route the cables from the grips between the fork tubes to the frame so that they do not interfere with the throttle cable or snag at full lock.

Step 16: Fix switch to handlebar or control
16 – Mounting the switch
Depending on the model of bike, clamp the switch to the handlebar within easy reach, or stick it to the dashboard or in the front fairing with an adhesive pad. Also route this cable to the frame, making sure that it does not snag at the steering head when you turn the handlebar.

Step 17: Connect to battery cable
17 – Connect to the battery
Now the wiring harness for battery connection can be connected to the cables from the grips and switch unit. Saito heated grips make this extremely easy because the contacts are clearly marked with little flags.
Route the wiring harness along the frame to the battery. Fix all the cables to the handlebar and the frame with adequate cable ties.
You can now connect low-wattage heated grips direct to the battery's positive and negative terminals (see the installation instructions for the heated grips). However, with this arrangement, there is a risk of draining the battery if you forget to turn off the heated grips at the switch at the end of your ride, as the ignition does not break the circuit.

Step 18: Find a somewhere to securely mount the relay
18 – Determine position for relay
If you accidentally leave the grips switched on overnight, for example, depending on the heat setting they may overheat and the battery may be so deeply discharged that the motorcycle will not start. To avoid this, it's always advisable to connect them via a relay. First, find a suitable place near the battery to install the relay close to the battery on the Bandit, we drill a small hole in the mudguard under the seat and screw it on there.

Step 19: Use insulated cable terminals for connection
19 – Use insulated cable terminals
Now connect the relay to the negative terminal of the battery via terminal 86; to the positive terminal of the battery, with the fuse in-between, via terminal 30; to the red positive cable of the heated grips via terminal 87 (lead to the switch unit), and to a switched positive of the ignition switch via terminal 85. You can take the latter from a nearby electrical device, such as the horn, which is rarely used, or from the starter relay, as is a good option on the Bandit.
You can find the switched positive with a test lamp – it must light up on the correct cable as soon as the ignition is switched ON, and must go out when the ignition is switched off.

Step 20: Take switched positive (ignition) from starter relay
20 – Check electrical connections
Once you have connected the relay, recheck all power connections. If everything has been correctly connected up, you can connect the battery, switch on the ignition and try out the heated grips. Does the indicator light up? Can you set the heat levels and activate all other functions?

Step 21: Then the tank can be fixed again.
21 – Reassemble all parts
Then you can put the tank back on. But first, double-check that the throttle tube is working correctly, if you had to remove it to do this job. Also check that the hoses are connected without any kinks, and all terminals are positioned correctly. Sometimes it's useful to have someone to hold the tank for you – this is the safest way to prevent the paint from getting scratched or the tank from falling.
Once you've put on the seat and the bike is ready to ride again, you can go for a test-ride and discover how the warmth from the heated grips spreads from your hands to your whole body. A great feeling!
The Louis Technical Centre
If you have a technical question about your motorbike, please contact our Technical Centre, where they have endless experience, reference books and contacts.
Please note!
These tips for DIY mechanics contain general recommendations that may not apply to all vehicles or all individual components. As local conditions may vary considerably, we are unable to guarantee the correctness of information in these tips for DIY mechanics.
Thank you for your understanding.