


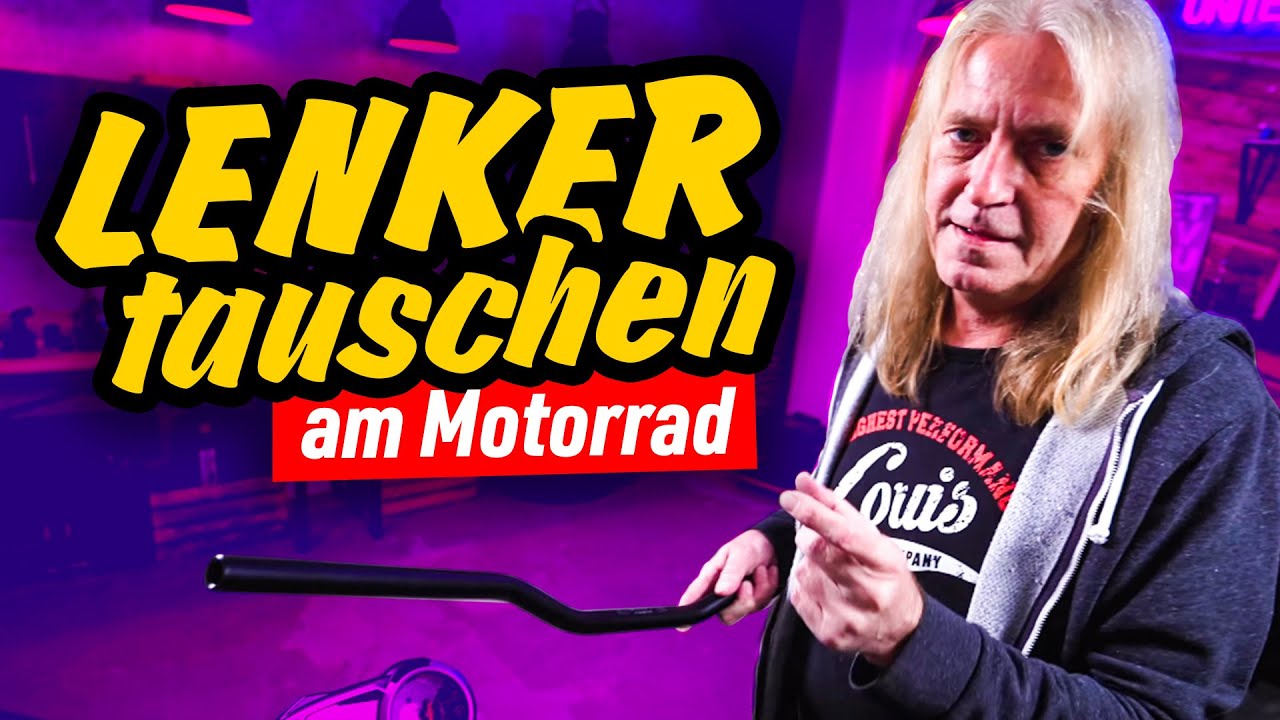
Handlebar conversion for your motorbike
Factory handlebars are not right for every motorbike rider because body height and personal preferences vary greatly. A customised handlebar often does wonders for your biking enjoyment and safety.

Note: The videos are in German.
Selection of the desired handlebar
The optimal riding position on a motorcycle is a very personal matter. It depends on the rider's stature and proportions, and their personal preferences. The style of motorbike also plays a major part when it comes to choosing the right handlebar. With your choice of shape, material and colour, you can put your personal stamp on the character and lines of the bike. Replacing your handlebar is something you can do quite easily and successfully in your home workshop. The following tips will help you to do a good job at the first attempt.
Before you commit to buying your ideal handlebar, first make sure that the dimensions are actually compatible with your bike, and whether it has type approval or a test certificate. Also check whether your existing cables are long enough. The best way to do this is to ask someone to hold your motorbike's handlebar while you unclamp it from the triple tree. Then get your helper to hold up the handlebar so that you can measure how much leeway the cables allow you. Now make allowance for the width of your new handlebar.
If the cables are too short, check whether they can be cleverly re-routed on the motorbike to gain some extra length. If not, you will need longer cables for your conversion. The same goes for brake lines. Our DIY tip Steel-Braided Brake Hoses, describes exactly how to install new brake hoses. Electrical wiring harnesses can be extended by soldering in cable segments and insulating them with heat shrink tubing. Sometimes the clutch and throttle cables from a chopper or touring bike will fit older street or sport bikes of similar design.
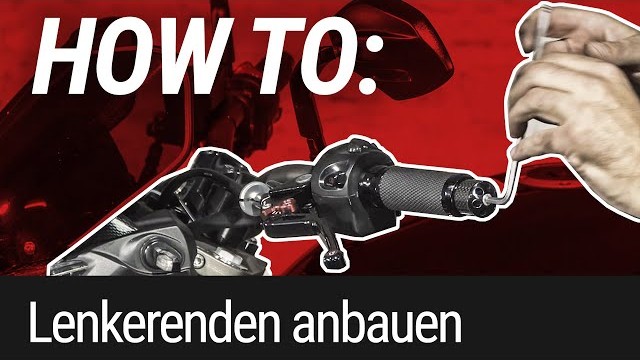
Choosing bar ends that complement the look of the new handlebar is also part of a successful conversion. It's best to buy them together with the new handlebar, as your original bar ends may be threaded, so they will not be compatible with the aftermarket handlebar. Remember that the diameter of the bar ends must fit the clamps of the handlebar you have chosen. Steel handlebars usually have an inside diameter of 17–18 mm; aluminium handlebars usually 14 mm. If your bike tends to vibrate slightly, it makes sense to mount "vibration killers" on the handlebar – that is, heavyweight bar ends.
Handlebar conversion – now let's get started

Step 1: Protect tank from damage
01 – Work preparation
Before you start the conversion, find a suitable place where you can work undisturbed and tidily. Set out your tools and the parts you need, place the motorcycle safely on the stand and fully cover the bike tank with a cloth or old towel to protect the paintwork.

Step 2: Tap screwdriver with hammer to loosen screw
02 – Remove bar ends
First undo the bar ends of the original handlebar. For this you will definitely need sufficient leverage, as the screw connection is often stuck tight. It's best to use an impact driver for unscrewing cross-head screws. If you don't have an impact driver, give a couple of sharp taps with a hammer on a cross-head screwdriver that fits the screw exactly and then apply a constant force. This should help to loosen the screw.

Step 3: Squirt dishwashing liquid under the grip
03 – Release rubber grips
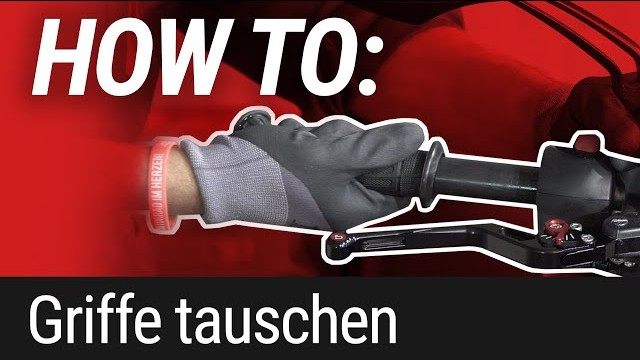
Then you need to remove the rubber grips. A professional workshop mechanic would blow compressed air between the rubber and the handlebar. At home, a squirt of dishwashing liquid or brake cleaner (not oil, please!) under the grip using a disposable syringe will do the job equally well. If the grip is glued to the switch unit, carefully cut it away with a utility knife.

Step 4: Remove original handlebar clamps
04 – Remove switch units and handlebar clamp
You can now undo and take off the switch units with a suitable cross-head screwdriver. If you're converting to a fatbar (clamping diameter: 28.6 mm), you must first undo the central screw fixation of the handlebar clamps before removing the handlebar. Please note that Italian manufacturers also make 28.0 mm diameter handlebars. However, high-quality retrofit fatbar handlebars like LSL and Magura have a diameter of 28.6 mm, so they do not fit in the original 28 mm clamps!
Now remove the brake pump from the handlebar and disconnect the brake light switch cabled. Wrap the brake pump unit in a cloth, and set it down on the light mount. Remove the handlebar clamp screws and take the handlebar out of the clamps. Once the handlebar is detached, it's easy to remove the throttle twistgrip unit and clutch control without having to disconnect their cables.

Step 5: Install new clamps, align handlebar
05 – Mount clamps and new handlebars
If you're using new clamps, attach them to the triple tree along with the handlebar and tighten the lower screw fixation to the torque specified by the motorcycle manufacturer.
Next, loosely mount the controls and switch units on the new handlebar and then align the handlebar to suit your riding habits and the lines of the bike. Make sure that the handlebar doesn't hit the tank or fairing at full lock! Also, there must not be any tension on the cables – check that you haven't miscalculated in your choice of handlebar. If you have, first see if you can re-route the cables to solve the problem. Otherwise you will have to get longer cables. Once the handlebar is in its final position, you can tighten the clamp to the torque specified by the manufacturer.

Step 6: Drill handlebar using LSL drilling jig
06 – Final assembly of handlebars and fittings
If the switch units have locking pins, you will need to drill holes in the handlebar for them. For this reason, make absolutely sure that you have found the best installation position for your handlebar and the switch units. Also take into consideration the length of the grips you are using (aftermarket grips may not be the same length as the original grips) and the position of the bar ends.
Re-check that the switch units do not hit the tank or fairing with the handlebar at full lock, and carefully mark the holes for the locking pins on the handlebar with a marker pen. Alternatively, you can stick some masking tape around the handlebar and use the switch unit locking pin to make an impression in the masking tape. Masking tape is perfect for punch-marking to assist drilling.
At this point it's best to take a short break and then come back and take another look at your handlebar installation. If you're absolutely certain that you've found the best position for your switch units and have correctly marked the drill holes, you can now drill holes with the diameter of the locking pins in one side of the handlebar tube.
To make sure that the drill doesn't slip on the smooth handlebar tube, or if you're prone to mistakes when centre punching or somehow not drilling straight, you should use a drilling jig (e.g. from LSL). This is the sure way to avoid such mistakes. After drilling, deburr the drill hole with a countersink or a large drill bit.
Now install the switch units, controls and grips in their final position, aligning the brake pump and clutch control so that you can operate them with optimal hand force. If the clutch and brake levers are optimally aligned, your forearm should form a straight line with your outstretched fingers resting on the levers. Congratulations, you have finished converting your handlebar!
Recheck the brake, clutch and all switch unit functions before you set out on your first ride. Your first port of call should be the vehicle test centre to have the new handlebar, and possibly the clamps, entered in the vehicle documents. The tester may have a look at the overall condition of your bike as well, so be prepared for this happening. You can only save yourself the trip to the test centre, and the associated cost, if you've bought a handlebar with type approval, in which case you only need to remember to carry the certificate with you, together with your vehicle documents, every time you go for a ride.
The Louis Technical Centre
If you have a technical question about your motorbike, please contact our Technical Centre, where they have endless experience, reference books and contacts.
Please note!
These tips for DIY mechanics contain general recommendations that may not apply to all vehicles or all individual components. As local conditions may vary considerably, we are unable to guarantee the correctness of information in these tips for DIY mechanics.
Thank you for your understanding.