Inspecting and replacing the steering head bearing
The steering head bearing connects the front wheel to the rest of the motorcycle. So it goes without saying that this important component has a major effect on handling and requires regular maintenance.
- Test the condition and adjustment of the steering head bearing
- Replacing the steering head bearing – now let's get started
- 01 – Access the steering head bearing
- 02 – Take off upper triple tree
- 03 – Pull triple tree out from below
- 04 – Drive out bearing cups
- 05 – Drive in new bearing cups
- 06 – Remove old bearing
- 07 – Install the steering head bearing with a driver
- 08 – Grease well, assemble and adjust
Important: When you change the steering head bearing, you will need a steering head bearing driver or a suitable pipe for driving in the new bearing.
Test the condition and adjustment of the steering head bearing
If you get the feeling at high speeds or in long bends that you're riding a rattlesnake, your steering head bearing may be poorly adjusted or faulty. But even if you're lucky enough not to experience that feeling, it's advisable to check from time to time that the bearing is correctly adjusted.
Ideally you should have a second person to assist you when inspecting the steering head bearing. Place the bike on the stand so that the front wheel is off the ground (not on a front paddock stand). If you have a centre stand, your helper should sit as far back as possible on the seat, while you grip the lower end of the fork with both hands and jerk it back and forth. If there is play in the bearing, it must be re-adjusted, which means undoing the clamp bolts of the sliders (lower triple tree) and the large central bolt of the upper triple tree. The adjustment is made by gently tightening the adjustment nut (located below the upper triple tree) with a hook wrench. After adjustment, there should be no play in the bearing and it should run smoothly.
The second test concerns the condition of the bearing. Turn the fork to the straight-ahead position, then turn the handlebars gently as if into a gentle right-hander and then into a left-hander from the straight-ahead position. If the fork is stiff, you need to slightly slacken off the adjustment again.
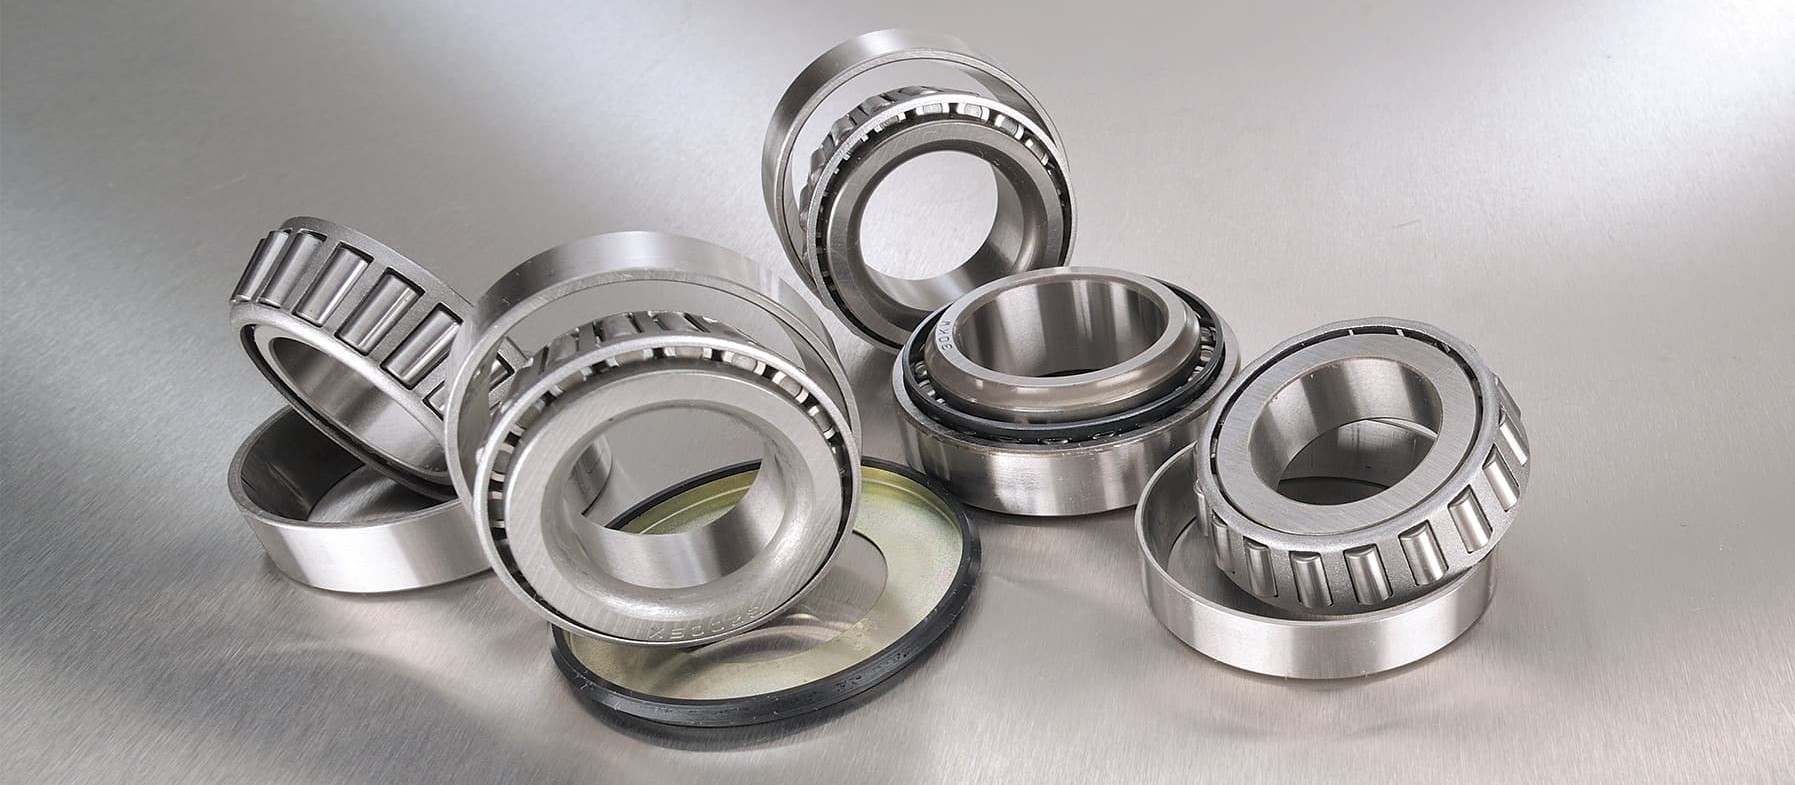
If it sticks even slightly in certain positions, the bearing must be replaced. However, bear in mind that cables, shafts and hydraulic hoses can falsify the test result. There is often a sticking point in the straight-ahead position because it is the most heavily used. Many motorbikes, especially older ones, still have ball bearings. In the ball bearing, each ball has a single small contact point, so a "notch" develops over time. It is advisable to switch to the longer-life taper roller bearings, in which the entire length of each roller has contact. Thus a much larger surface area is in contact with the bearing cup, distributing the weight better. In addition, taper roller bearings often cost less than the original ball bearings.
Replacing the steering head bearing – now let's get started
Step 1: Access the steering head bearing
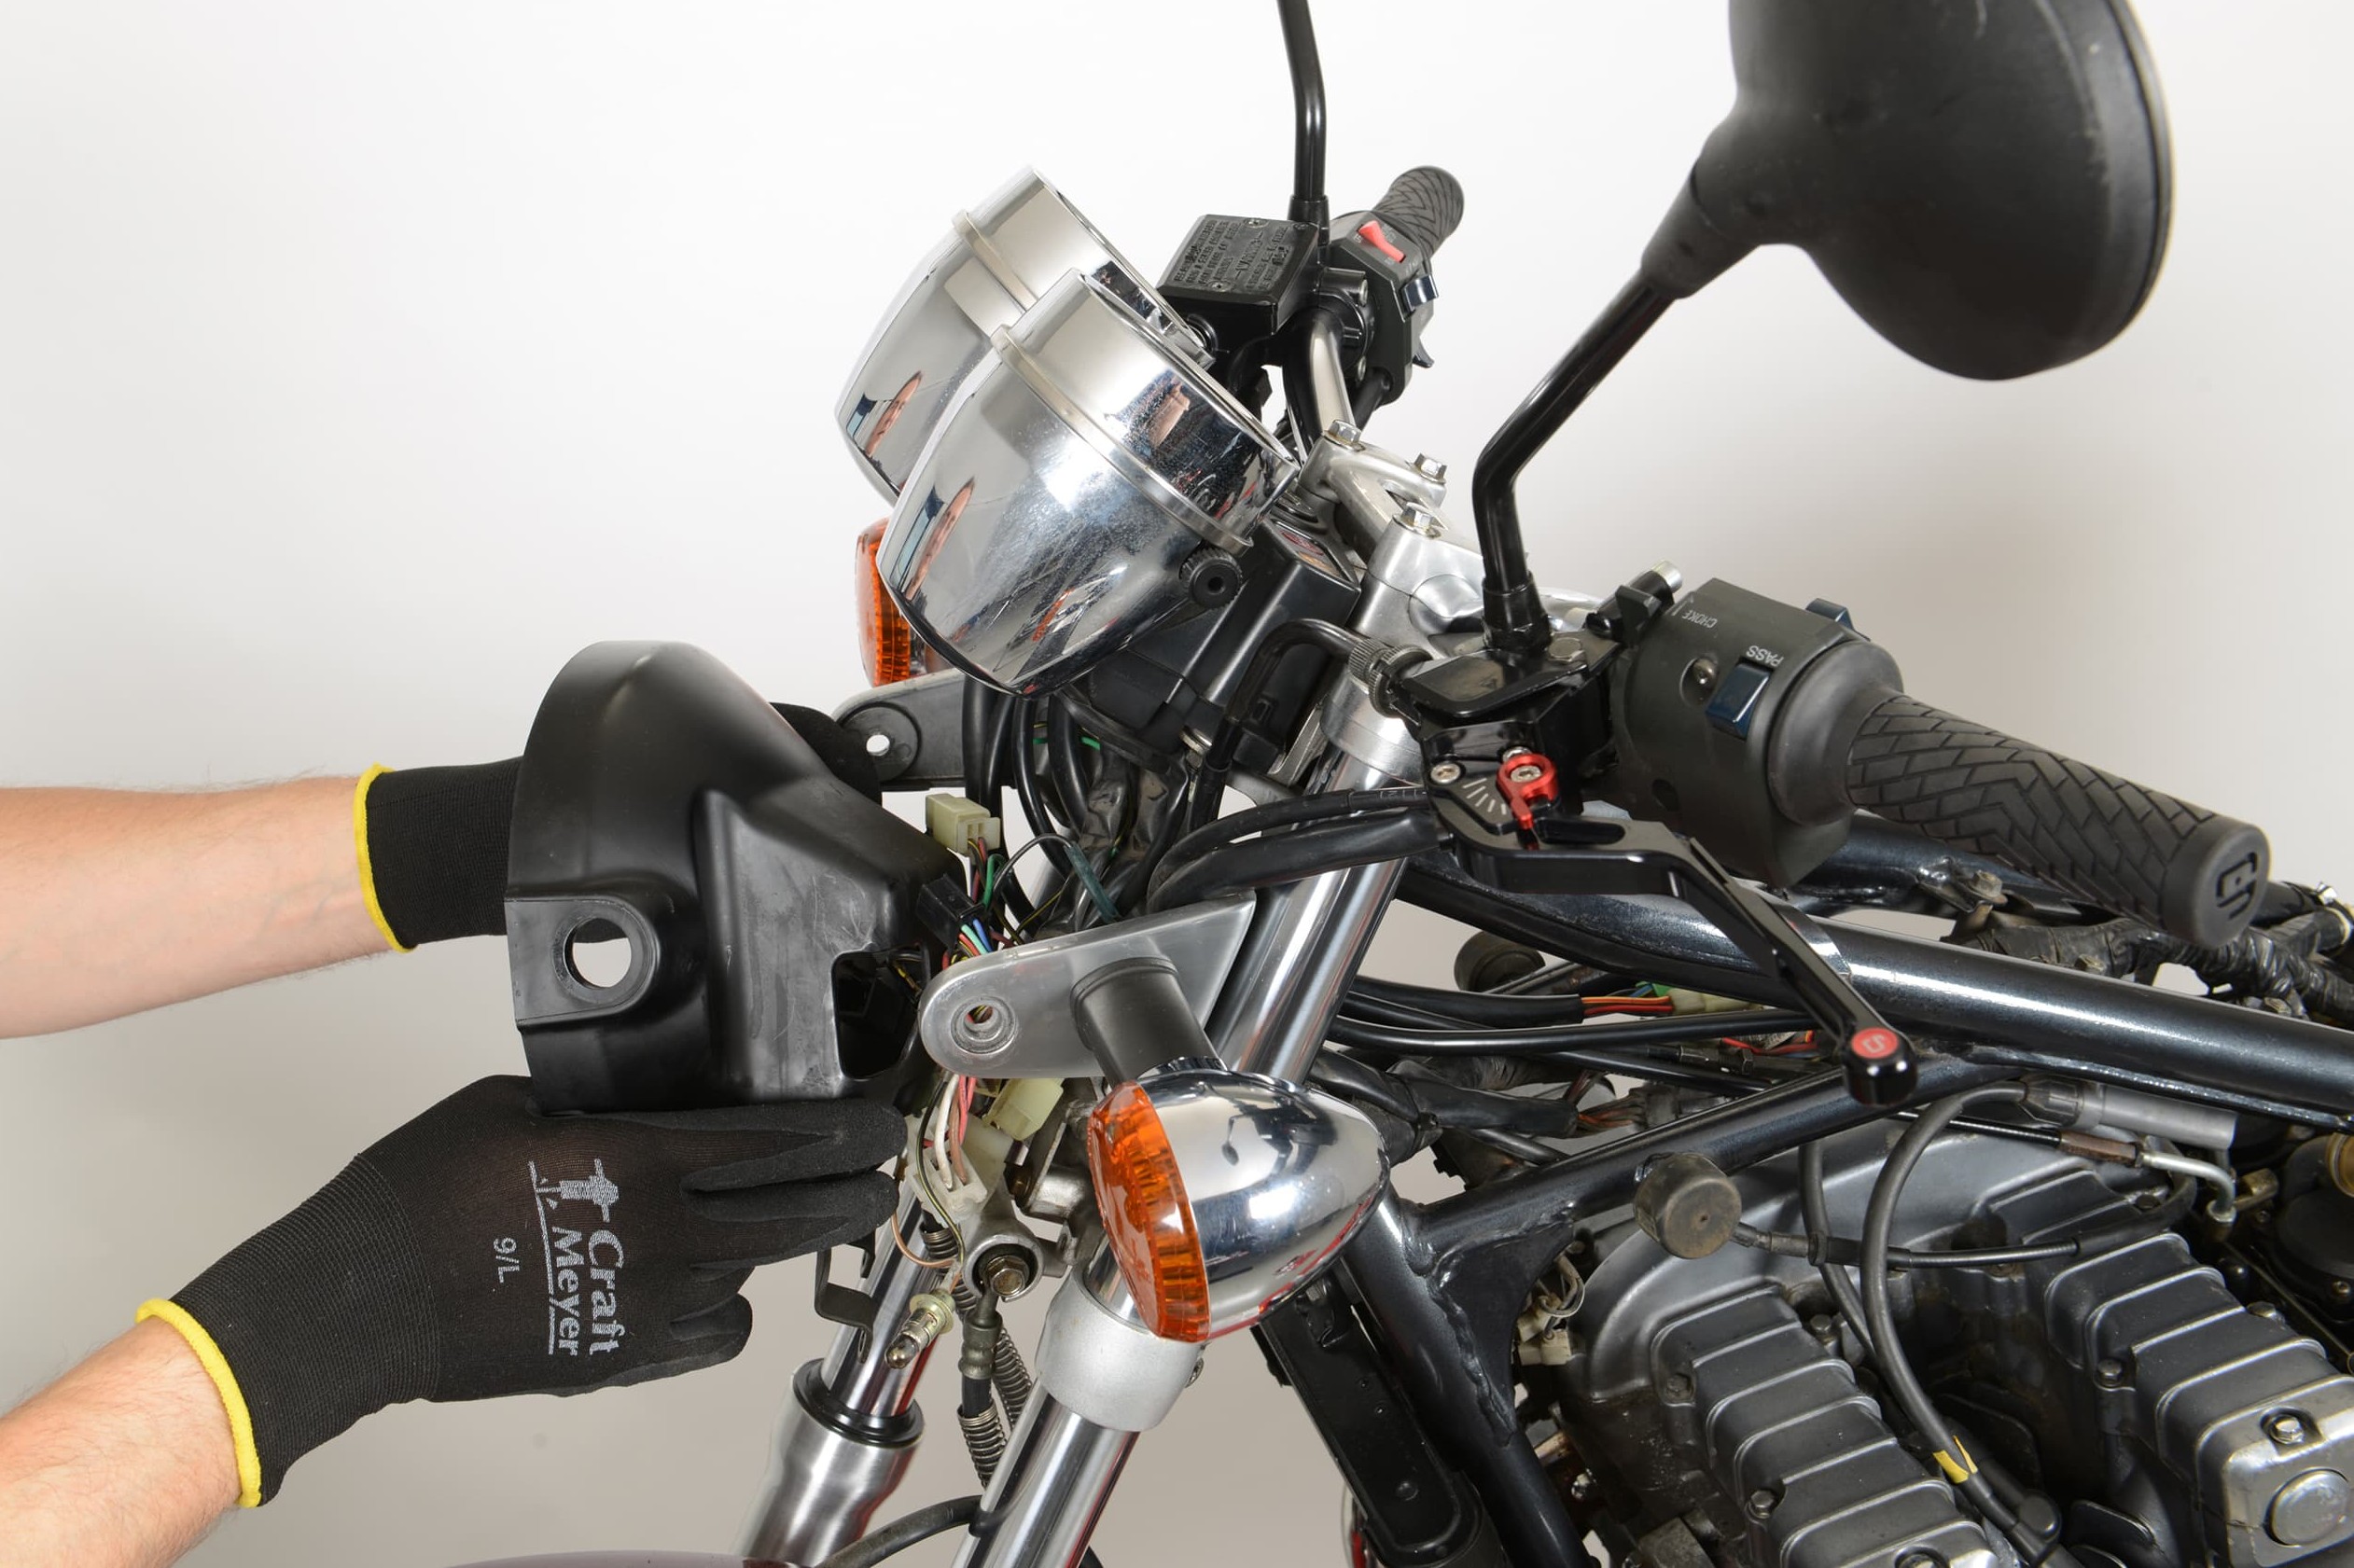
01 – Access the steering head bearing
The most time-consuming part of this repair is accessing the steering head bearing in the first place. There are two ways to go about it. You can either uninstall all parts one by one (front wheel, braking system, fork legs, handlebars, fairing, instruments, etc.) or try to leave individual assemblies in place, which will save some work. For example, take off the handlebar but leave everything screwed on, carefully setting it aside with electrical cables, any instruments, control cables and complete braking system. If you make sure the brake fluid reservoir stays upright, you will even save yourself having to bleed the brakes, as you do not have to open the braking system at any point. Whichever method you choose, we strongly recommend taking off the tank to prevent scratches and dents. The central bolt of the fork yoke should be loosened while the fork tubes are still on the bike, because this allows you to use the steering stop between lower triple tree and frame.
Step 2: Take off upper triple tree
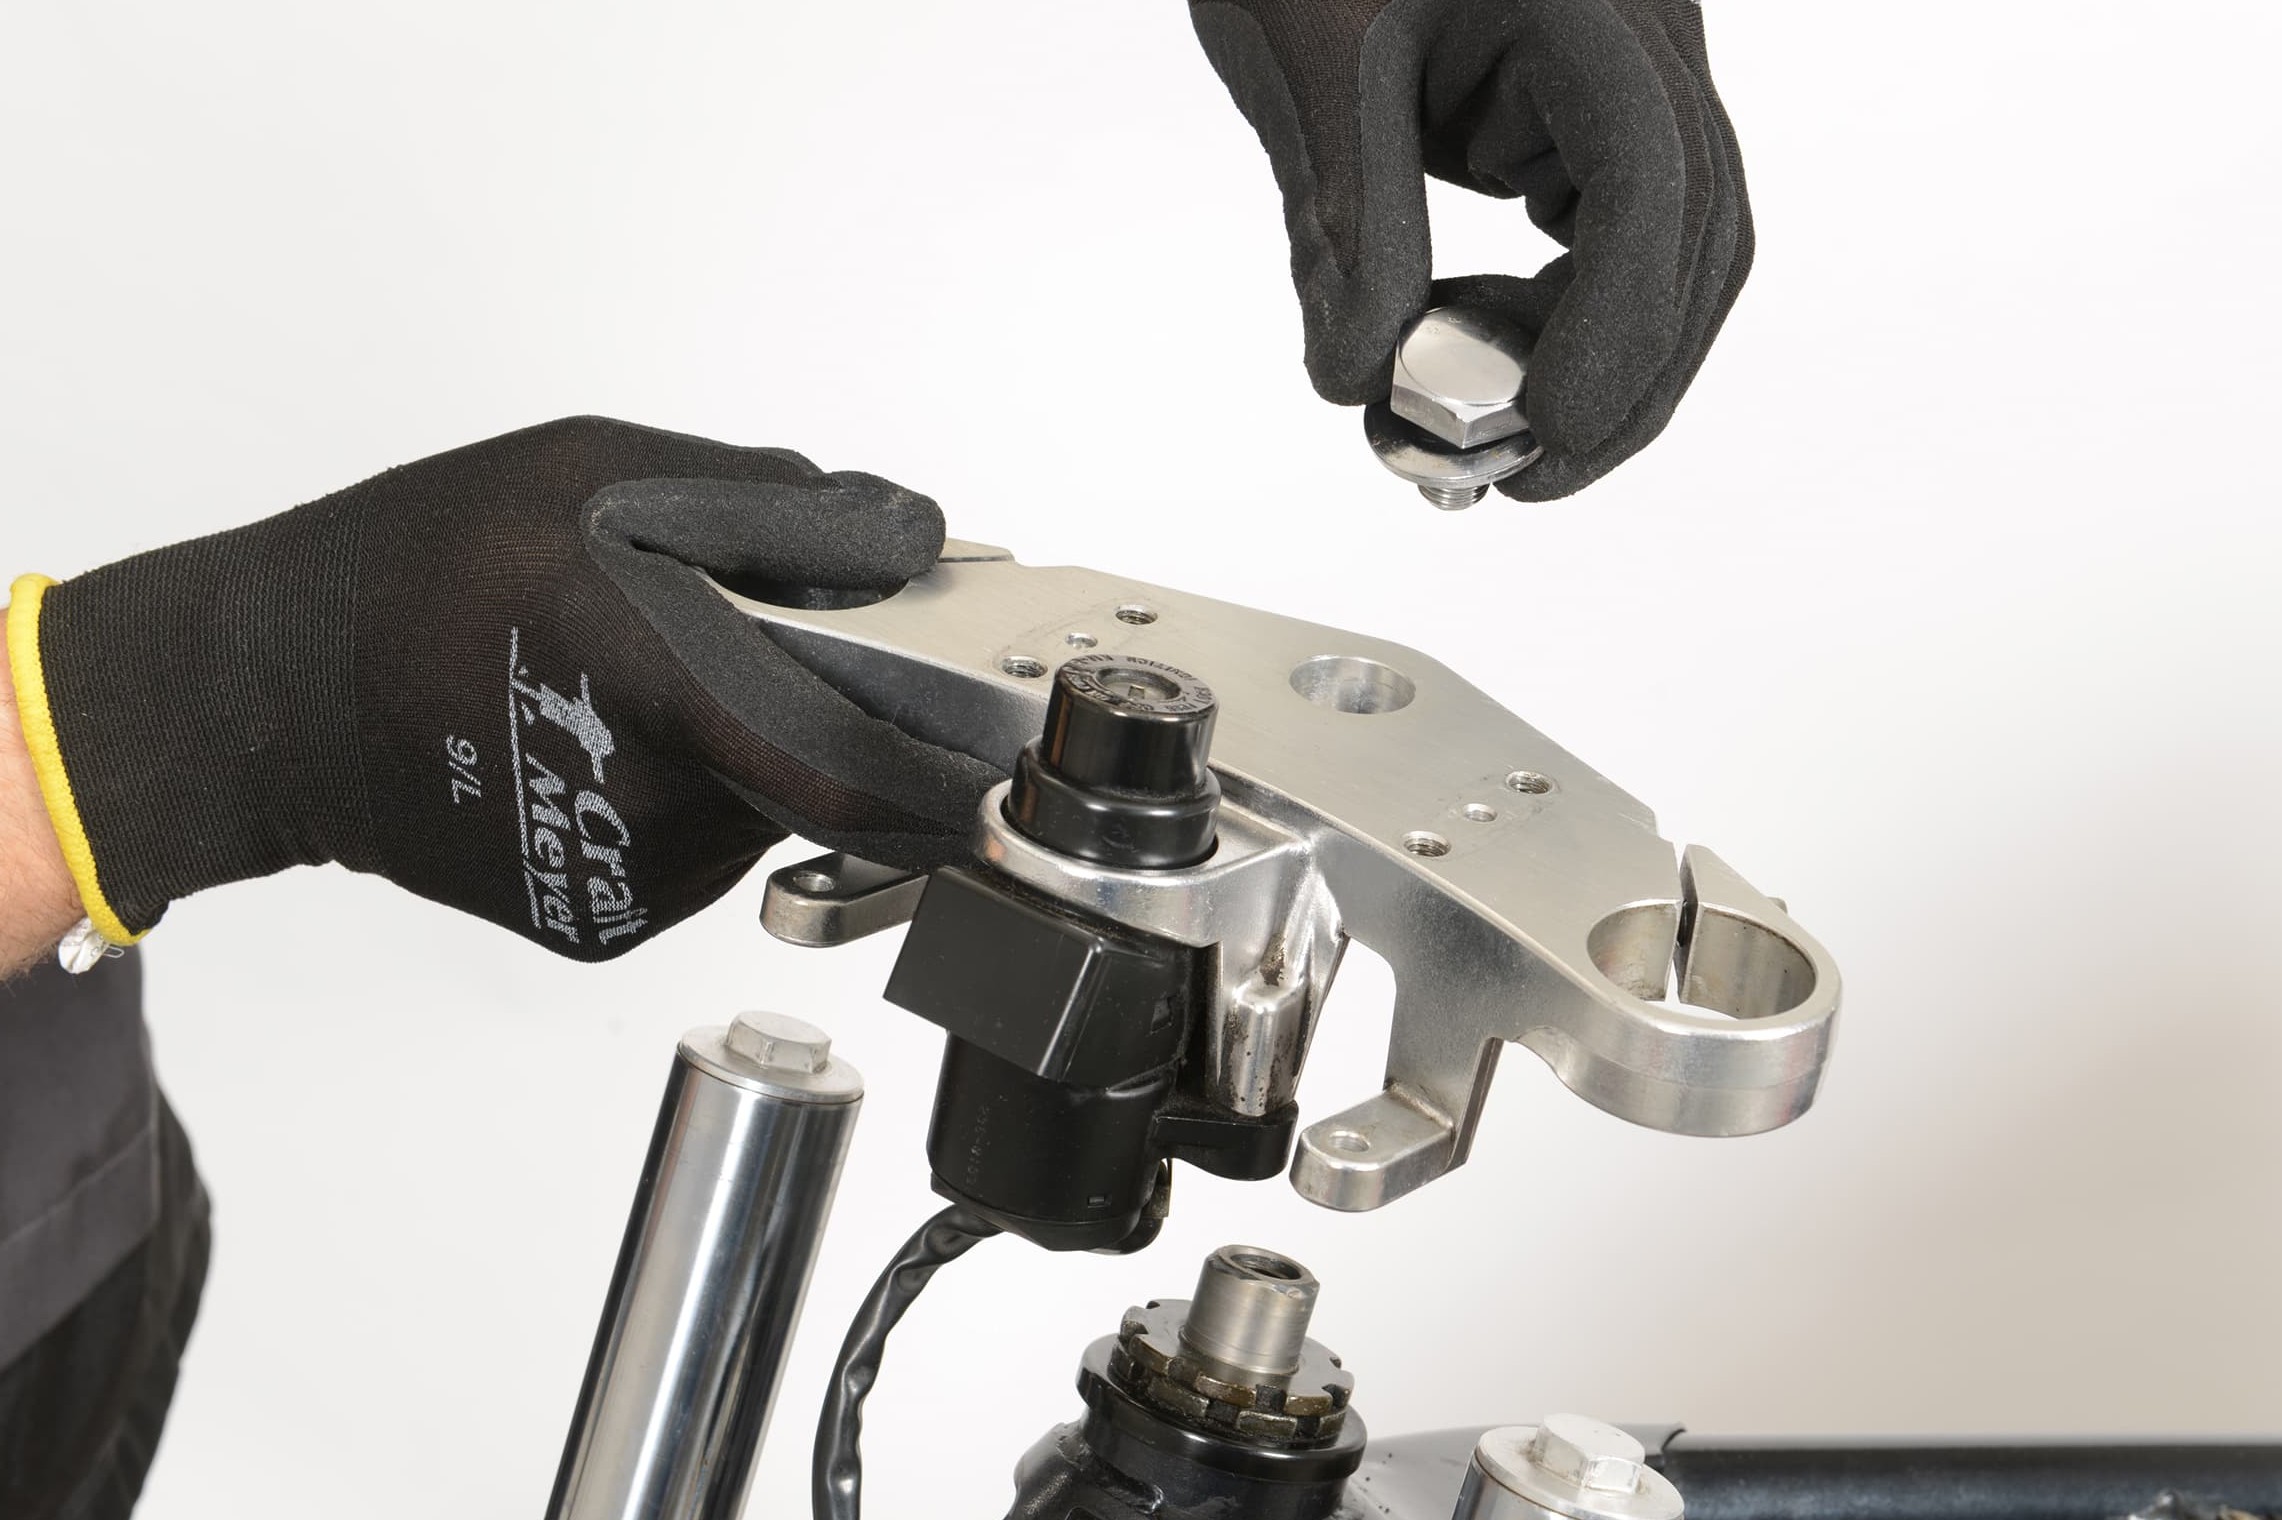
02 – Take off upper triple tree
When only the two triple trees are left on the frame head, you can remove the central nut on the upper triple tree. Now you can take off the upper triple tree and you will have an unobstructed view of the adjusting nut.
Step 3: Pull triple tree out from below
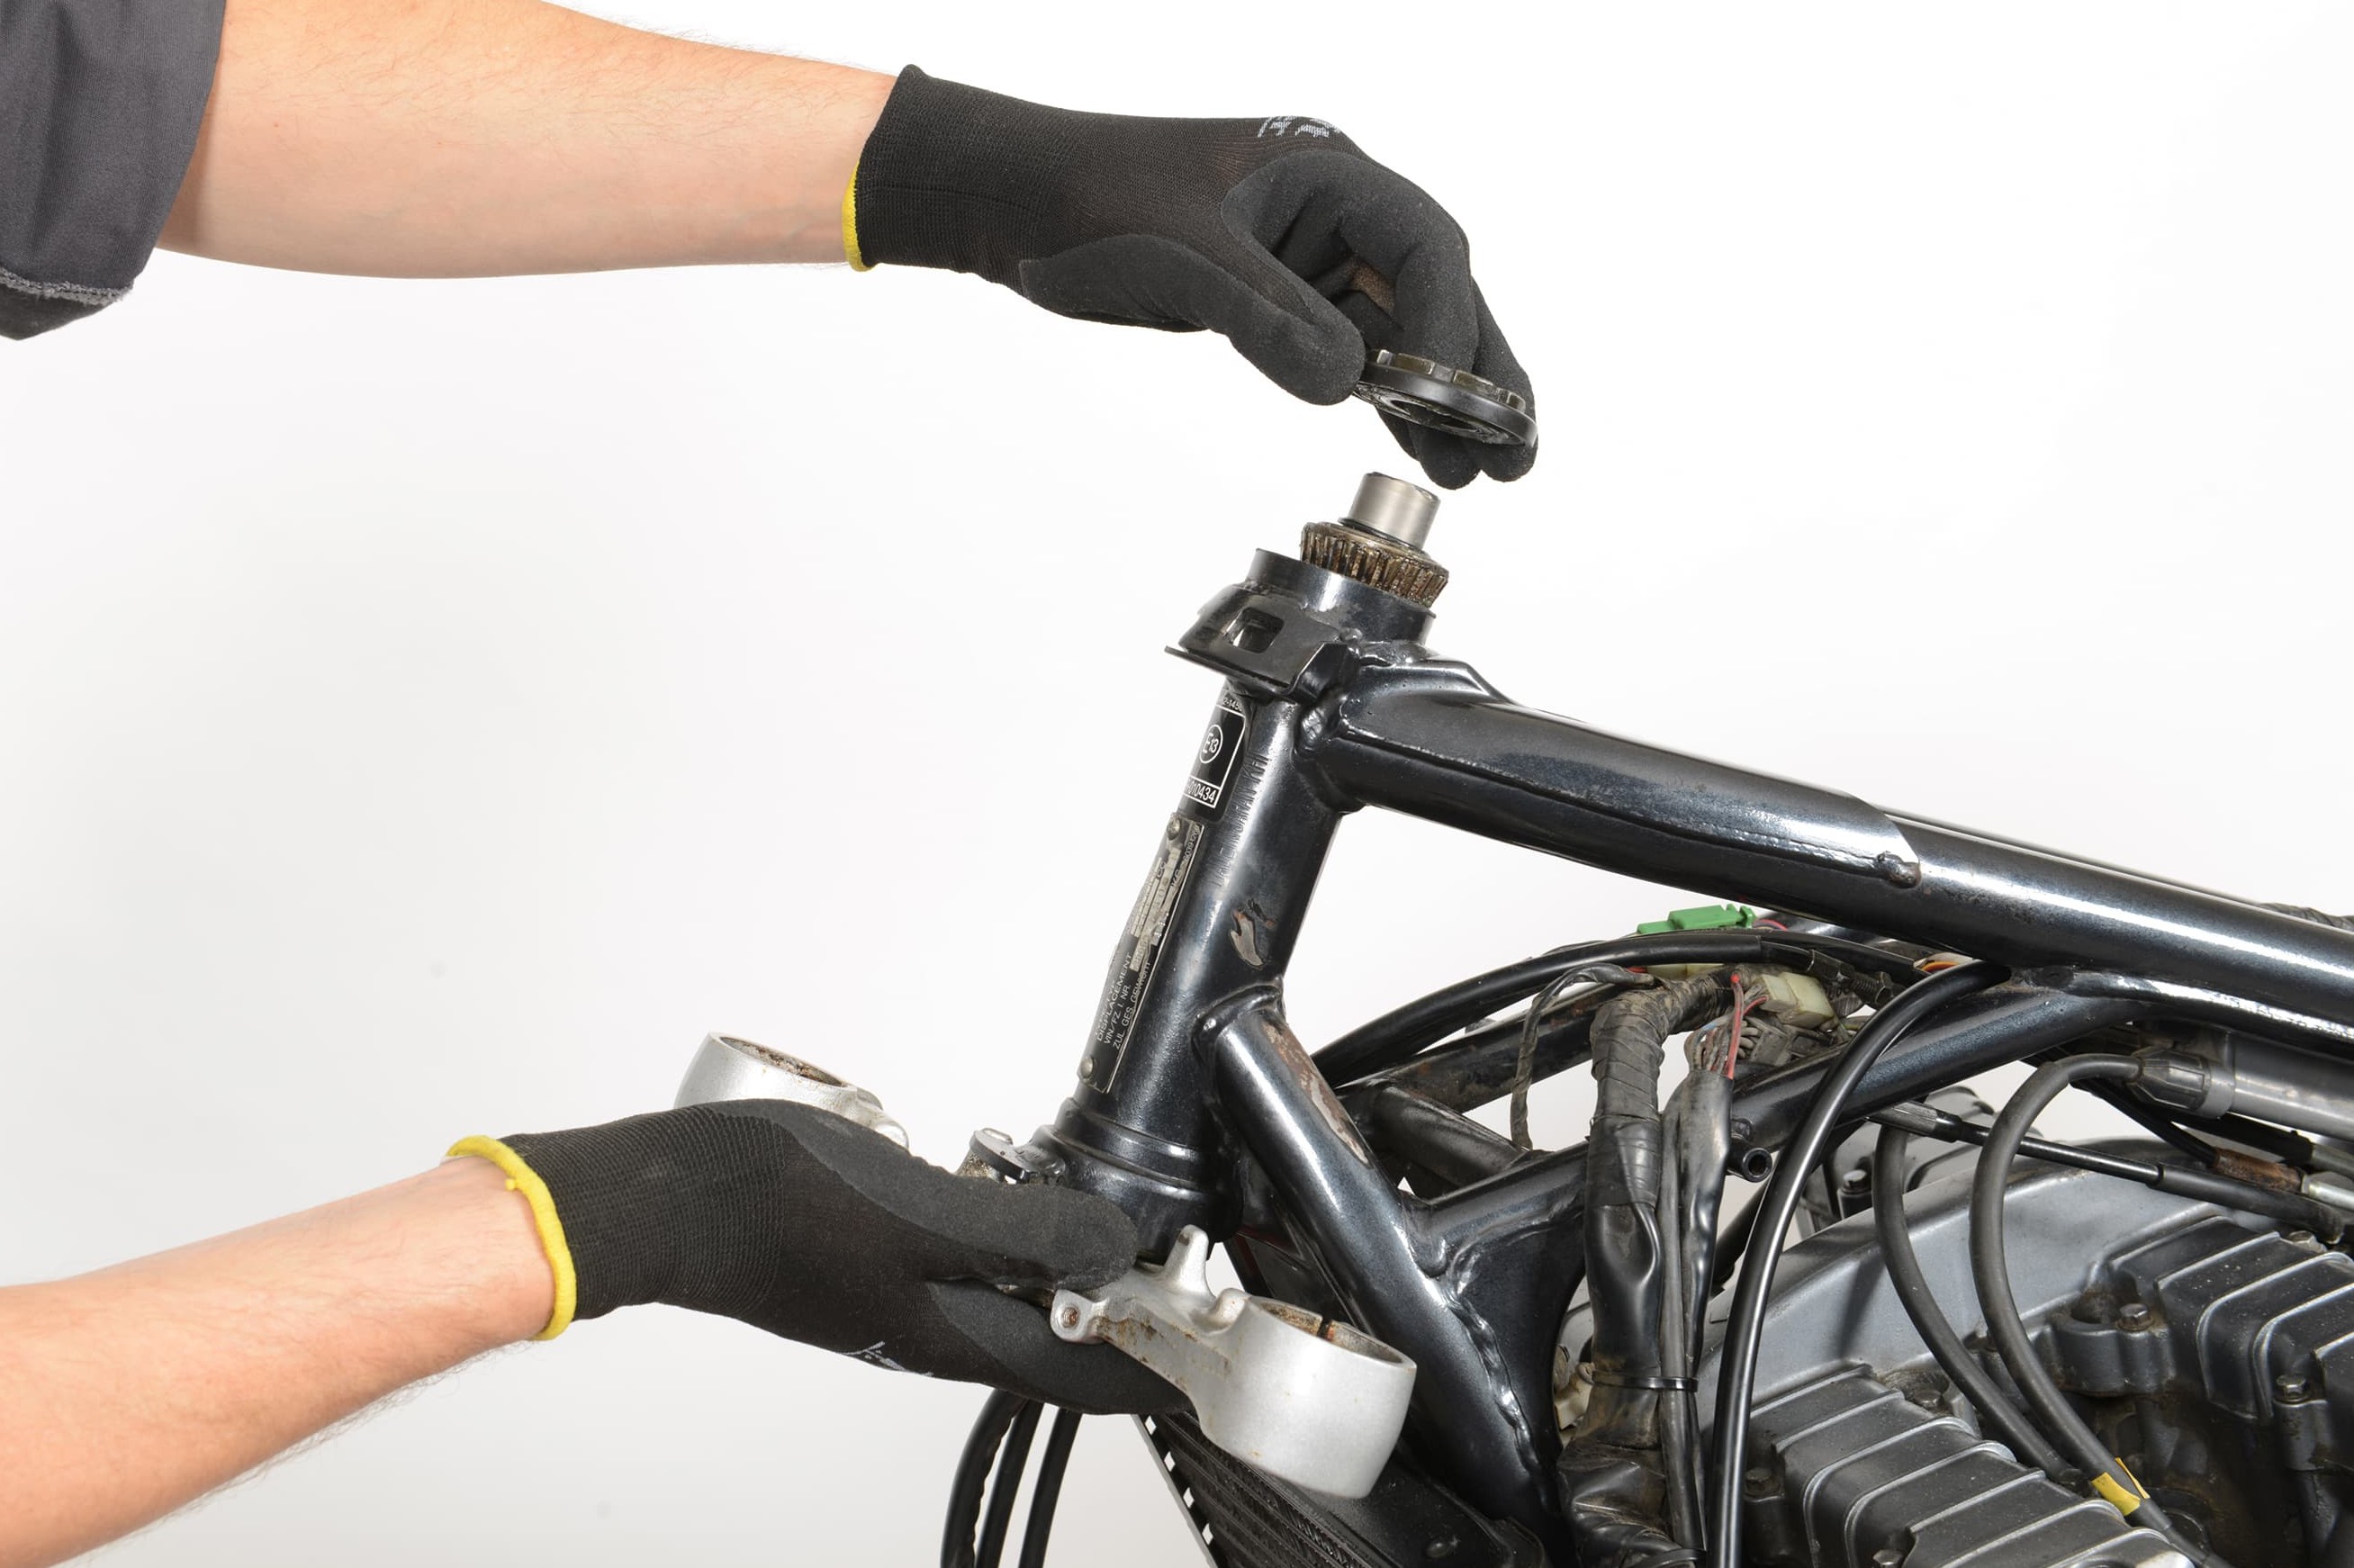
03 – Pull triple tree out from below
Unscrew the adjusting nut with a hook wrench and hold the lower triple tree with one hand so it doesn't fall onto the floor. If you pull the triple tree out from below, the individual balls of the lower bearing will fall out, unless your bike already has a taper roller bearing.
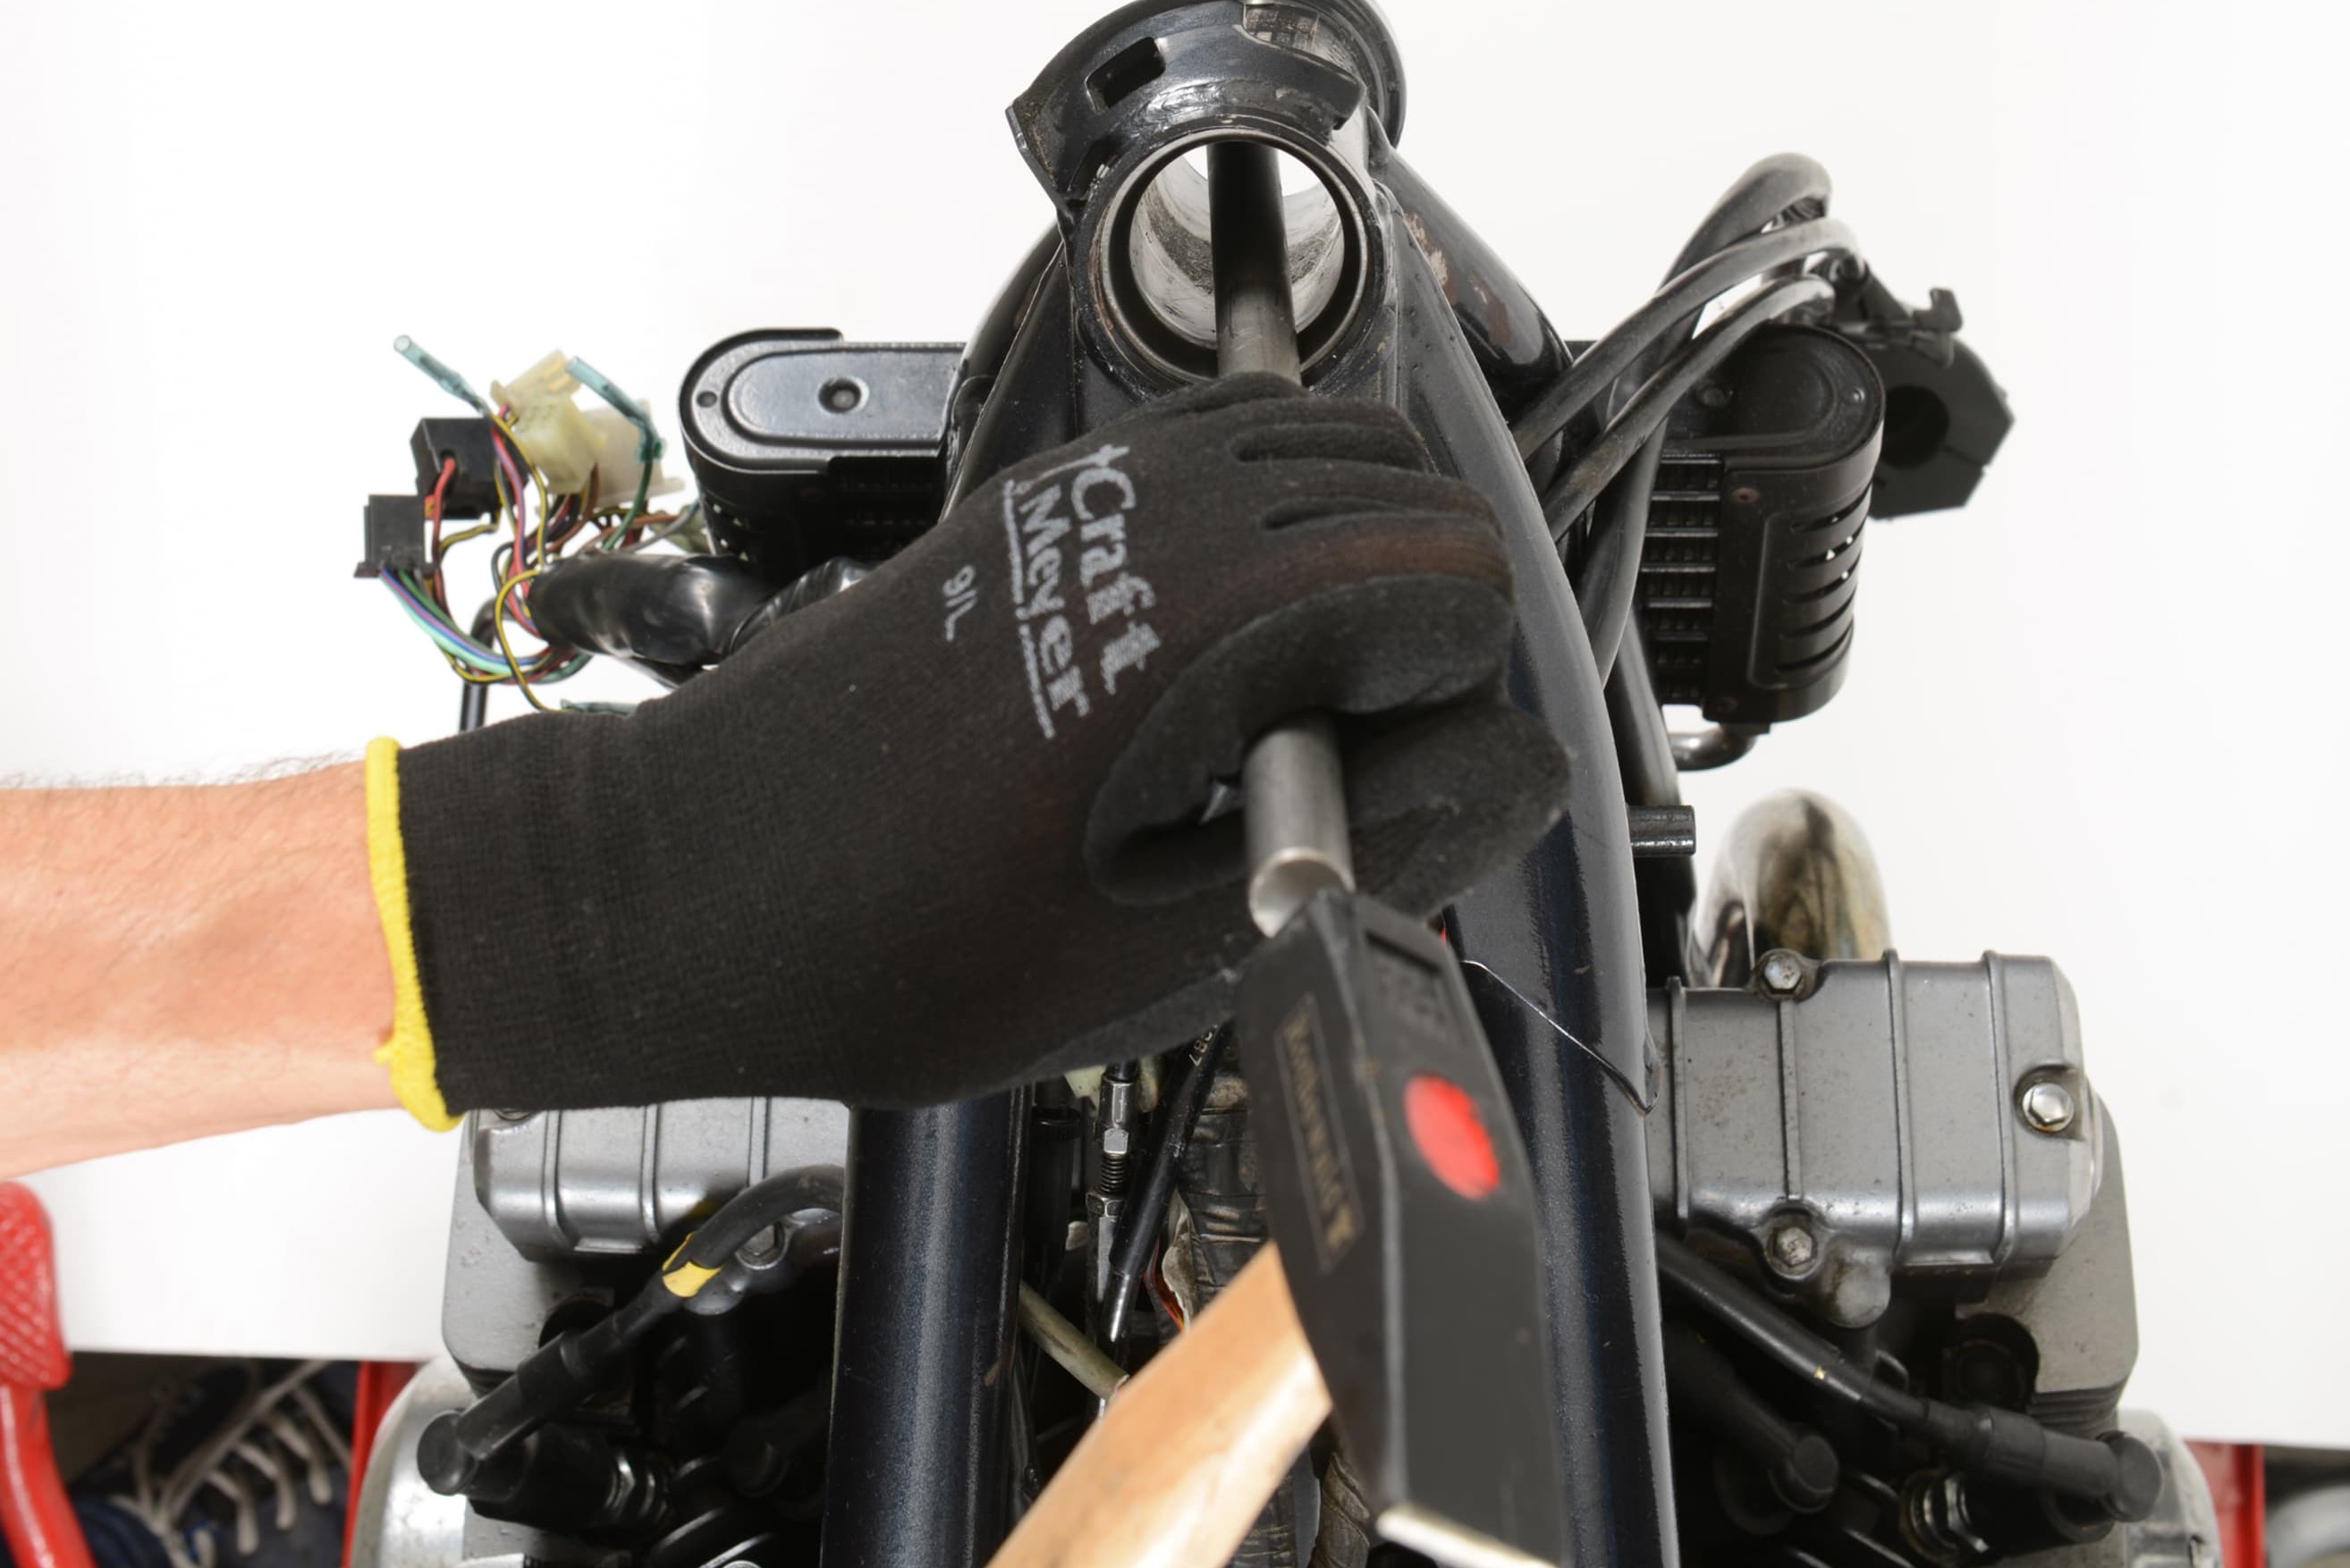
Step 4: Drive out bearing cups
04 – Drive out bearing cups
After you wipe off the old grease, you will see the upper and lower bearing cups in the steering head. To get them out you need a drift punch. If you have a ball bearing, you have enough area to position the drift punch. If taper roller bearings are factory-installed, there are usually two slots in the frame for placing the drift punch. It is essential to drive out the bearing cups evenly and in a straight line, from the inside to outside, to avoid damaging the bearing seat. Very carefully strike the edge of the bearing cup little by little alternating between left and right.
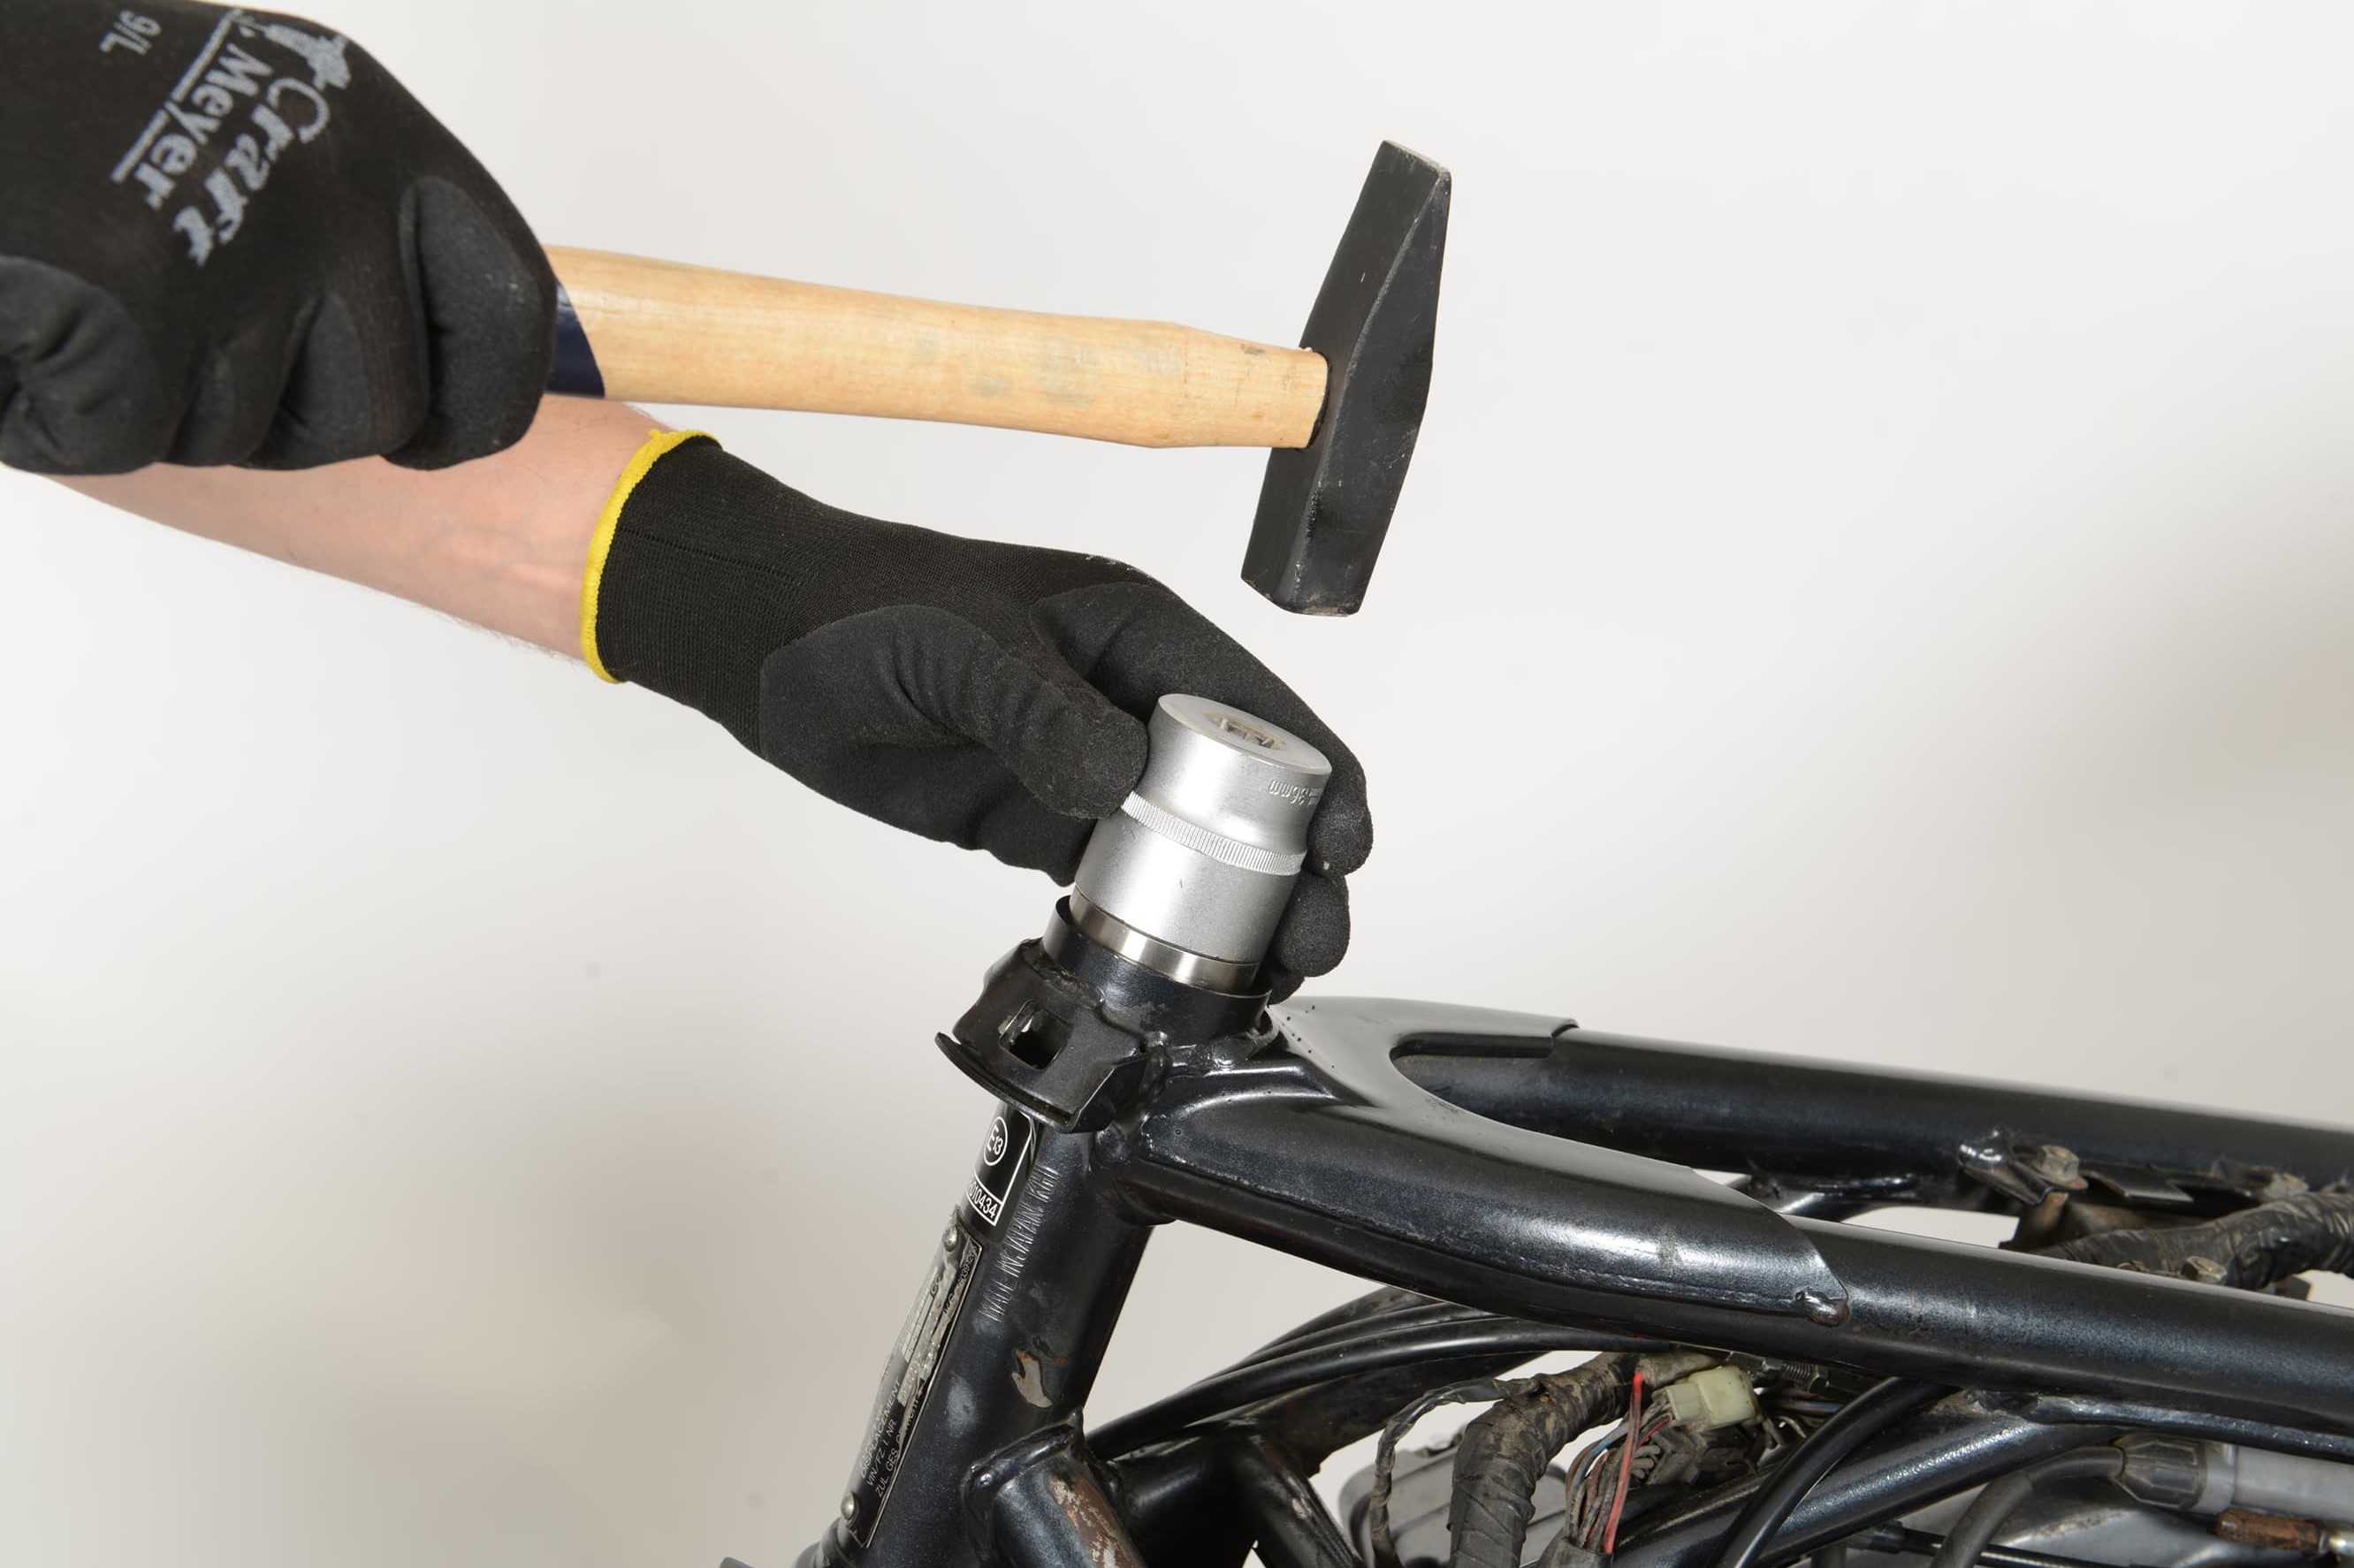
Step 5: Drive in new bearing cups
05 – Drive in new bearing cups
Now insert the new bearing cups into the steering head. Tip: Chill the bearing cups (e.g. in the freezer compartment) and heat the bearing head (with a hot air gun). The expansion and contraction caused by heat and cold make for easier installation. If you do not have a special tool, you can make one yourself. Take a 10 mm threaded rod, two thick discs the size of the bearing cups and pull the bearings into the steering head using two nuts. If you do not have a threaded rod, drive in the bearing cups evenly and in a straight line, using a wrench socket or a piece of tubing and a hammer. The tool you use must fit the edge of the bearing exactly to prevent damage: it is very narrow. Never strike the bearing surface! Finally, be sure to check that the bearing cups have been fully driven in and are sitting securely in the frame head. If the bearing cups simply drop into the frame head by themselves, the bearing seat has been widened or damaged. If this is the case, the only solution is to go to a workshop, where a technician will have a good look and, possibly, install oversize bearings or glue in the cups.
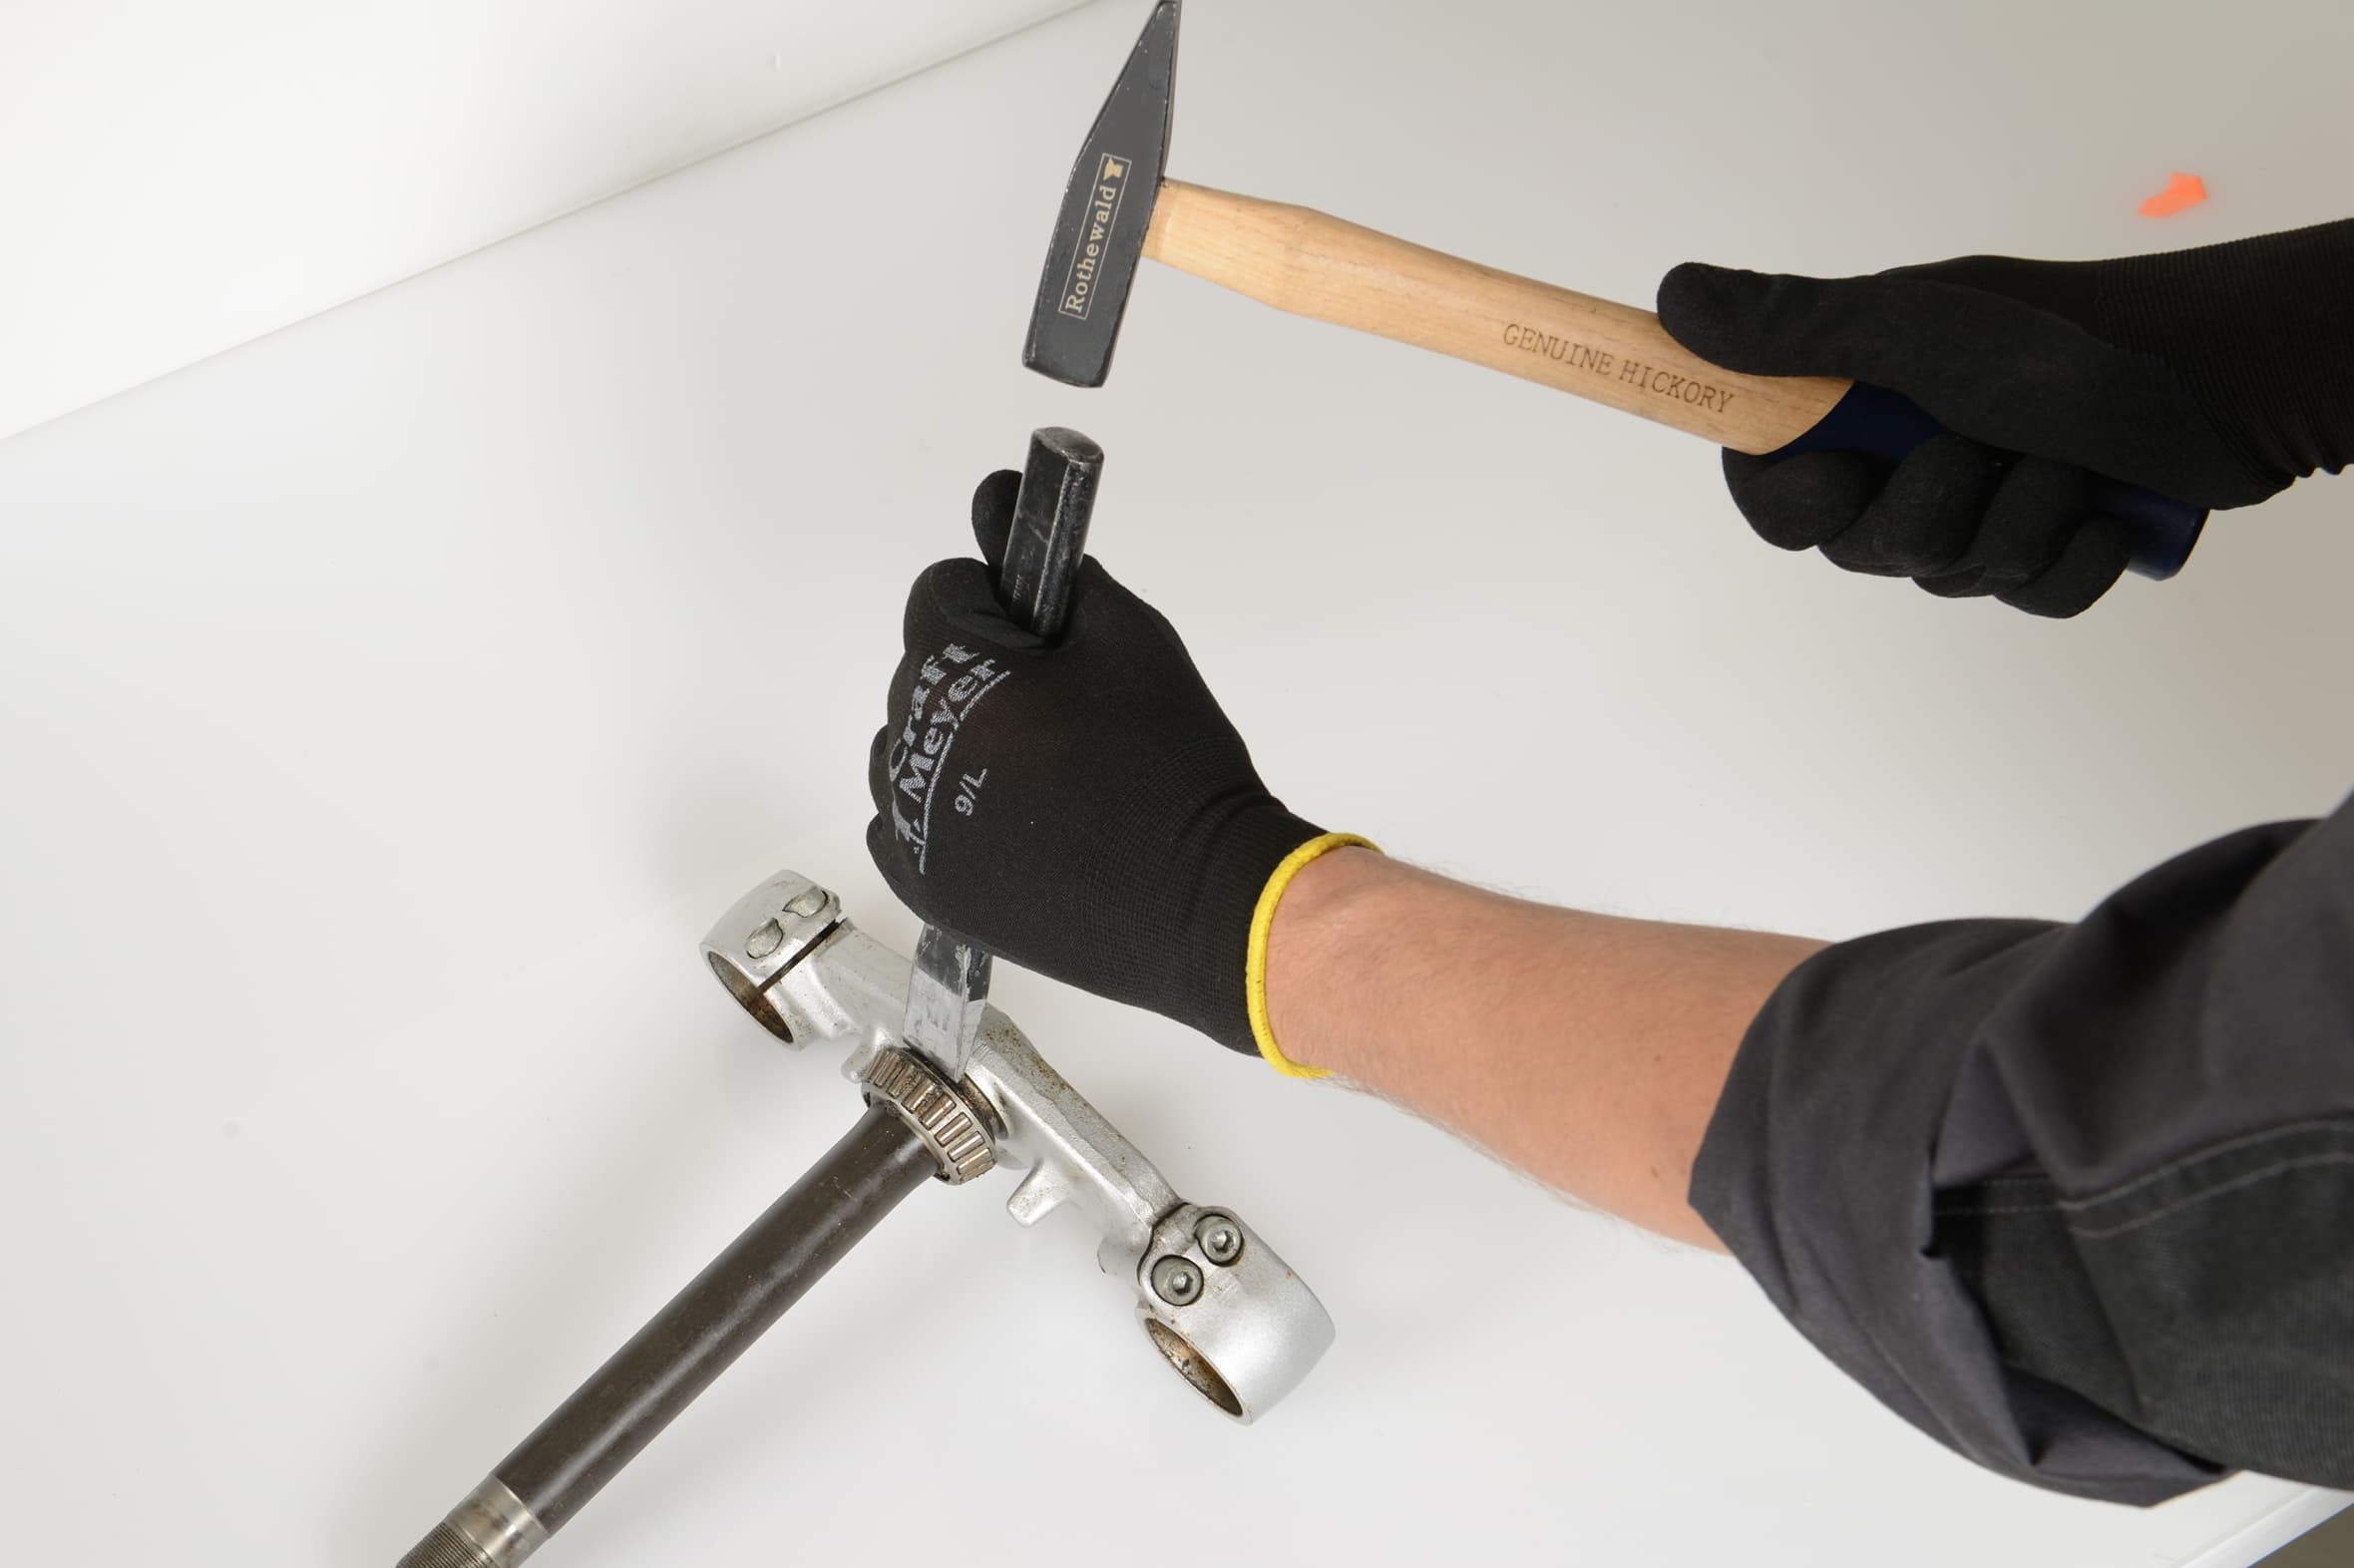
Step 6: Remove old bearing
06 – Remove old bearing
Now you have to replace the pressed-in bearing of the lower fork yoke. To do this, place a chisel at the gap between the bearing and the triple tree, and strike it with a hammer until it lifts a few millimetres. Now you can lever out the bearing using two large screwdrivers or tyre levers.
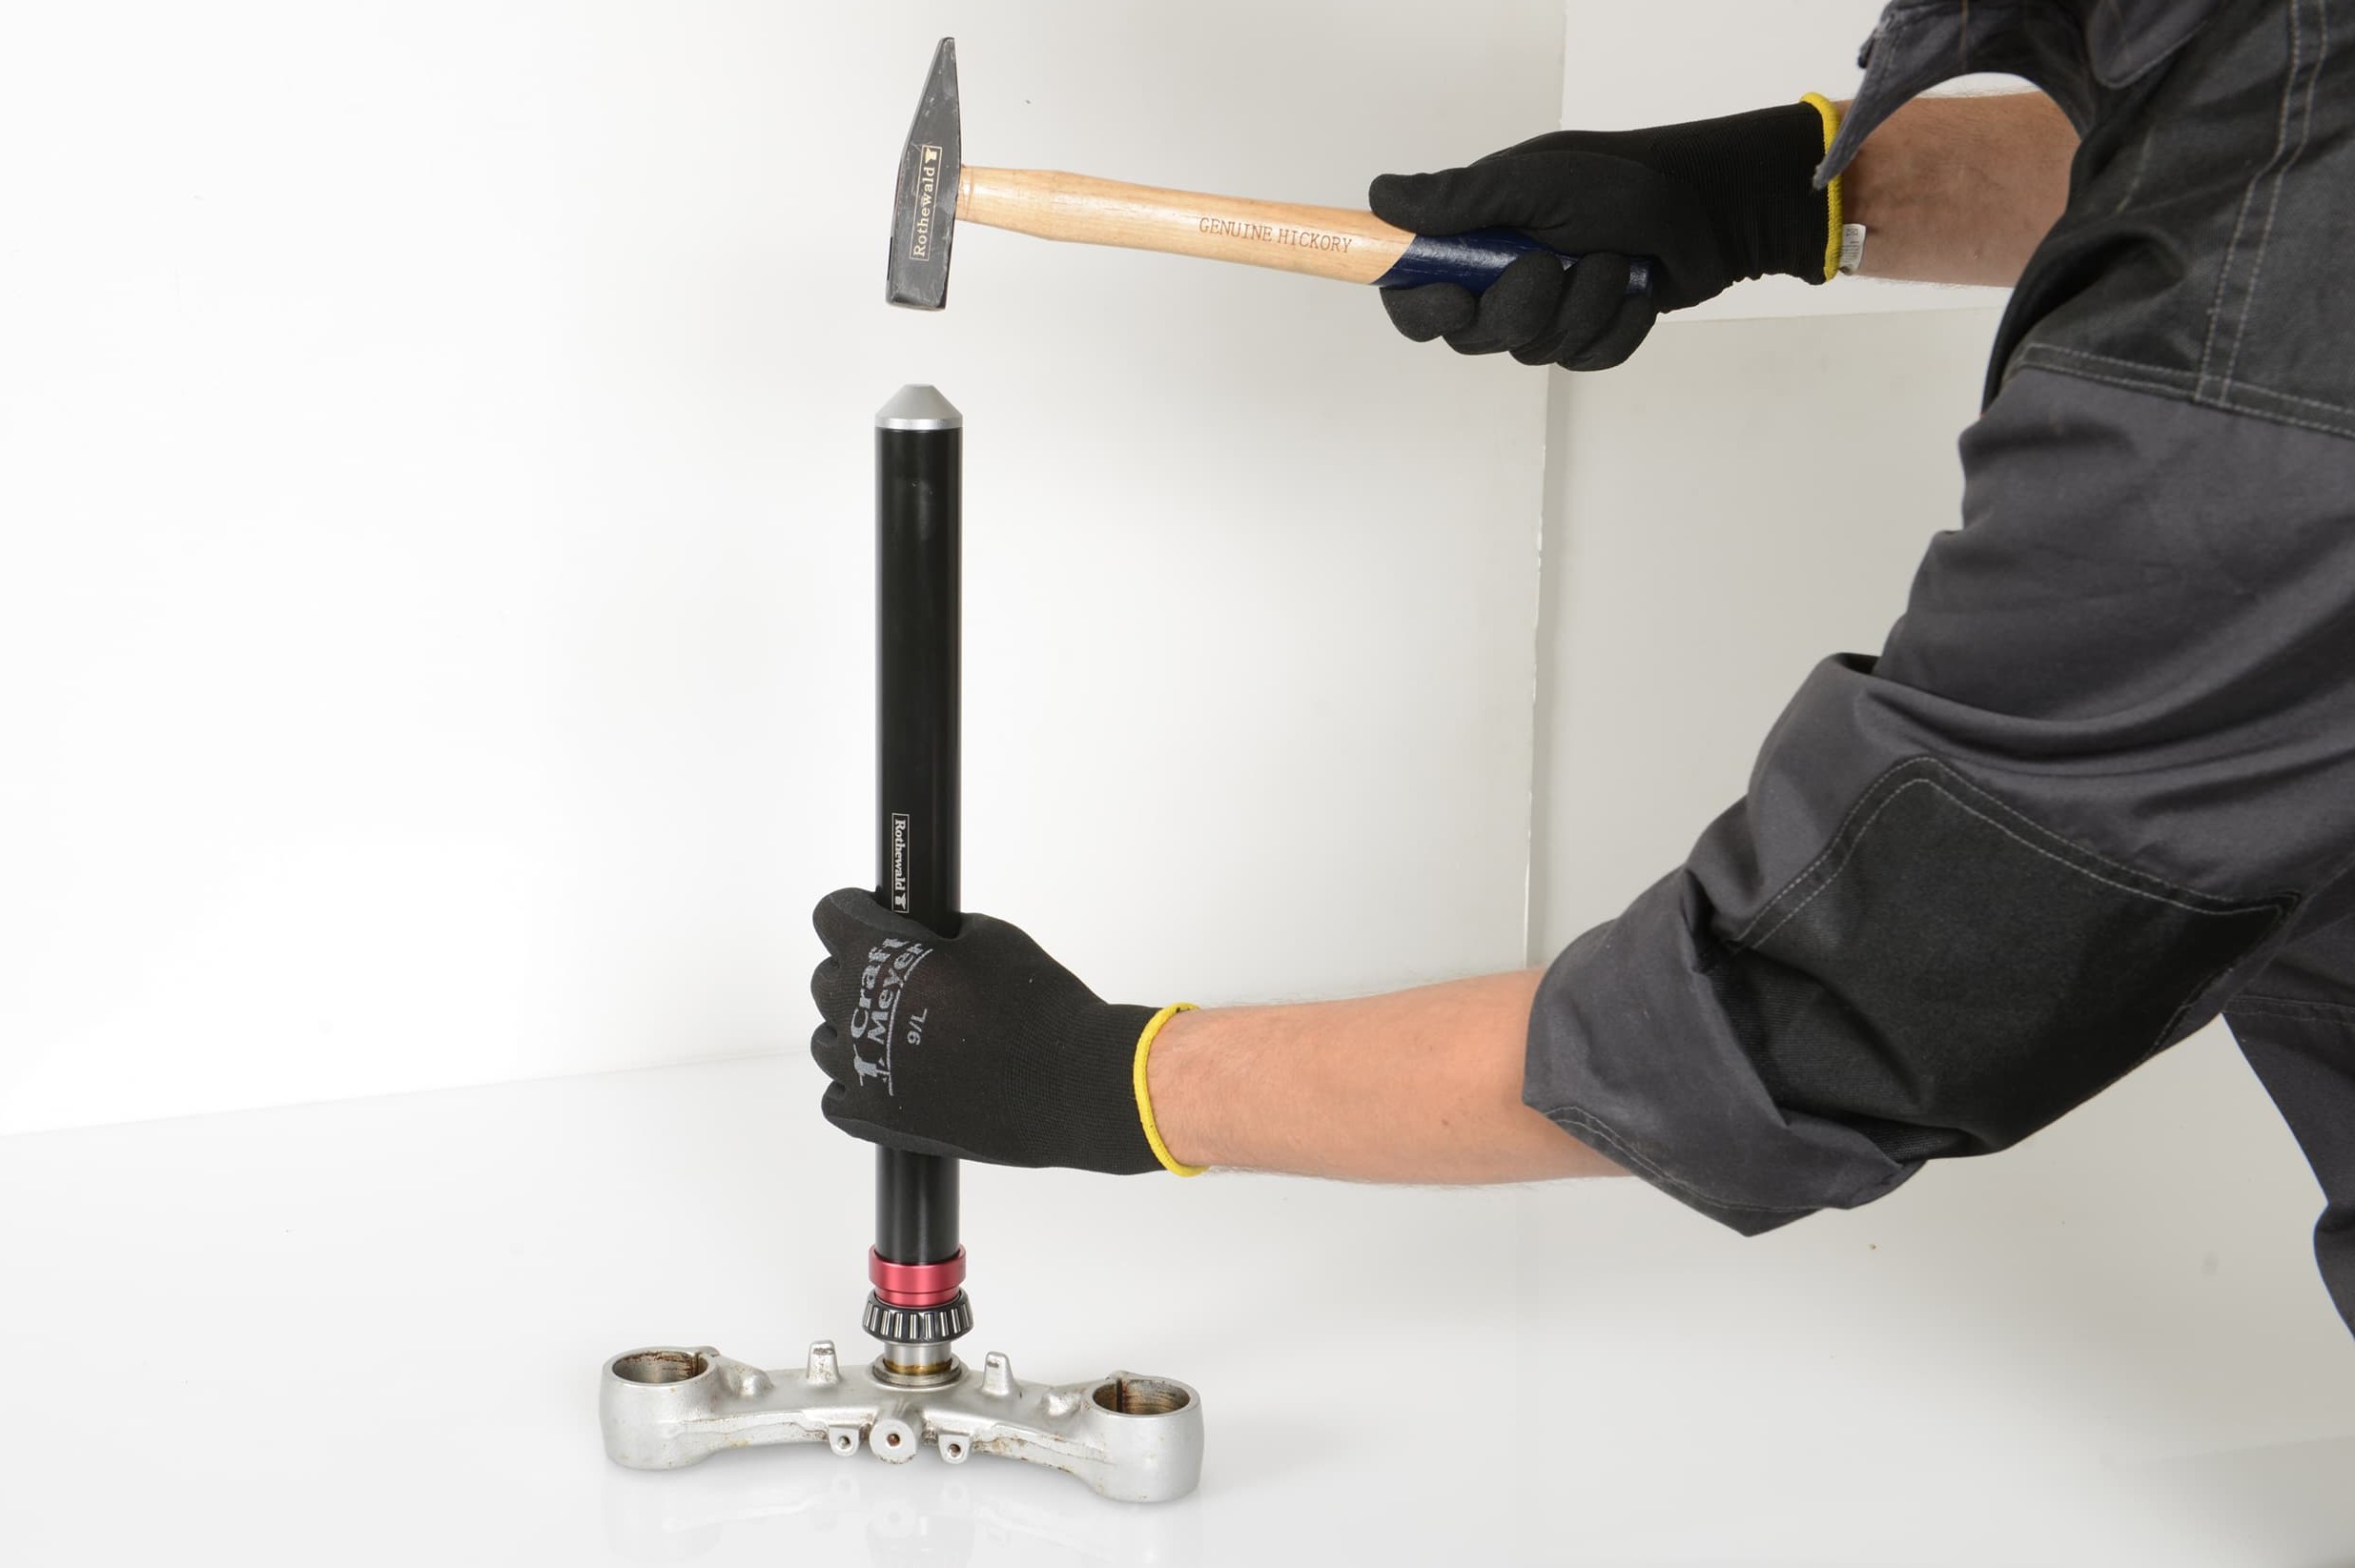
Step 7: Install the steering head bearing with a driver
07 – Install the steering head bearing with a driver
To install the new bearing, you need a suitable steering head bearing driver. First fit the dust seal, then a shim – if there is one (often a taper roller bearing accessory) – and finally the new bearing. Strike only the inner ring, never the bearing cage. Even the slightest damage to the bearing cage can prevent the rollers from rotating perfectly, and the bearing is ruined! Once you have installed the bearing, grease it sufficiently; e.g. with Castrol LM2. Recheck that the dust cap is fitted properly.
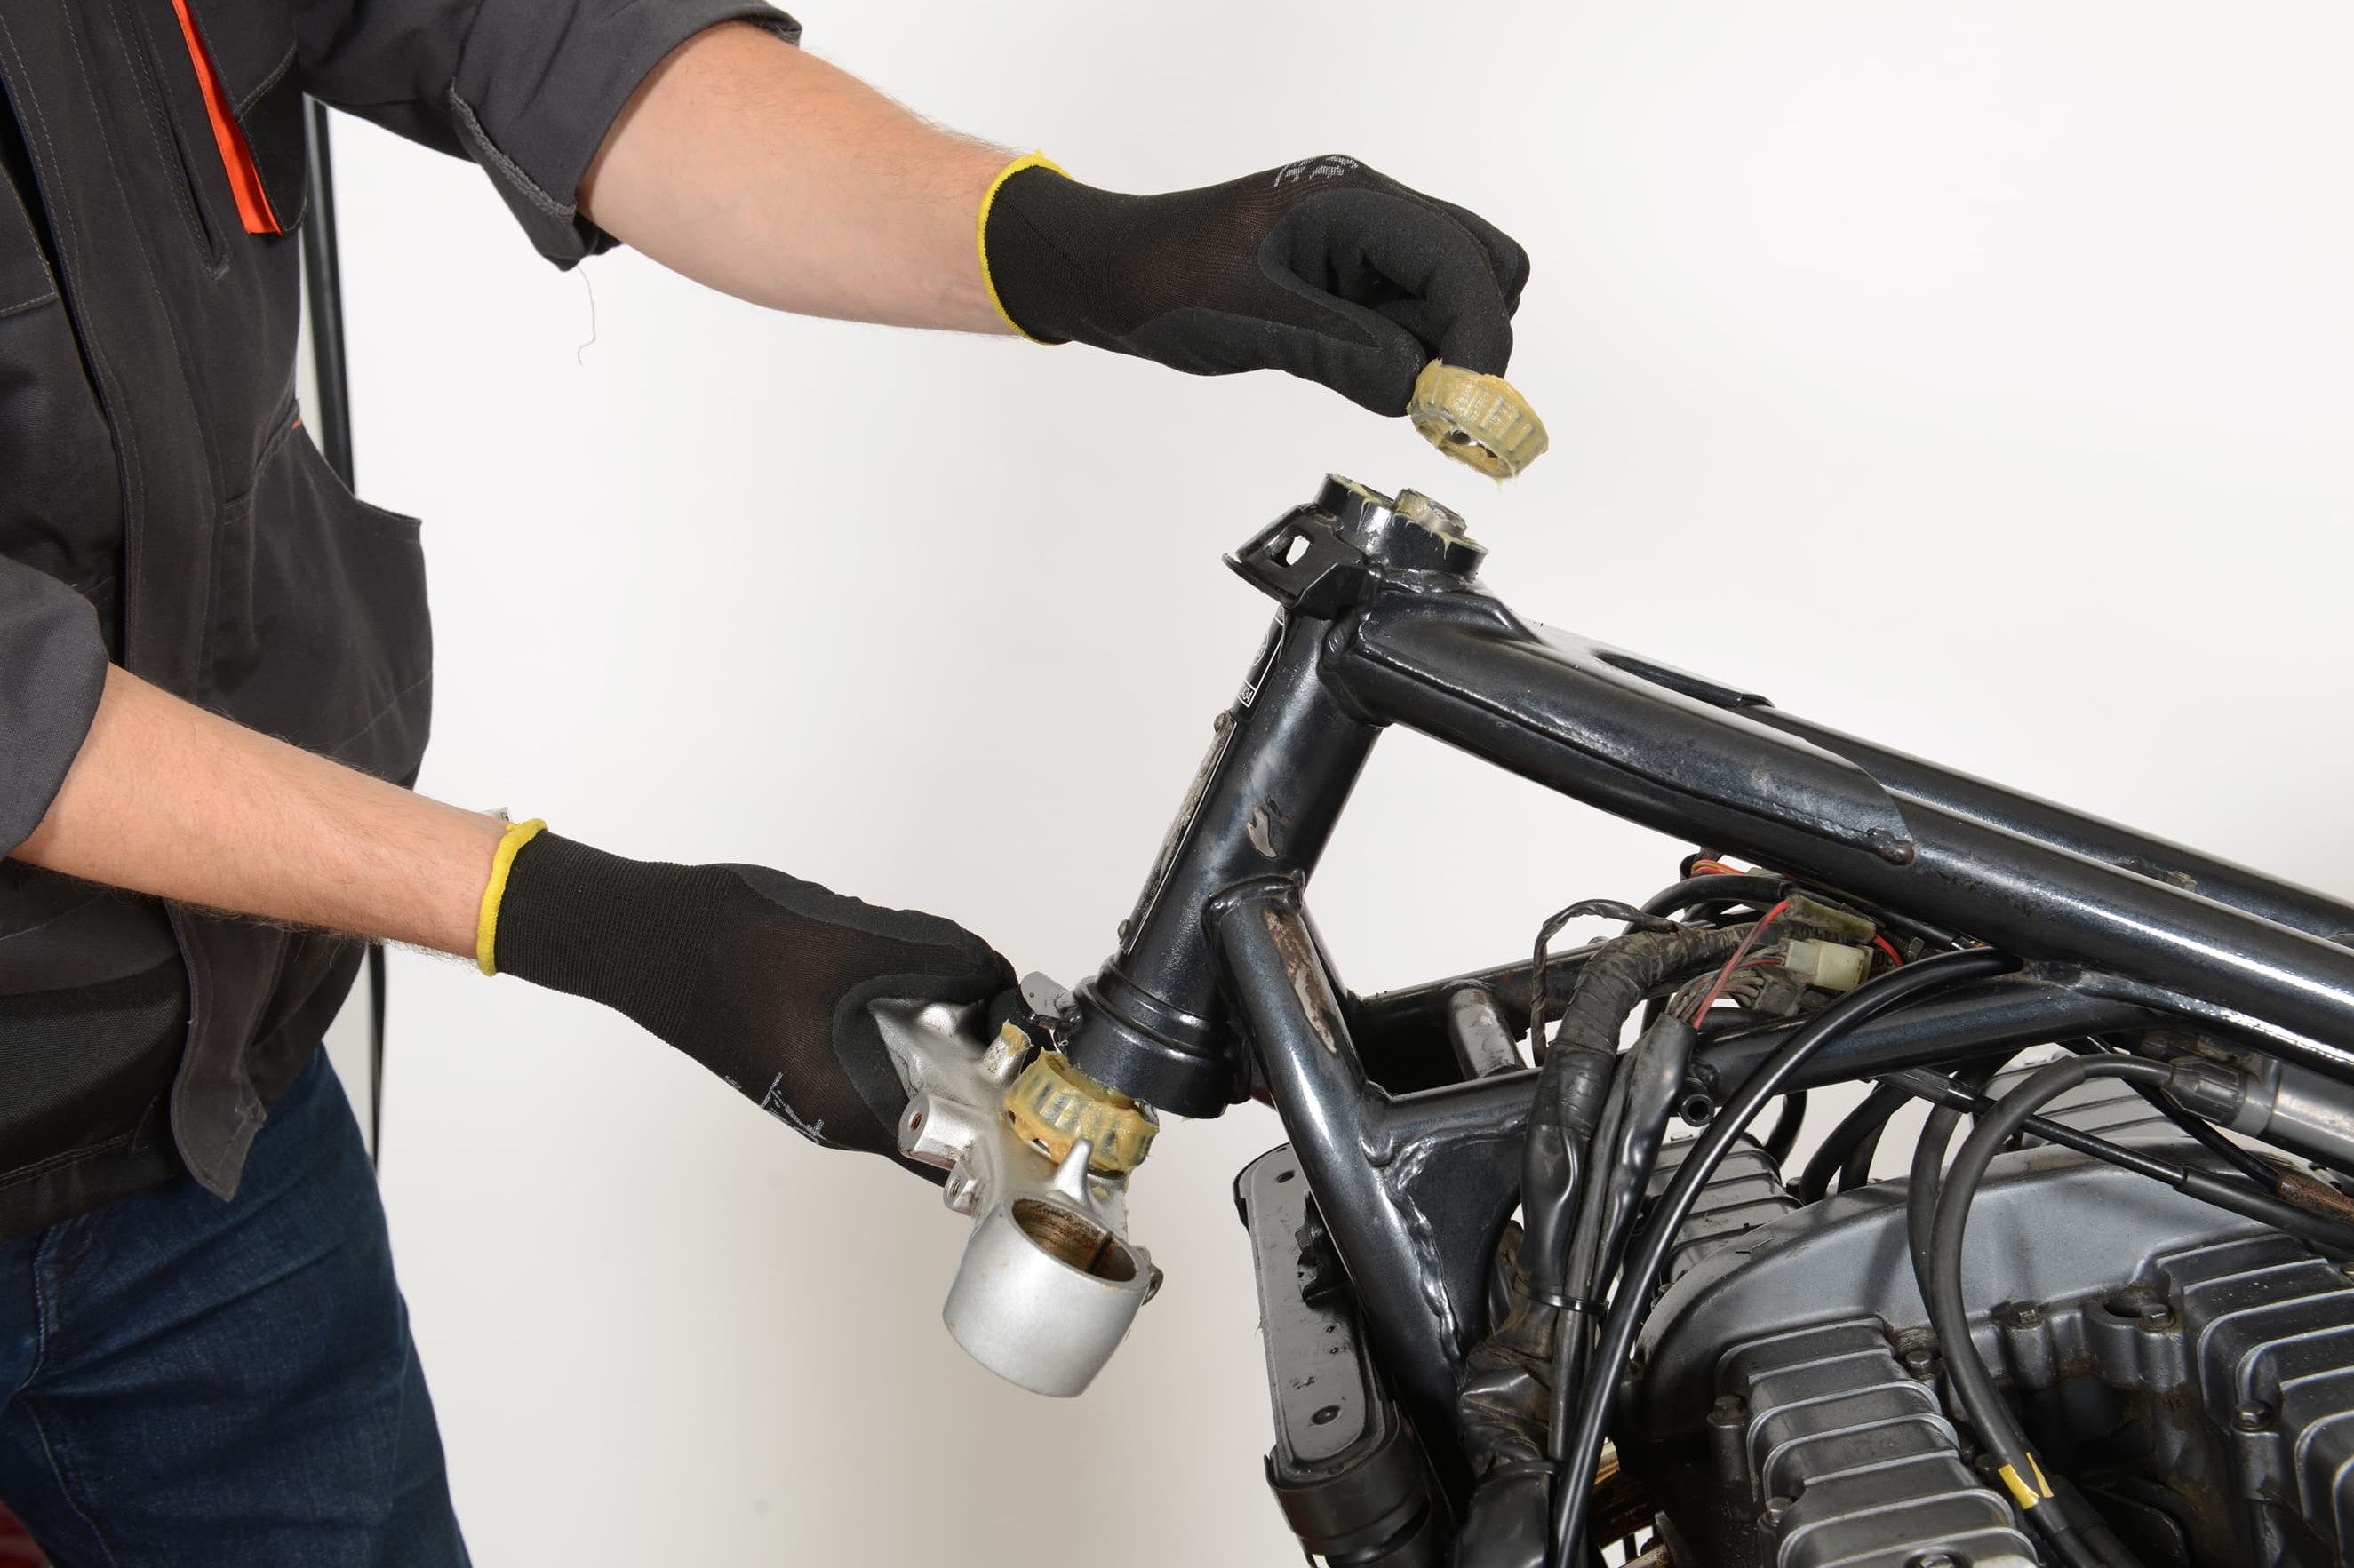
Step 8: Grease well, assemble and adjust
08 – Grease well, assemble and adjust
Also grease the upper bearing sufficiently. Insert the lower triple tree into the steering head and put on the greased bearing from the top. Now put on the adjusting nut and hand-tighten (no adjustment is done until the fork is fully assembled). Put on the upper triple tree and screw on the large central bolt loosely. Fit the fork legs, but do not tighten the clamp bolts of the lower triple tree yet. You now adjust the steering bearing using a hook wrench so that there is no play and the bearing runs smoothly. If you cannot get the adjustment right and the bearing is sticking, the new bearing or the steering tube may be damaged. Only now do you tighten the central bolt and then the clamp bolts of the lower triple tree to the torque specified by the manufacturer. Recheck the adjustment, as it can happen that the play in the bearing reduces after the central nut is tightened.
Finish assembling the bike, following the manufacturer's specifications for tightening torque. Bleed the brake, if necessary. When you go for a test-ride afterwards, make sure that there is no tension in the fork, and watch out for wobble or rattling in the steering.
Important: We recommend you check the play again after 200 kilometres. The bearings may have settled a little more.
The Louis Technical Centre
If you have a technical question about your motorbike, please contact our Technical Centre, where they have endless experience, reference books and contacts.
Please note!
These tips for DIY mechanics contain general recommendations that may not apply to all vehicles or all individual components. As local conditions may vary considerably, we are unable to guarantee the correctness of information in these tips for DIY mechanics.
Thank you for your understanding.


