


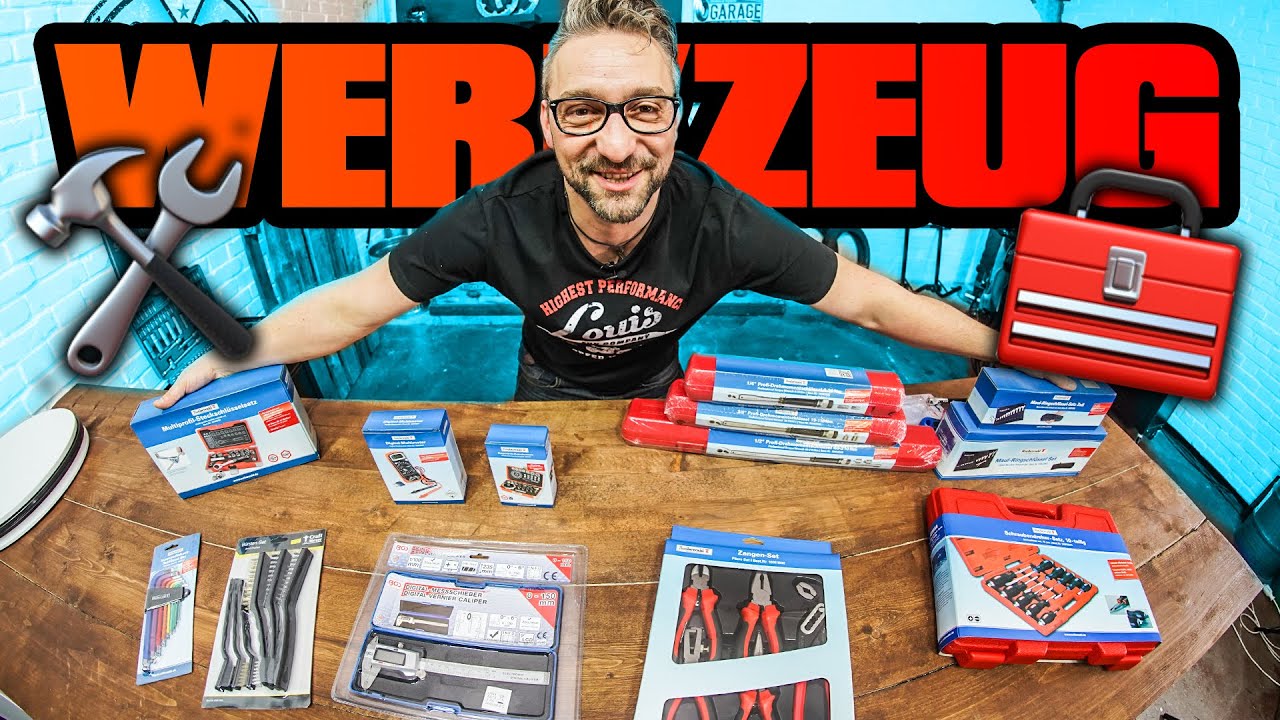
Tools for your motorcycle workshop
To maintain and repair your own motorcycle and fit accessories, all you need is a workshop manual, some peace and quiet and decent tools.

Note: The videos are in German.


- Tool Basics
- Basic equipment for the DIY mechanic
- Additional equipment for the motorcycle workshop
- Our recommendation
- Special tool
- More comfort when working
- Our recommendation
Tool Basics
You can do many simple bike maintenance tasks yourself and quickly install some accessories without expensive trips to a workshop, if you have three things: your bike's repair manual, some peace and quiet, and decent tools. Inexperienced DIY mechanics often do not have the latter (yet). A random selection of screwdrivers that aren't really up to the job, cheap water pump pliers and a blunt pair of nippers, add to this a few open end wrenches of inferior quality, and the end result for their user is probably more frustration than enjoyment. A few useful, high-quality tools, however, can make working on your bike a real pleasure, and can also save money.
Basic equipment for the DIY mechanic
Costing little more than the hourly rate charged by a workshop, your first purchase should be a good-quality, reasonably extensive socket wrench set with a large (1/2 inch or 3/8 inch) and a small (1/4 inch) ratchet, lots of sockets, bits, bit holder, universal joints and extension bars. This will enable you to undo the vast majority of screw connections on your motorbike, including in hard-to-reach places. They don't have to be the most expensive professional tools, but definitely go for chrome-vanadium steel.

Fig. 1 a: Metric socket wrench set

Fig. 1 b: Set of open end wrenches

Fig. 2 a: Complete tool kit

Fig. 2 b: Complete tool kit
(Fig. 1: A metric socket wrench set and a set of open end wrenches are indispensable...)
(Fig. 2: ...or a complete tool kit with metric or imperial tool sets)
Wrench sockets with flank-drive are helpful as they prevent stripped hex bolts and – if this does actually happen – some can still be removed with tools, e.g. the Rothewald socket wrench set (Fig. 1a). You often need a second tool to hold nuts. A large ring/open-end spanner set is therefore also indispensable (Fig. 1b). Or you go for a complete tool kit, e.g. by Rothewald, containing ring/open-end spanners, screwdrivers, pliers and additional 3/8" (medium-size) ratchet (Fig. 2a).

Fig. 3 a: Pliers

Fig. 3 b: Hammer (around 300 g)

Fig. 3 c: LED multifunction tester

Fig. 3 d: Set of cable terminals with suitable crimping tool

Fig. 3 e: Self-fusing insulating tape

Fig. 3 f: Set of brushes
(Fig. 3: Pliers, a hammer, an LED multifunction tester, a set of Japanese connectors, a set of brushes and self-fusing insulating tape always come in handy)
If you own a Harley or a British classic, you will, of course, need imperial tools. A suitable choice here would be the Rothewald imperial tool kit, for example, which includes ring/open-end wrenches and ball-end hexagon keys (Fig. 2b).

Fig. 4: Digital caliper gauge
You should also have: A pliers set, e.g. from KNIPEX (Fig. 3a), a medium-sized hammer (around 300 g, e.g. from Gedore (Fig. 3b)), a multifunctional tester for reliably detecting voltage and tracing electrical faults (Fig. 3c), a set of cable terminals with suitable crimping tool (Fig. 3d), a roll of self-fusing insulation tape (Fig. 3e), a set of brushes for removing dirt and corrosion (Fig. 3f) and a caliper gauge for measuring (Fig. 4).
Additional equipment for the motorcycle workshop
Although the bits in the socket wrench set will also work for slotted, cross-head and hexagon socket screws, you may sometimes prefer to use conventional screwdrivers because they are sturdier (Fig. 5a). If there are lots of cross-head or slotted screws on your bike, an impact screwdriver (Fig. 5b) is a great help, as these screws are often very tight and damage easily. The ideal tools for hard-to-reach hexagon socket screws are ball-end hex keys, (Fig. 5c) which are quite inexpensive these days, e.g. by Rothewald, and can be inserted at an angle. A tap with a rubber or plastic hammer (Fig. 5d) can often help to loosen seized mechanical parts on your bike. A standard steel hammer would often do more damage than good in such cases...

Fig. 5 a: Socket wrench set

Fig. 5 b: Impact screwdriver

Fig. 5 c: Ball-end hex keys

Fig. 5 d: Rubber or plastic hammer
(Fig. 5: A screwdriver set, impact screwdriver, several hexagon keys and a Variohammer are also useful additions to your workshop...)
At some point you will probably have to remove a bike part that is fastened with a circlip or lock ring, for which you will need special circlip pliers (Fig. 6a) for internal and external rings. If you plan to do engine repairs, for example, you should own a small wrench and a torque wrench (Fig. 6b). So too should any biker who doesn't have a knack for tightening bolts correctly according to their purpose and size. For more on this topic, see Torque Wrench Basics in our DIY tips.

Fig. 6 a: Circlip pliers

Fig. 6 b: Small wrench and torque wrench

Fig. 6 c: Battery charger

Fig. 6 d: Paddock stand
(Fig. 6: ... a set of lock ring pliers, one "large" and one "small" torque wrench, a battery charger and a paddock stand could also come in very handy.)
As solid as these torque wrenches look, they are only used for tightening, and not for loosening stubborn screws, as this may damage them internally. Next you should purchase a battery charger (Fig. 6c) suitable for your bike battery. For more on this topic, see Chargers in our DIY tips.
If your motorbike doesn't have a centre stand, you should also get yourself a suitable paddock stand (Fig. 6d), so you can safely park your machine when working on it, or for the winter. A stand will also enable you to turn the rear wheel to lubricate the chain. For more on this topic, see Paddock Stand Basics in our DIY tips. With all that, your DIY workshop would be pretty well kitted out. You only need further tools if you are doing special work.
Our recommendation
Special tool

Fig. 7 a: Disc brake piston spreader

Fig. 7 b: Brake bleeder

Fig. 7 c: Model-specific filter removal attachment

Fig. 7 d: Synchroniser 2 or 4 gauges (not shown)

Fig. 7 e: Ignition voltage tester

Fig. 7 f: Digital multimeter
(Fig. 7: Special tools such as a disc brake piston spreader, a brake bleeder, a model-specific oil filter removal attachment, synchroniser, ignition voltage tester and a digital multimeter are also very practical...)

Fig. 8: Thread file
- For regular brake servicing, a disc brake piston spreader (Fig. 7a) and a brake bleeder (Fig. 7b) are very practical.
- To change oil filter cartridges, you use a model-specific filter removal attachment (Fig. 7c) for the 1/2" ratchet.
- If you're going to synchronise a multi-carburettor system, you will need a synchroniser; e.g. from Rothewald with 2 gauges (Fig. 7d) or 4 gauges (not shown).
- To track down faults in the ignition without risking damage to the electrical system, you use an ignition voltage tester (which does not cost much at all) (Fig. 7e).
- A multimeter for identifying faults in the electrical circuit of your motorcycle, from Rothewald for example (Fig. 7f), also won't cost the earth.
- If the thread of a bolt is damaged, it can often be repaired with a metric thread file (Fig. 8).

Fig. 9 a: Thread cutter and tap set

Fig. 9 b: Workshop creeper
(Fig. 9: ... not to mention a hand thread tap and finishing tap set and a workshop creeper.)
If you own a vintage motorbike, or if you enjoy customising your bike, you will have to repair threads every now and again or cut a thread on parts you make yourself. Not a problem with a good thread cutter and tap set (Fig. 9a).
Unlike a thread cutter (Fig. 9a), it restores the existing metal rather than removing metal and further weakening the thread. For more on the topic of threads, see Thread Cutting in our DIY tips.
Working in comfort will increase your enjoyment of bike repair. A comfortable workshop creeper (Fig. 9b) for working on your motorbike is a useful addition to your workshop. And is certainly no unnecessary luxury, as good posture at the motorbike is not only more comfortable, but also helps you to stay focused on the job you're doing.
More comfort when working
Very helpful tools that are not necessarily a must have, but will certainly make your everyday work much more enjoyable. A ratcheting wrench set (Fig. 10a) is an excellent combination of ratchet and box-end wrench. This set is basically ideal in any situation where a "normal" ratchet is too big, in tight spaces on your motorcycle for example.

Fig. 10 a: Ratcheting wrench set

Fig. 10 b: Magnetic pick-up tool

Fig. 10 c: Magnetic tray

Fig. 10 d: Magnetic tool rail
(Fig. 10: A ratcheting wrench set, magnetic pick-up tool with LED lighting, magnetic tray and magnetic tool rail also come in very handy.)
A magnetic pick-up tool is another highlight (Fig. 10b). With this, you can easily retrieve items such as nuts if they have dropped into otherwise inaccessible locations. Magnetic pick-up tools are also available with LED lighting, which means you won't be fumbling around in the dark for small parts you have lost.
To avoid this happening in the first place, a magnetic tray (Fig. 10c) is a useful item for storing small parts. Due to the magnets which are permanently attached to the base of the tray, you won't lose one more screw, nut or washer.
A similar item is available for tools: the magnetic tool rail (Fig. 10d). The tool no longer flies around, is highly variable and immediately within reach.

Bottle opener
And last but not least, the most important tool
One which you should never be without: to round off a day of work in style, your range of tools should include a bottle opener.
Our recommendation
The Louis Technical Centre
If you have a technical question about your motorbike, please contact our Technical Centre, where they have endless experience, reference books and contacts.
Please note!
These tips for DIY mechanics contain general recommendations that may not apply to all vehicles or all individual components. As local conditions may vary considerably, we are unable to guarantee the correctness of information in these tips for DIY mechanics.
Thank you for your understanding.