


Winter Storage
In autumn, many people put their motorcycle into hibernation for the winter, but that doesn't mean simply wheeling it into the garage. Your motorcycle requires a little care and attention beforehand. All the points to observe for winterising your bike are explained here.

Note: The videos are in German.


- Getting your motorcycle ready for the winter
- Winter storage – now let's get started
- 01 – Fill fuel tank & increase tyre pressure
- 02 – Oil change
- 03 – Clean thoroughly
- 04 – Protection against the elements
- 05 – Add a fuel system cleaner
- 06 – Drain the carburettor
- 07 – Check the battery
- 08 – Jack up your bike
- 09 – Cover the motorcycle
- Long-term storage
Getting your motorcycle ready for the winter
When the days get shorter and bad weather fronts dominate the weather charts, it's that time again: Autumn has arrived and many bikers will be reluctantly putting their beloved bikes into hibernation.
If you are planning to take your bike off the road for a prolonged break, you may be able to save on road tax if you notify the licensing authority. Or maybe you already have a seasonal license plate, in which case you will be spared the hassle of dealing with the vehicle licensing authorities. But remember that a minimum licensing period may apply if you want to keep on increasing your no claims discount (6 months in Germany).
And if you want the reassurance of knowing that your bike is ready for the next season, you might want to sort out your vehicle inspection appointment sooner rather than later. Now is also a good time to carry out those repairs or conversions.
And if you're not planning to use your bike any time soon, you should make sure it is correctly "mothballed". Simply throwing a cover over it and forgetting it for half a year can lead to some nasty surprises come the spring. In fact, corrosion, damage to battery and carburettor, amongst other problems are almost a certainty.
Winter storage – now let's get started

Step 1: Top up tyre pressure to about 0.5 bar above normal
01 – Fill fuel tank & increase tyre pressure
So the first step is a trip to the service station to fill your fuel tank to the brim. This means the metal tank cannot rust, unless there are water droplets in it. Water is heavier than petrol and would then settle on the base. Use the PROCYCLE fuel system cleaner, for example, to bind the water in the tank.
While you're at the service station, increase the air pressure in your tyres slightly: 0.5 bar above manufacturer specifications is OK.

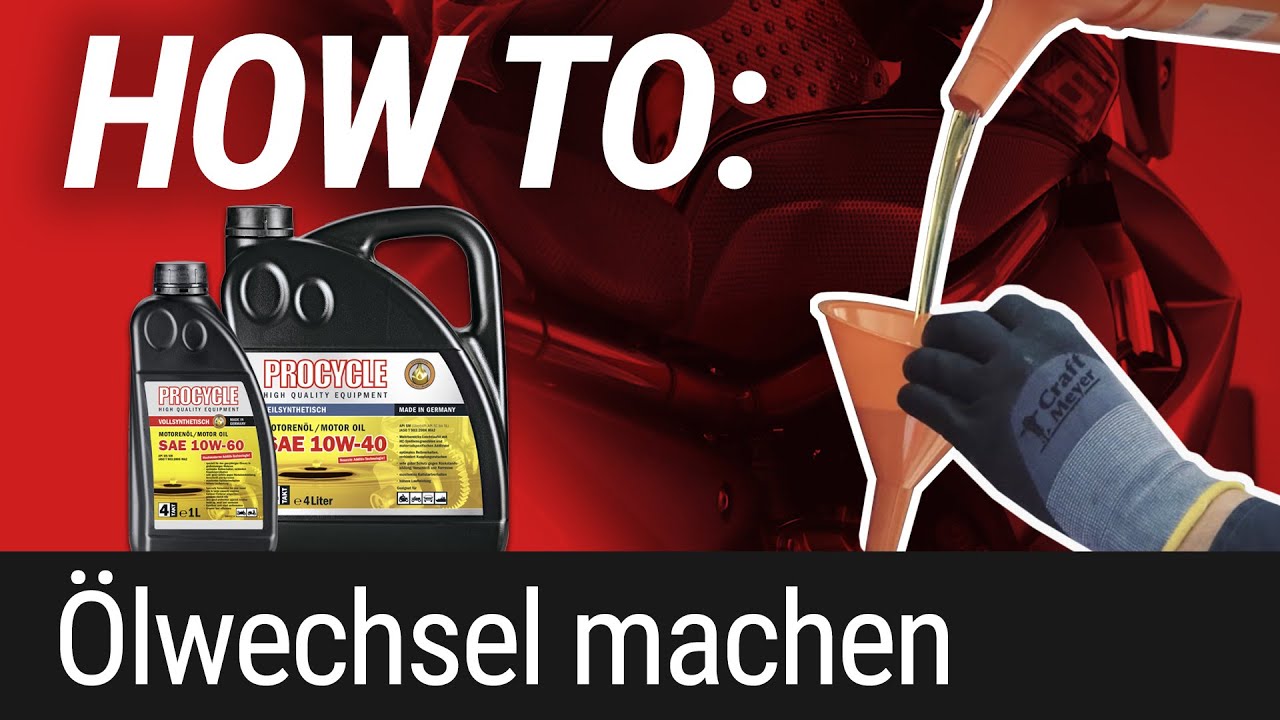
Step 2: Change the oil before you "mothball" your bike
02 – Oil change
When you get back home, use the warm engine as your opportunity to change the oil see DIY tip Oil Change. Old oil contains aggressive substances that can damage pistons, contact surfaces and bearings during storage, and in the case of engines with hydraulic tappets/valve lifters (such as Harley-Davidson) it can cause clogging. Always replace the oil filter at the same time.

Step 3: Clean thoroughly
03 – Clean thoroughly
You now need to give your bike a really thorough clean – paying particular attention to the more inaccessible areas (such as underneath the tank, under the seat, the fairing, etc.). For more on this topic, see Cleaning in our DIY tips.

Step 4, Fig. 1: Protection against the elements
04 – Protection against the elements
Then thoroughly spray the bike with an anti-corrosion agent. If you protect the fairing, including the windshield, tank, side cover and tail with a good hard-wax paint conditioner, they will thank you for it.
Apply a corrosion inhibitor spray to the engine, the exhaust (even if it's painted, as wax can cause discolourations when heated) and the entire chassis (particularly welded joints and hard-to-reach spots). And don't forget the shock absorber rods and the fork tubes, because even the smallest of rust spots can cause leaks.

Step 4, Fig. 2: Care of drive chain
Should your cleaning reveal any patches of rust, deal with them straight away by sanding down and applying touch-up or spray paint in order to prevent the rust spreading during the winter. Always prime first with rustproofer before applying paint. For more on this topic, see Dealing with Corrosion in our DIY tips.
Now thoroughly grease all joints and levers. If you own a classic motorbike, round off the corrosion protection treatment by pouring a small spoonful of engine oil into each spark plug hole to make sure the piston rings do not seize up in the cylinder. You should also push an oily rag into the exhaust to prevent ingress of moisture.
Please note: your bike MUST have cooled down completely before doing this.
Using a special chain cleaner, make sure the chain is free of all dirt and abrasive stones and then apply a chain spray. Always spray the inside of the chain while turning the (unloaded) rear wheel slowly by hand. For more information refer to the section Chain Care in our DIY tips.

Step 5: Add a fuel system cleaner
05 – Add a fuel system cleaner
Motorcycles with fuel injection systems are protected using a suitable additive, e.g. PROCYCLE fuel system cleaner which is added to the fuel. You will find that many vehicle manufacturers recommend this in the owner's manual.
We also recommend it for bikes with carbs, as the additive cleans the jets, channels and bores, and binds any condensed water in the tank.
Please note: After filling, start the engine again to ensure the additive-enriched fuel enters the system.

Step 6: The pros drain the carburettor – for a smooth start to spring!
06 – Drain the carburettor
If the motorcycle has a carburettor system, the float chambers of the carburettor are now emptied. You can do this without having to run the engine with your bike stationary. Instead, take a small container and drain the float chamber via the drain plugs provided for this purpose.
This is very important because as the fuel in the carburettor evaporates, it leaves resinous deposits that can prevent your engine running smoothly and cause starting problems in spring.
To stop fuel running back into the carburettors, set the fuel tap to "OFF". If the tap does not have this option because it is vacuum operated, it may become stuck in the "ON" position. Never set it to "PRI" as this would cause the petrol to permanently run through!

Step 7, Fig. 1: Check the acid level in your battery
07 – Check the battery
Your battery also needs some attention. This generally means removing it and, in the case of standard lead batteries, checking the acid level. If necessary, use deionised water (never acid) to top up to the max. mark.

Step 7, Fig. 2: Battery removed and connected to an automatic charger
The best place for batteries over winter is in a frost-free room connected to an automatic charger that provides a trickle charge. For more on this topic, see Battery in our DIY tips.

Step 8: Jack up your bike to take the strain off your tyres
08 – Jack up your bike
Finally, you need to jack up your bike to relieve the load on both wheels. If you have a centre stand, also support the front of the motorcycle frame with wooden blocks or bricks (use rags to protect the frame from scratches). If your bike doesn't have a centre stand, it's a good idea to use paddock stands. If you are unable to unload the wheels, turning them slightly every few weeks will also help to prevent the build-up of pressure points. For more on this topic, see Paddock Stand Basics in our DIY tips.

Step 9, Fig. 1: Keeping the machine clean and dust-free
09 – Cover the motorcycle
And last but not least, the motorcycle should be well wrapped up: If you are overwintering the motorcycle indoors in a warm room, use a breathable indoor cover which provides effective protection against dust and also keeps out your beloved household pet(s).
If you have no choice but to leave your bike outside, then a cover is essential. This should be breathable or have suitably dimensioned vents. Make sure that the cover is not resting on any bike parts that are still damp from residual cleaning agent or spray oil – worst case scenario is that this could lead to a chemical reaction, which causes the cover to stick to the bike.

Step 9, Fig. 2: This is a suitable cover for a public parking space
If you intend to overwinter your motorcycle by parking it at the side of the road, you should use a cover with vision panels so the license plate can be seen. This would be greatly appreciated by the street wardens.
By following these simple rules for preparing your bike for the coming season, you can spend the winter months looking forward to the joys of spring in the knowledge that you will NOT be the one asking for a quick push-start or needing to completely dismantle your carburettor.

A special corrosion-inhibiting cover is particularly helpful for long storage periods
Long-term storage
If you plan to mothball your bike for a long period, you will need a VCI corrosion inhibitor folding garage. The special VCI corrosion inhibitor protects metal against corrosion for a period of approx. two years. To extend the storage period, simply place a small can of so-called emitter inside your folding garage to reactivate the corrosion inhibitor for up to a further two years. And if you really want to play safe, you can also hang a dehumidifier on the handlebars.
The Louis Technical Centre
If you have a technical question about your motorbike, please contact our Technical Centre, where they have endless experience, reference books and contacts.
Please note!
These tips for DIY mechanics contain general recommendations that may not apply to all vehicles or all individual components. As local conditions may vary considerably, we are unable to guarantee the correctness of information in these tips for DIY mechanics.
Thank you for your understanding.