


Inspecting and repairing control cables
If throttle, choke, clutch, or drum brake become stiff or sticky, it means the levers and cables need urgent attention.

Note: The videos are in German.

- Control cables on your motorbike: Care and repair
- Soldering cables – now let's get started
- 01 – Cut cable to length
- 02 – Spread cable core in soldering nipple
- 03 – Clean end of cable with soldering nipple in liquid flux
- 04 – Soldering nipples
- 05 – File soldered nipple smooth
Control cables on your motorbike: Care and repair
If your throttle, choke or clutch, or the drum brake on a classic bike, starts to operate less smoothly or even "sticks", you should urgently look at the lever, and especially the control cable.
The first thing to check is that the control cable is routed without any kinks and in as wide an arc as possible. If it's pinched or has any tight bends, considerably greater force will be needed to operate the lever. Throttle twistgrips should always return automatically when released. If they don't, the reason may also be less than ideal cable routing. Or the throttle tube may be rubbing against the handlebar, control or bar end (e.g. because the control is not ideally positioned). Or the problem may be a faulty cable core or lack of lubrication.
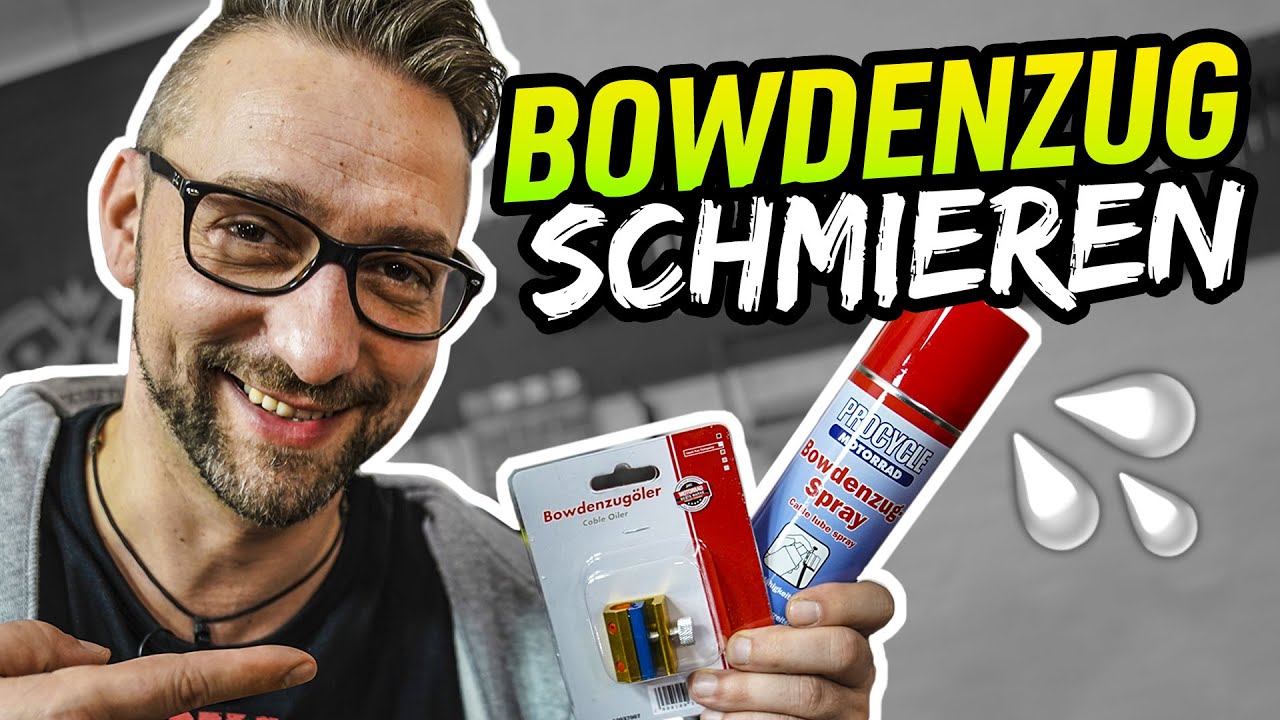
Regular thorough lubrication is essential to prevent premature cable wear. Always use a control cable spray if the cable has a teflon inlay, which is recognisable as a thin whitish tube inside the cable sleeve. This inlay is designed to reduce core friction.

How to use a cable oiler
Do not use oil, as it would cause the teflon to swell, and you would end up with a cable that is stiff to operate. Oil (ideally not too low-viscosity) must only be used to lubricate conventional control cables without a teflon core – but the special control cable spray is good for these as well. A cable oiler applies it perfectly to the interior of the cable.
The cable is sufficiently lubricated when the lubricant emerges from the bottom end. If you're using oil, you can hang the cable up overnight to allow the oil to run through effectively and also to catch/remove any excess.
You should inspect your control cables regularly, and if you discover any broken individual wires, you should replace the cable core or the entire cable as soon as possible because if a control cable breaks when you're on the road, you can be in serious trouble.
For this reason, prudent bikers always keep an emergency set of control cables and screw nipples with them on their bike. Check that the nipples in your "repair kit" are actually suitable for the controls on your bike model and, if not, add the right ones.
Always carry a screwdriver that fits the nipple screws well, and a pair of pliers for gripping so that you can tighten the nipples securely without damaging them.
You will also need wire cutters to cut the wire to length. Special control cable cutters work best, as they don't squash the wire, but a good pair of long-handled wire cutters will provide enough force – whereas standard short nippers or side cutters are not very effective.
Screw nipples should only be used on the clutch cable as an emergency repair to get you to the nearest workshop. Never fit brake cables with a screw nipple. If your brake cable fails, call a breakdown service and have the bike towed to the workshop. Choke and throttle cables only transmit low forces, so they can be permanently fitted with screw nipples if they are well secured. But even with these cables, soldered nipples are the more professional option.
In some situations you may need to assemble a control cable yourself. For example if you do not have a prefabricated one to hand, or the right one is no longer available to buy. Or if you need a different length of cable because you're changing your handlebars. This is a relatively easy and inexpensive job. You can buy control cable inner core and outer casing by the metre, while nipples and adjusters are available separately.
When assembling the cable, observe the following:
- The core must always have a certain amount of play inside the cable casing to allow it to move in small radii with low friction. For thin throttle and choke cables, a play of 1 mm is sufficient; thicker clutch cables require 1–1.5 mm of play.
- First check carefully on your original cable which nipple sizes you need. Sometimes Japanese motorcycle manufacturers use nipples that aren't commercially available. Clever DIY mechanics will not let that bother them, however: they make nipples from thin brass rods – which you can get from your local DIY store.
- Remember to order end ferrules as well. You can often use the adjusters from the old original cable.
To make the new control cable, you will also need a soldering iron with at least 80 W capacity or, better still, a blowtorch, some solder, brake cleaner and definitely liquid flux (also available at DIY stores) to clean the core beforehand. Start by generously measuring the cable outer and inner, based on your original cable or the installation position on your motorbike (making adjustments for length if you're using new handlebars).
Soldering cables – now let's get started

Step 1: Cut cable to length
01 – Cut cable to length
First solder a nipple to one end of the cable core, assemble the cable and trial-fit it on the bike to measure the exact length to the controls. Remember to screw back any adjusters to their basic setting and check, for example, that the clutch release on the engine is also in the basic setting. But factor in the requisite amount of play in the cable (approx. 2–3 mm) and leave the core protruding a few millimetres out of the (still loose) nipple so that you can solder it.
The cable outer must lie correctly in the adjusters, and not end up lying on the outside edge, so that you can optimally cut the core to length!

Step 2: Spread cable core in soldering nipple
02 – Spread cable core in soldering nipple
Check everything carefully, because once you solder the second nipple you can no longer adjust the cable. Then take off the cable, and solder on the second nipple. Proceed as follows when soldering: Clean the end of the cable with brake cleaner. Put on the nipple, leaving the end of the core protruding a little. Clamp the nipple in a vice and spread the individual wires of the core with the screwdriver so that the nipple is not so easy to pull off. This makes for a more robust soldering point later.

Step 3: Clean end of cable with soldering nipple in liquid flux
03 – Clean end of cable with soldering nipple in liquid flux
Now dip the end of the cable with the nipple into liquid flux to clean it thoroughly. This is essential for the solder to adhere, otherwise it will pearl off the wire. Cleaning with brake cleaner or thinner is not sufficient!

Step 4: Soldering nipples
04 – Soldering nipples
Heat up the nipple with the soldering iron / blowtorch. Do not heat the core to glowing, as this could make it brittle. Now apply solder to the nipple from above with the spread-out end of the core pointing downwards. The soldering is perfect when the solder flows right into the nipple and forms a ball at the other end.

Fig. 5: File soldered nipple smooth
05 – File soldered nipple smooth
Allow the nipple to cool. Now you can file the head of the nipple to smooth it. Thoroughly lubricate the finished cable before you install it (see above). When installing the cable, check that it does not rub unnecessarily on the control, because this could cause premature wear. Smooth off any rubbing points with a file/sandpaper. Make sure you allow sufficient play. If a throttle cable is too taut, it could distort the engine idle speed or open the throttle unintentionally when the handlebar is at full lock. Too little play in the clutch can cause clutch slip. There should be 2–3 mm of play in the clutch cable.
The Louis Technical Centre
If you have a technical question about your motorbike, please contact our Technical Centre, where they have endless experience, reference books and contacts.
Please note!
These tips for DIY mechanics contain general recommendations that may not apply to all vehicles or all individual components. As local conditions may vary considerably, we are unable to guarantee the correctness of information in these tips for DIY mechanics.
Thank you for your understanding.