Installing a belly pan on your motorcycle
Many naked bikes can be given an ultra-cool look by fitting a belly pan. And it's a quick and easy job to do.
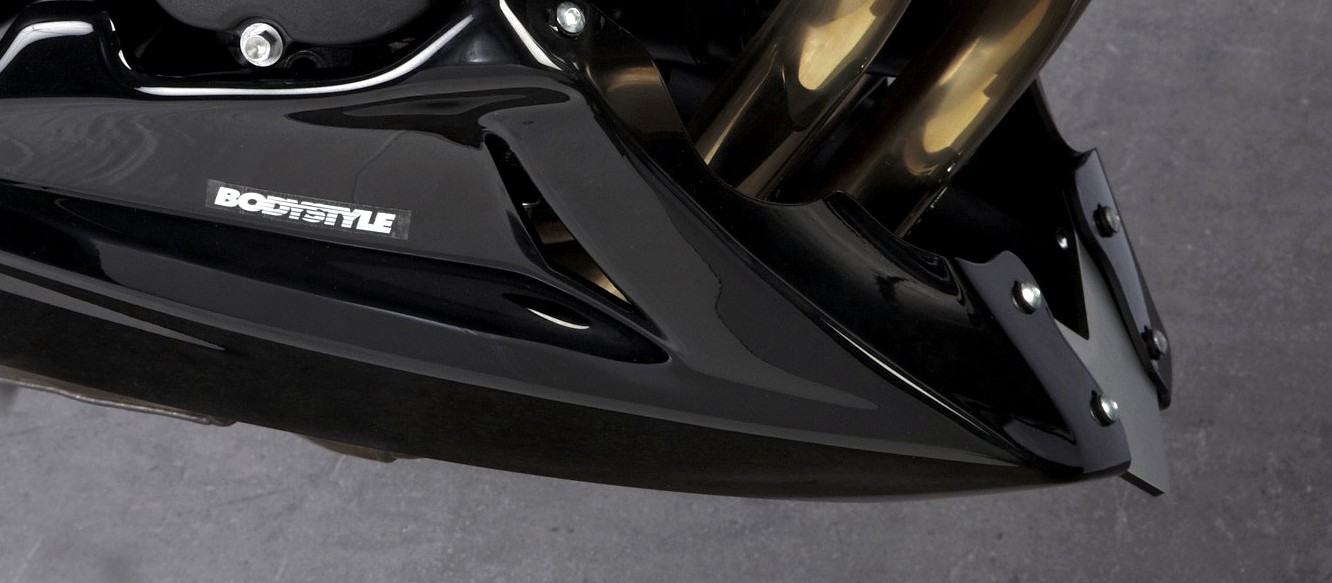
Installing a belly pan
When it comes to adding that personal touch to your naked bike and creating an ultra-cool look, installing a belly pan is a popular and easy way to customise your machine. A belly pan makes almost any unfaired street bike more eye-catching, dynamic and just plain stylish. It also gives a nice balance to the paintwork around the engine, the beating heart of your machine. Manufacturer Bodystyle offers spoilers with stylish but not showy designs and sleek lines for a wide range of models. They come with a set of mountings and TÜV vehicle approval, and some are even available ready painted in original motorbike colours.
As installing a belly pan is fairly simple and does not require any special tools (a set of Phillips screwdrivers and hex keys in the usual sizes is often all you need), there's no reason why you shouldn't do this in the comfort of your own garage to the sound of your favourite music. Before you start, jack up the motorbike and secure it against toppling over. We also recommend laying out a wool blanket or workshop workmat for the painted belly pan parts to prevent any scratches.
If you've got yourself a belly pan that isn't yet painted the colour of your bike, you should always trial fit it first. Make sure it's the right fit before taking it to a trusted paint shop for your chosen finish. The original colour code for your bike can often be found under the seat, on a metal plate attached to the frame. If not, check your bike manual or consult your local motorcycle dealer.
And now to work – our example shows a Bodystyle belly pan on a Kawasaki Z 750, year of manufacture 2007 onwards.
Installing a belly pan – now let's get started
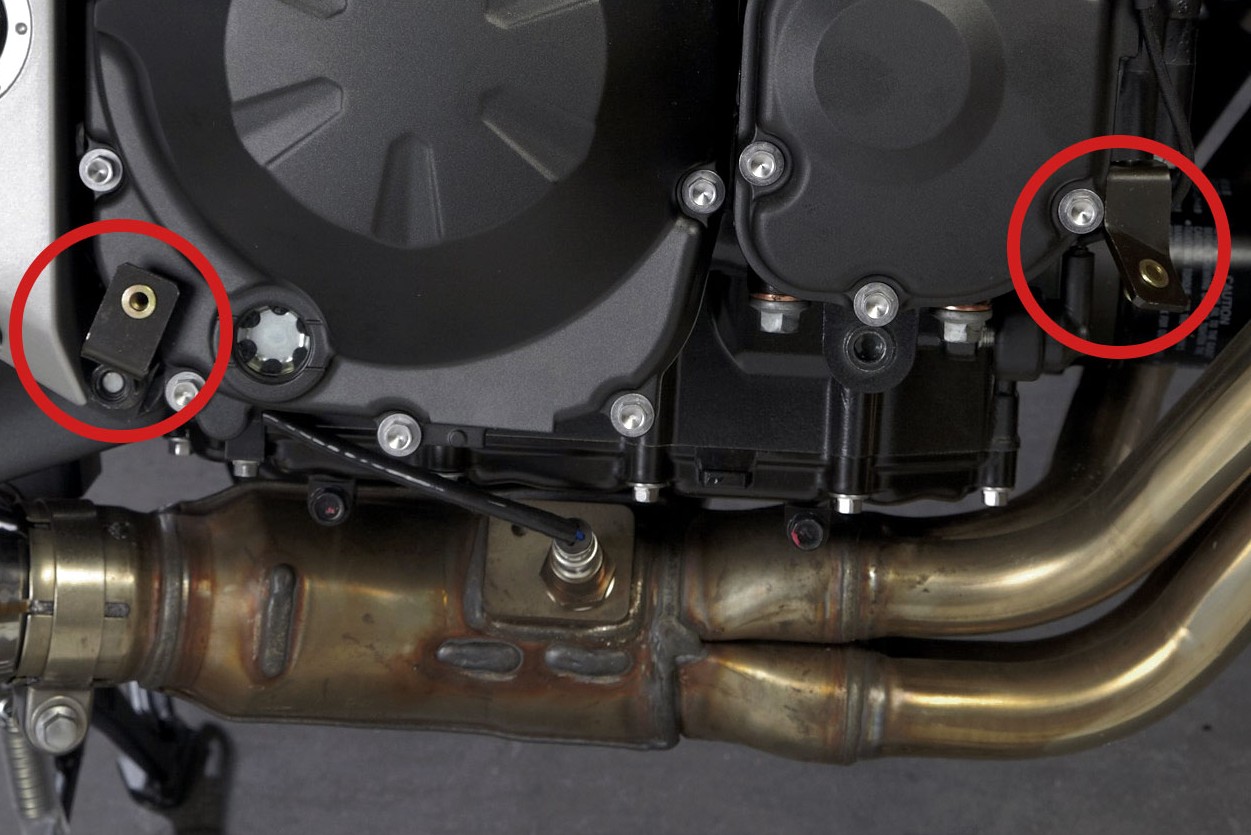
Step 1: Loosely secure brackets
01 – Loosely secure brackets
Start by taking the brackets supplied and attaching them to the original mounts on the engine block, on the right side as viewed in the direction of travel. Only secure them loosely so that they can be adjusted later when you align the belly pan. Specific instructions on the securing points are supplied for each motorcycle model!
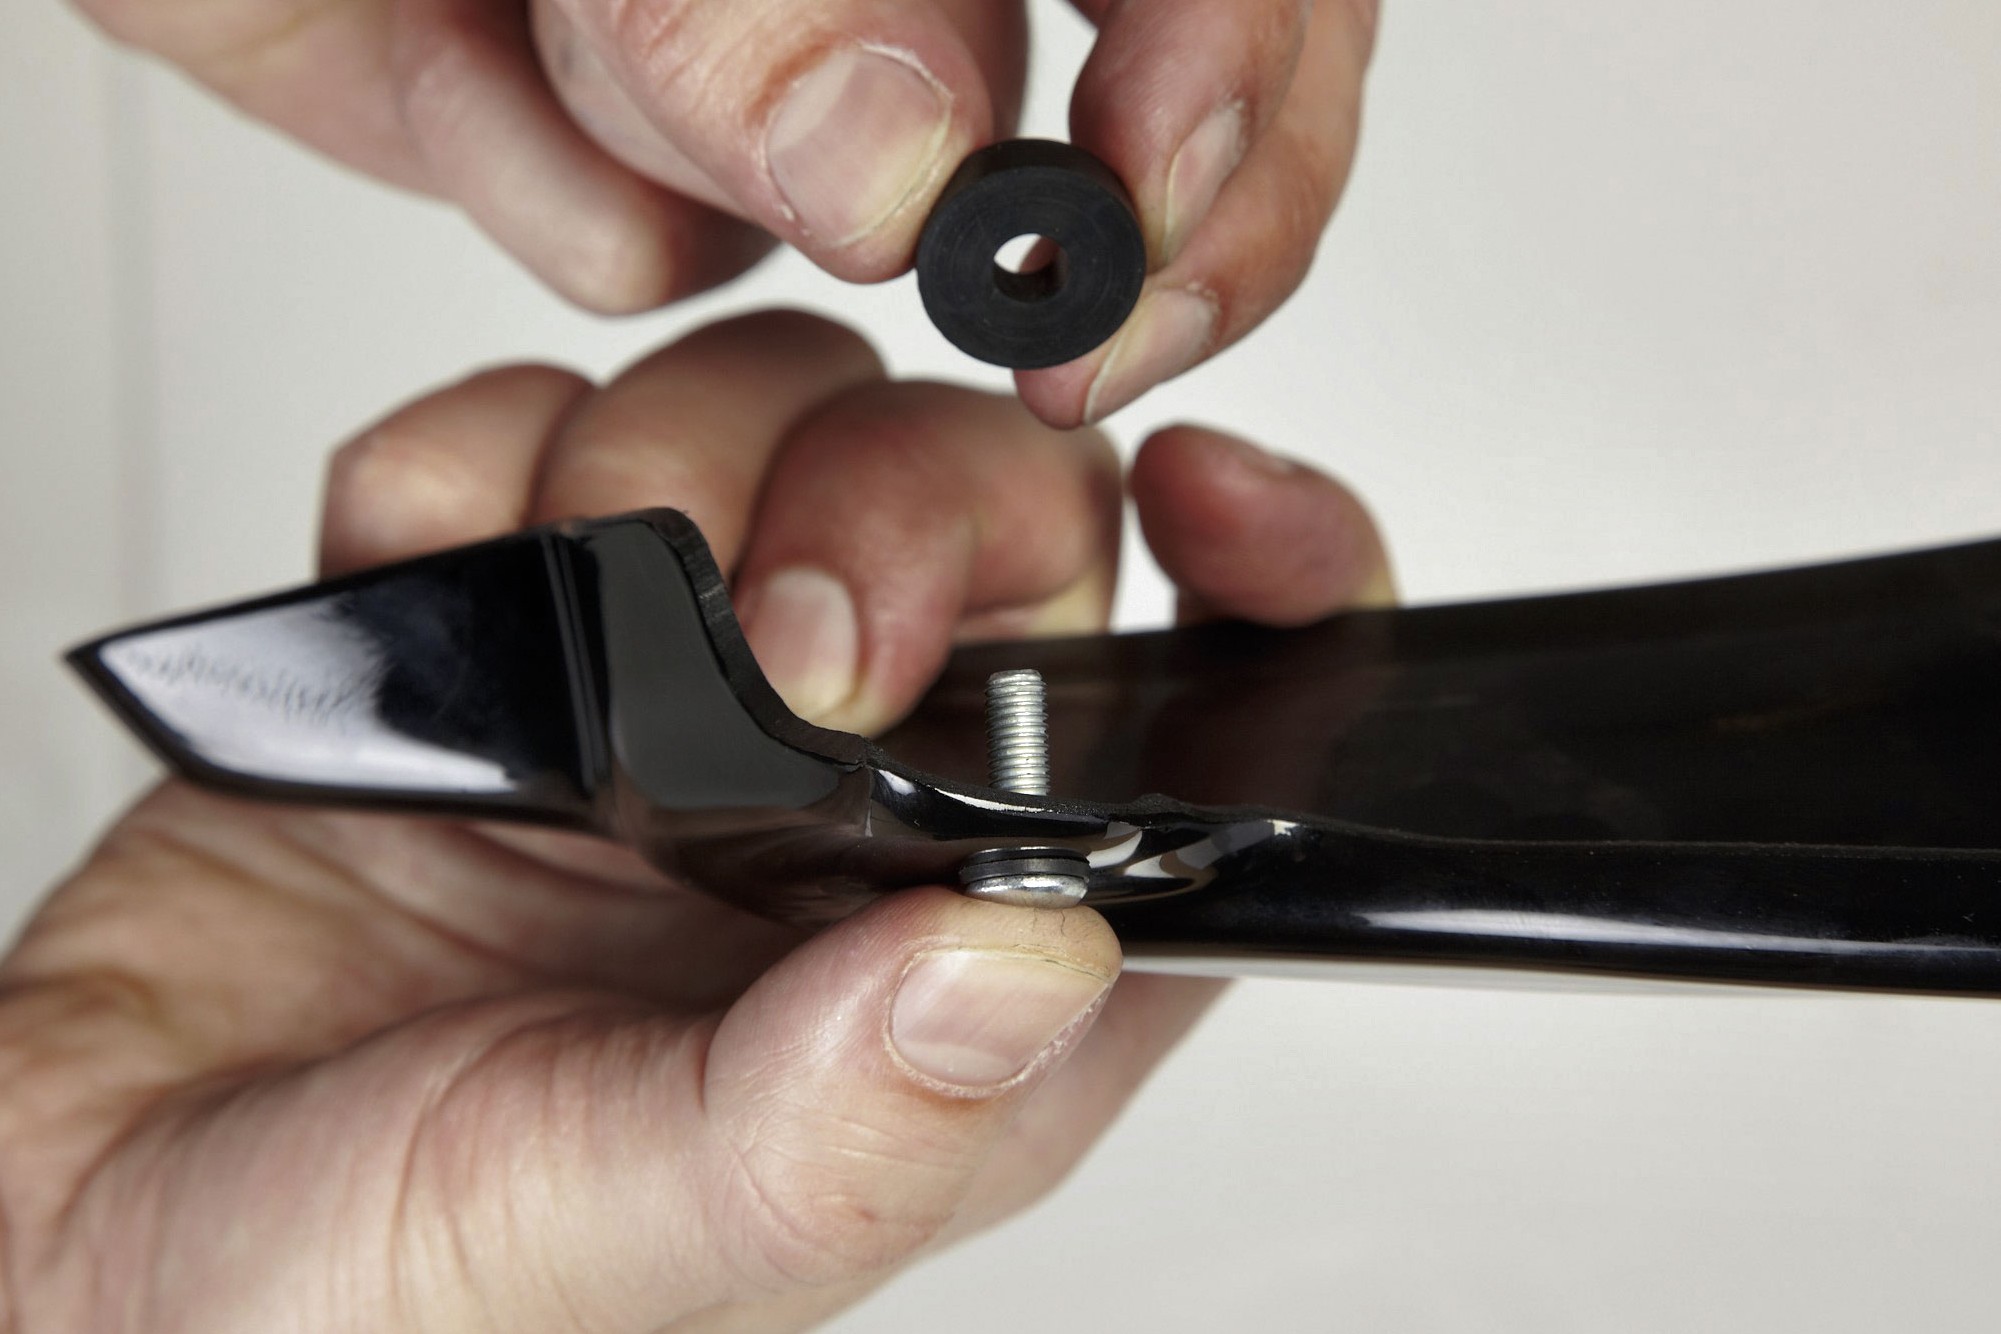
Step 2: Install rubber spacers
02 – Install rubber spacers
Insert the rubber spacers between the brackets and the belly pan. These rubber spacers are important for dampening the vibrations and thus extending the life of your belly pan.
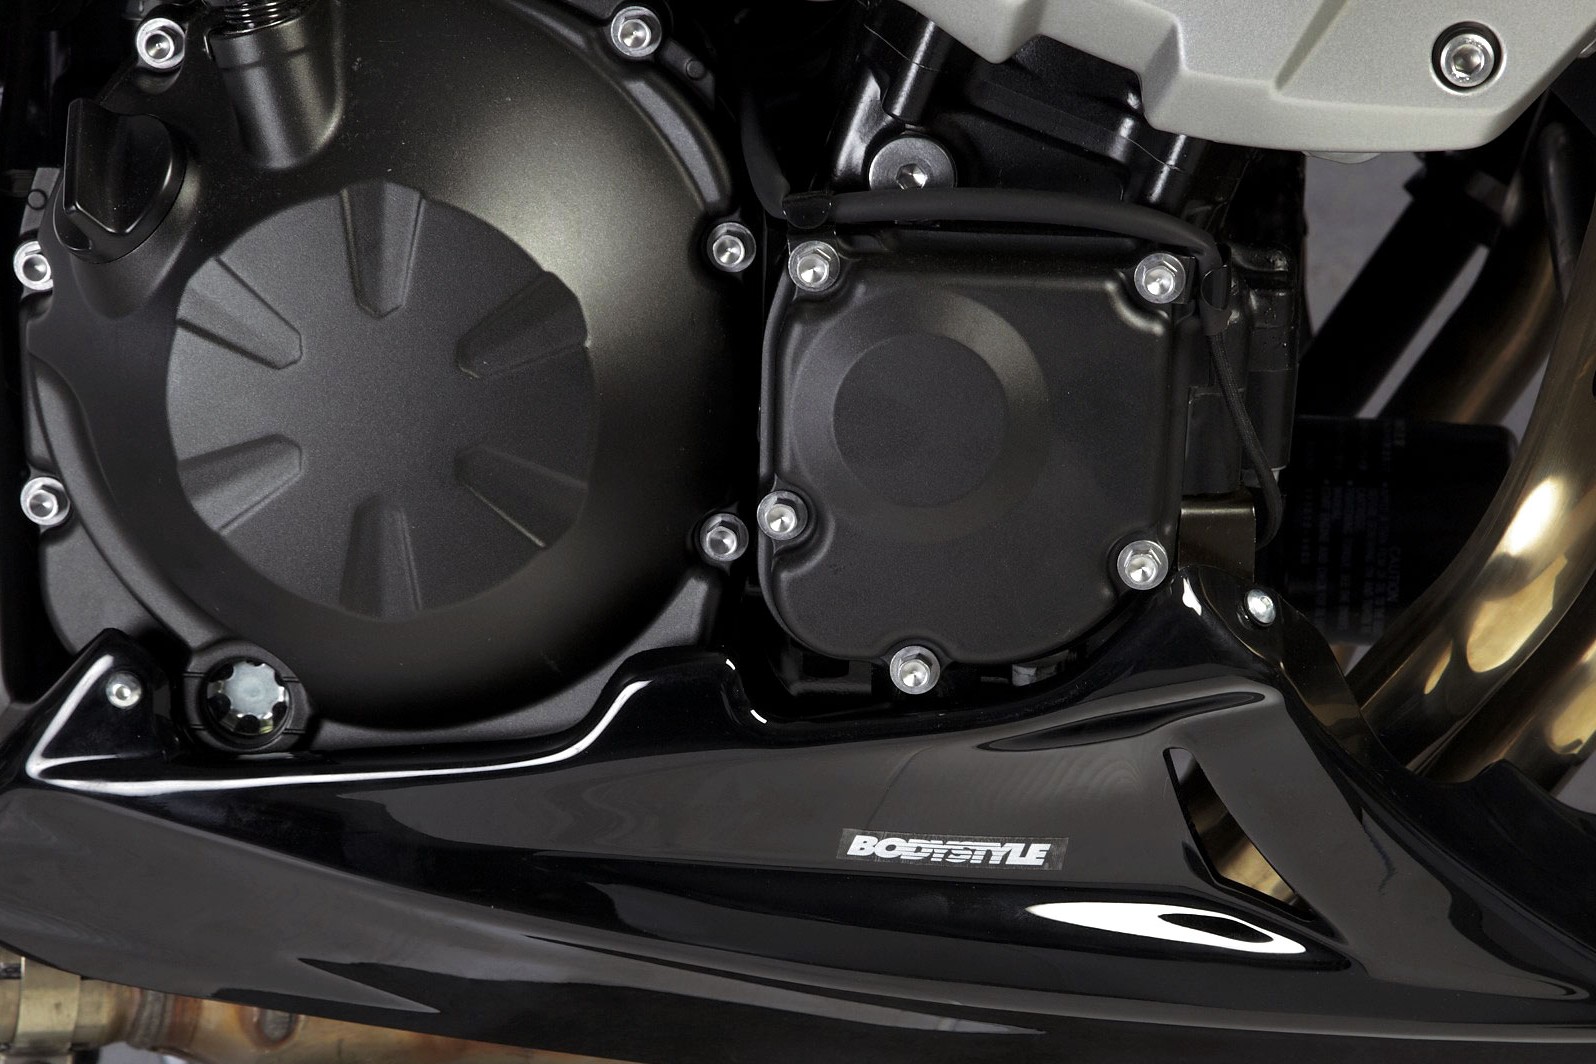
Step 3: Secure the right part of the belly pan
03 – Secure the right part of the belly pan
Attach the right side (viewed in the direction of travel) of the belly pan to the brackets using the hexagon socket head screws supplied. Only hand-tighten the screws.
04 – Fix the brackets
Now repeat Step 01 for the left side.
Step 5: Insert crosspiece
05 – Insert crosspiece
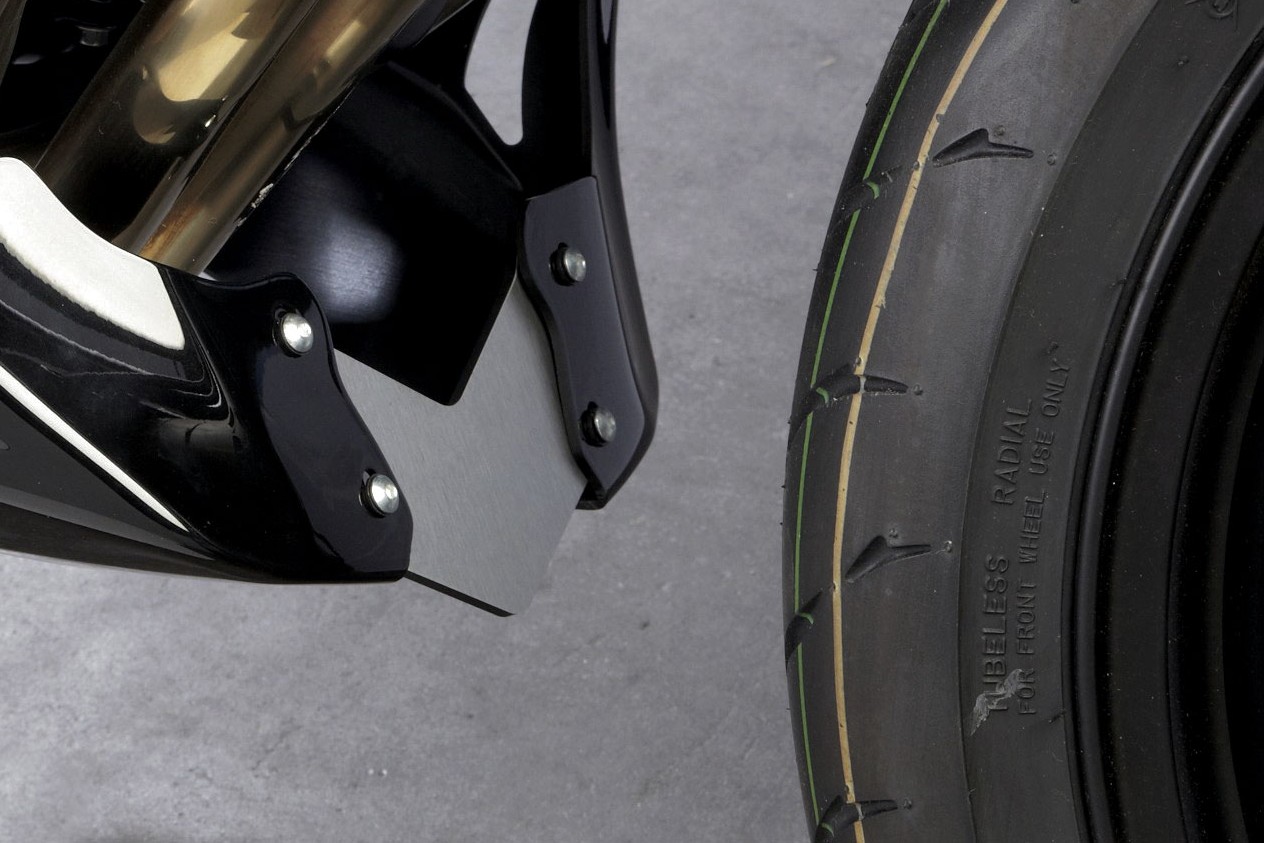
Finally, fit the crosspiece between the two belly pan halves. The crosspiece can be fitted on either the outside or the inside of the belly pan – giving you a little leeway for personal preference.
Step 6: Tighten all screws
06 – Tighten all screws
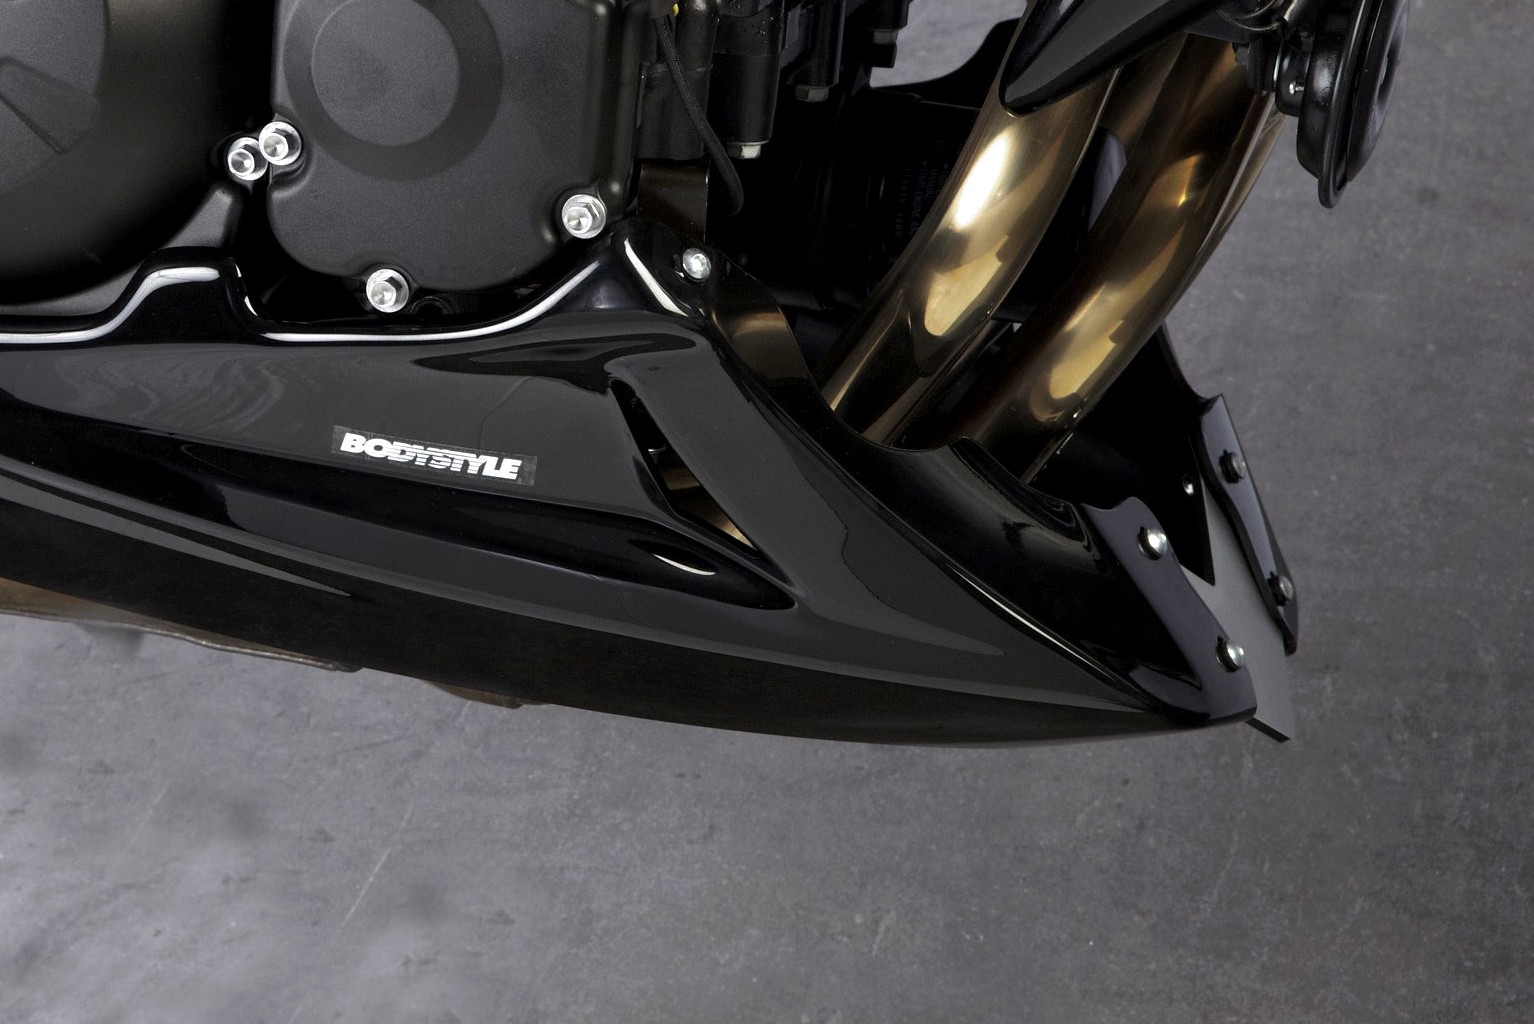
Finally, align the belly pan halves so that they are symmetric and no part of the pan is touching the manifold or any moving parts.
Installation must be tension-free. If necessary, it's better to bend a mounting lug a little or use a spacer than to tighten the screws until the plastic parts are pressed against the securing points under tension! Once you're sure everything is a snug fit, give all the screws a final few turns to fully tighten.
Important: Tighten the screws carefully because overtightening may cause damage. Never allow oil pressure relief and fuel drain hoses to hang into the belly pan, as any dripping oil or fuel may damage the plastic, causing it to become porous and brittle.
The Louis Technical Centre
If you have a technical question about your motorbike, please contact our Technical Centre, where they have endless experience, reference books and contacts.
Please note!
These tips for DIY mechanics contain general recommendations that may not apply to all vehicles or all individual components. As local conditions may vary considerably, we are unable to guarantee the correctness of information in these tips for DIY mechanics.
Thank you for your understanding.


