Washing and polishing your motorcycle
A gleaming motorcycle is a joy, particularly if you choose the right care products to make cleaning quick and easy.
Note: The videos are in German.
- Check list for motorcycle washing
- Preparing and cleaning – now let's get started
- 01 – Gel cleaner
- 02 – Wash down with a sponge
- 03 – Insect remover and special brushes
- 04 – Scrub the rims
- 05 – Hose down with clear water
- 06 – Rub down with chamois
- 07 – Polishing wax and fleece cloth
- 08 – Treat plastic parts with special cleaner
- 09 – Spruce up the seat
- 10 – Polish chrome & aluminium parts
- 11 – Multipurpose oil for screw heads
- 12 – Clean the chain
- 13 – Grease the chain
- Removing stickers
Check list for motorcycle washing
Be honest, who doesn't like posing next to their shiny, gleaming bike once the work is done? You'll soon see that cleaning and polishing your bike with our products couldn't be easier. In fact, we think you'll even enjoy it – but you do need to watch out for a few things …
Regularly cleaning your motorbike isn't just about keeping it looking great. Experienced bikers always take this opportunity to make sure their machine is also technically up to speed. That includes checking the tread depth and tyre pressures, that the brake pads have sufficient wear left in them, and the drive chain is correctly tensioned. Have you noticed any leaks coming from the engine? Are any cables frayed or worn? Is there any flash rust on chrome parts or corrosion on the engine? Have vibrations caused any of the mounting brackets to show signs of cracking? Are all screws securely tightened? Does the battery need topping up with deionised water (this does not apply to maintenance-free batteries)? Are all the lights working properly? Have you checked oil and coolant levels? Take the time to do these checks!
Before rolling up your sleeves for a good old spring clean with water and detergent, you need to find the right place to wash your bike, like a petrol station or car wash, because you're not actually allowed to do it in grandma's back yard or on the road. You also don't want to be doing this job in the blazing sun or on sandy ground.
If you're using a steam jet cleaner, don't hold it too close to your bike, and avoid aiming the jet directly at the bearings, as it will blast out the grease. The connectors in your bike's electrical system are also not overly partial to steam jet treatment, which tends to result in leakage currents or contact problems. Important: Always allow your bike to cool down before washing.
Important: Always allow your bike to cool down before washing.
Preparing and cleaning – now let's get started
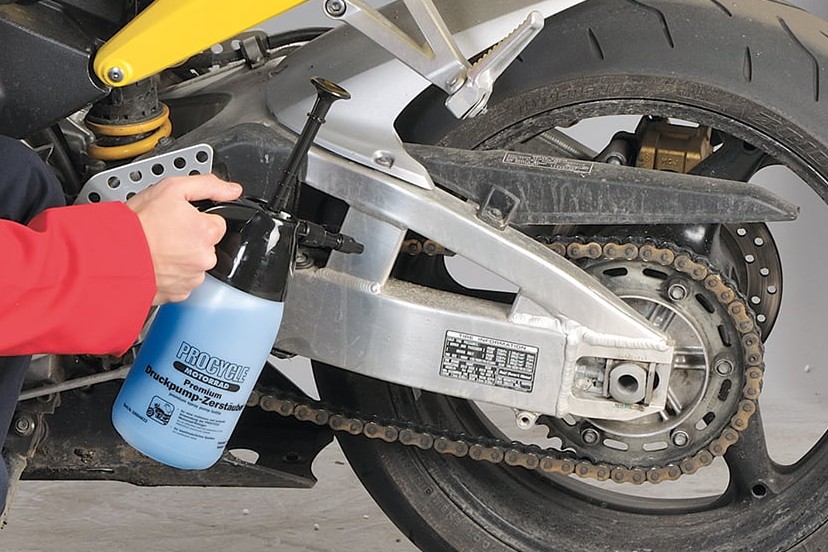
Step 1: Gel cleaner spray
01 – Gel cleaner
Start by spraying the bike thoroughly with a good cleaner. Gel cleaners are best because they also adhere to vertical surfaces instead of running straight off. We particularly recommend Procycle Gel Cleaner. Apply generously to heavily soiled areas on the rear wheel and around the engine. The Procycle Pump-Action Spray is extremely useful for this task and makes it quick and easy to get at those hard-to-reach places. Then just let the cleaner work for the time specified in the instructions.
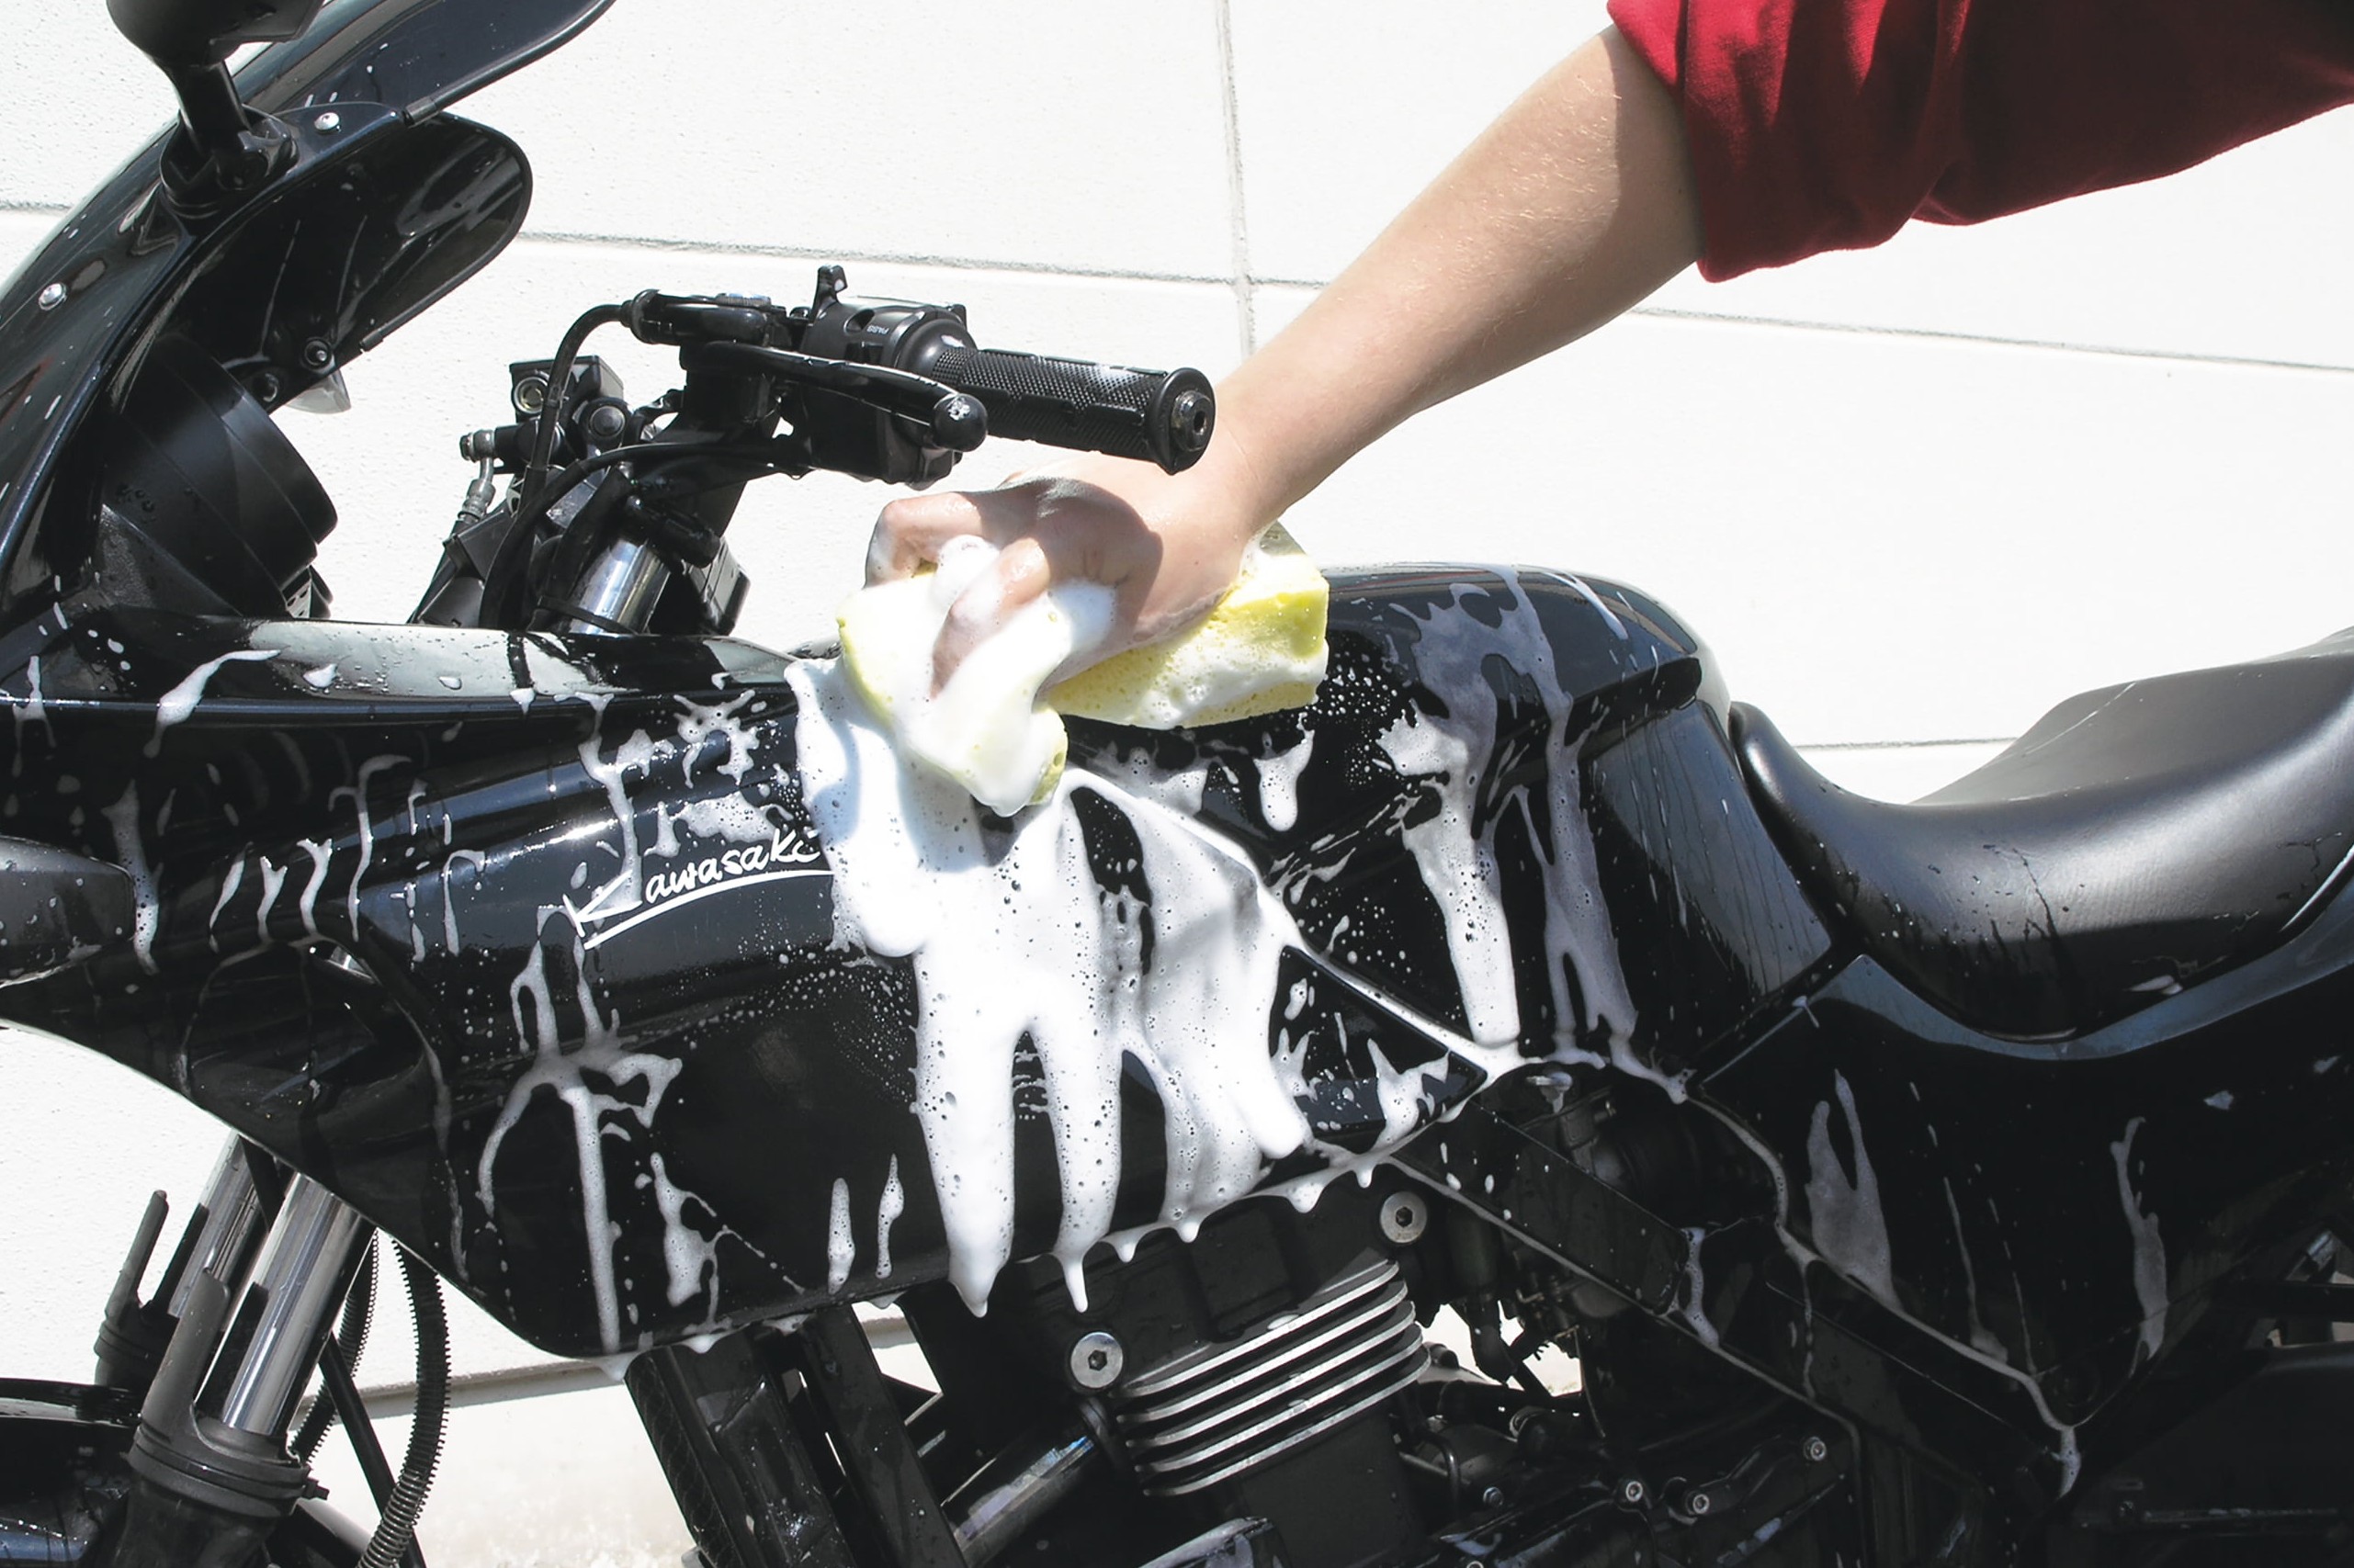
Step 2: Wash down with a sponge
02 – Wash down with a sponge
Now grab a bucket of water and a sponge and give your machine a good old wash down. And don't forget all those hidden nooks and crannies! Only apply gentle pressure - the last thing you want to do is scratch your paintwork.
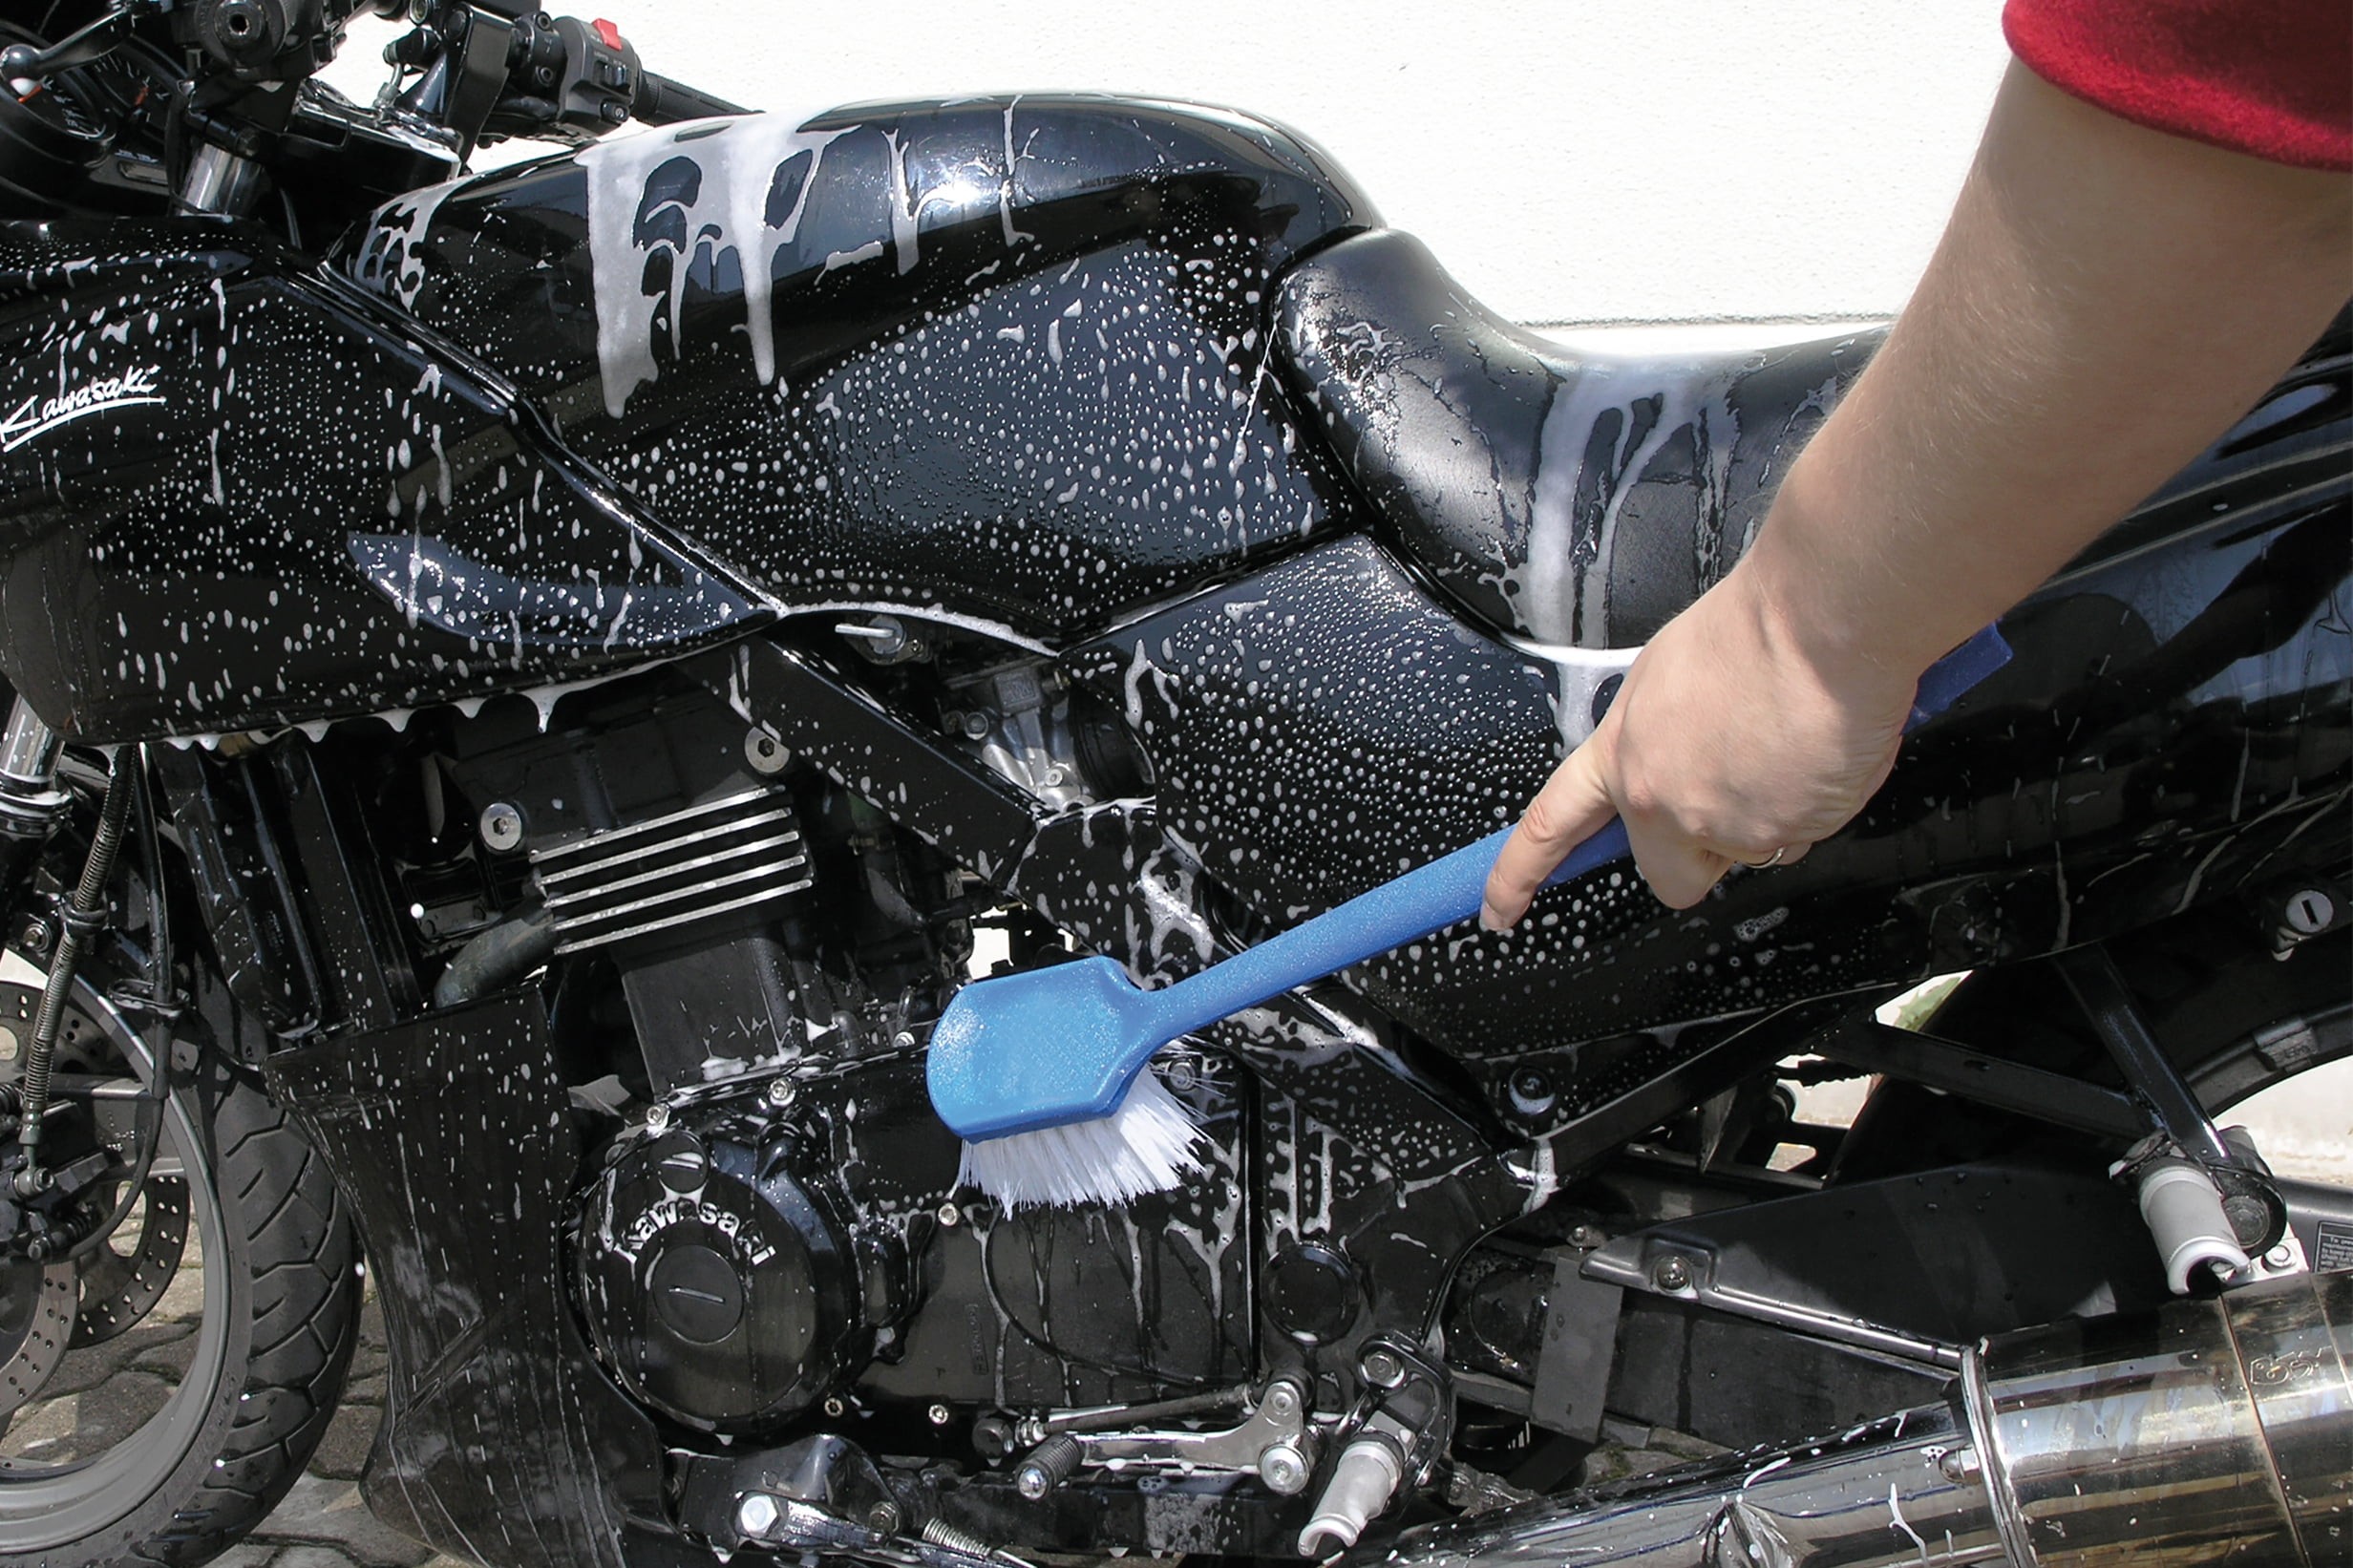
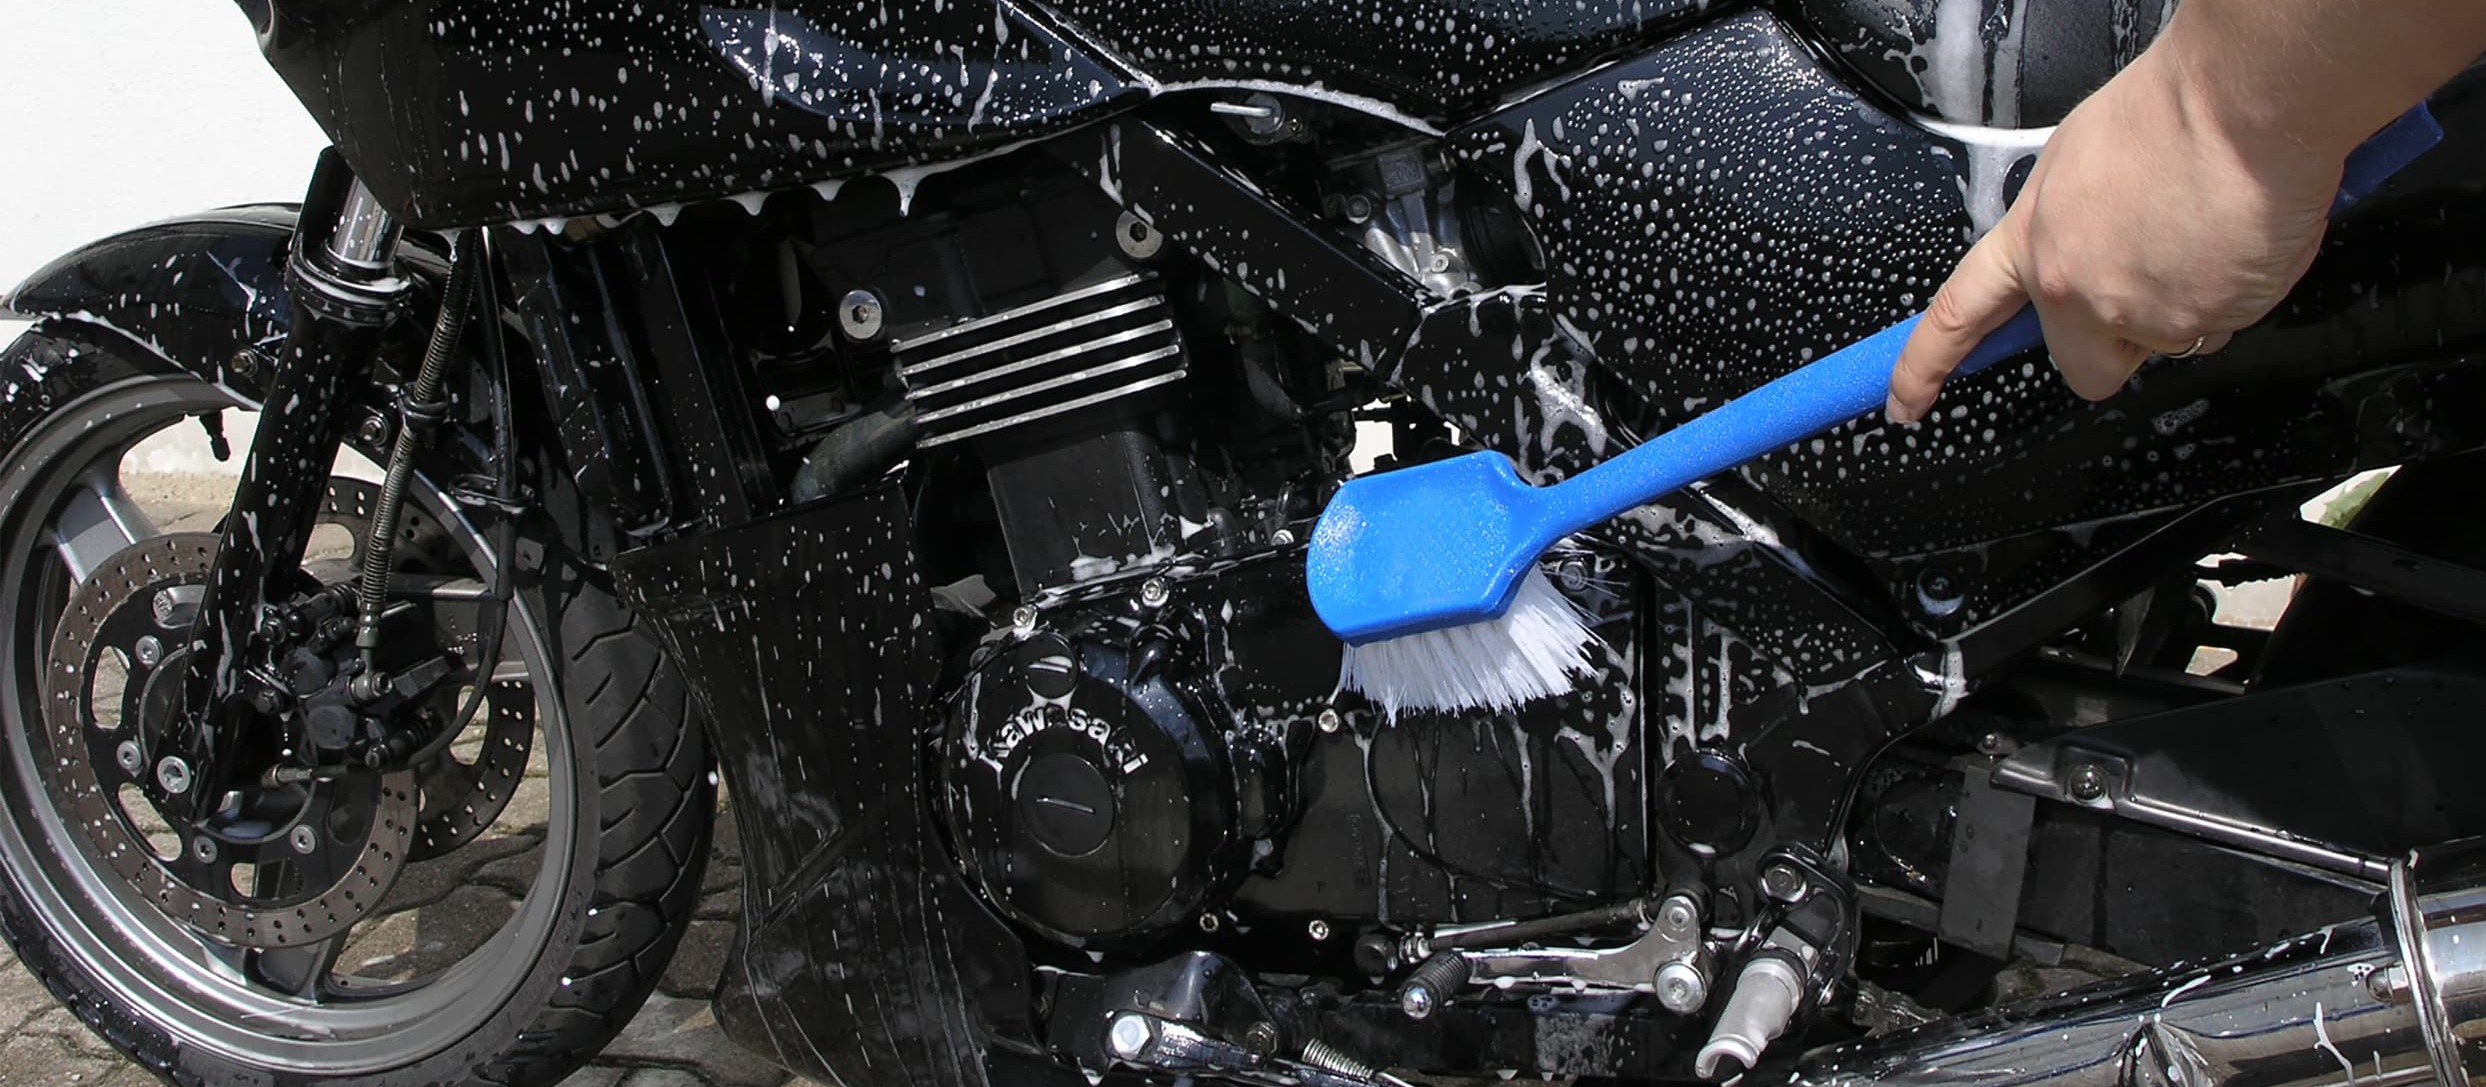
Step 3: Insect remover, block brush and special brushes
03 – Insect remover and special brushes
Squashed bugs on the headlights and touring windshield can prove stubborn, and are easier to wash off if you spray them with an insect remover first. Hard-to-reach areas of the engine (fins), or the rear suspension linkage, can be cleaned with a brush if need be. If the fins are very heavily soiled, and for all those inaccessible spots on your bike, we recommend the Procycle Cleaning Brush Set. But beware! Don't used these brushes to clean chrome parts or the delicate paintwork on the tank, side panels and fairing!
Rinse the sponge and brushes out regularly in the bucket to get rid of any sand particles that may scratch the surfaces of your bike.
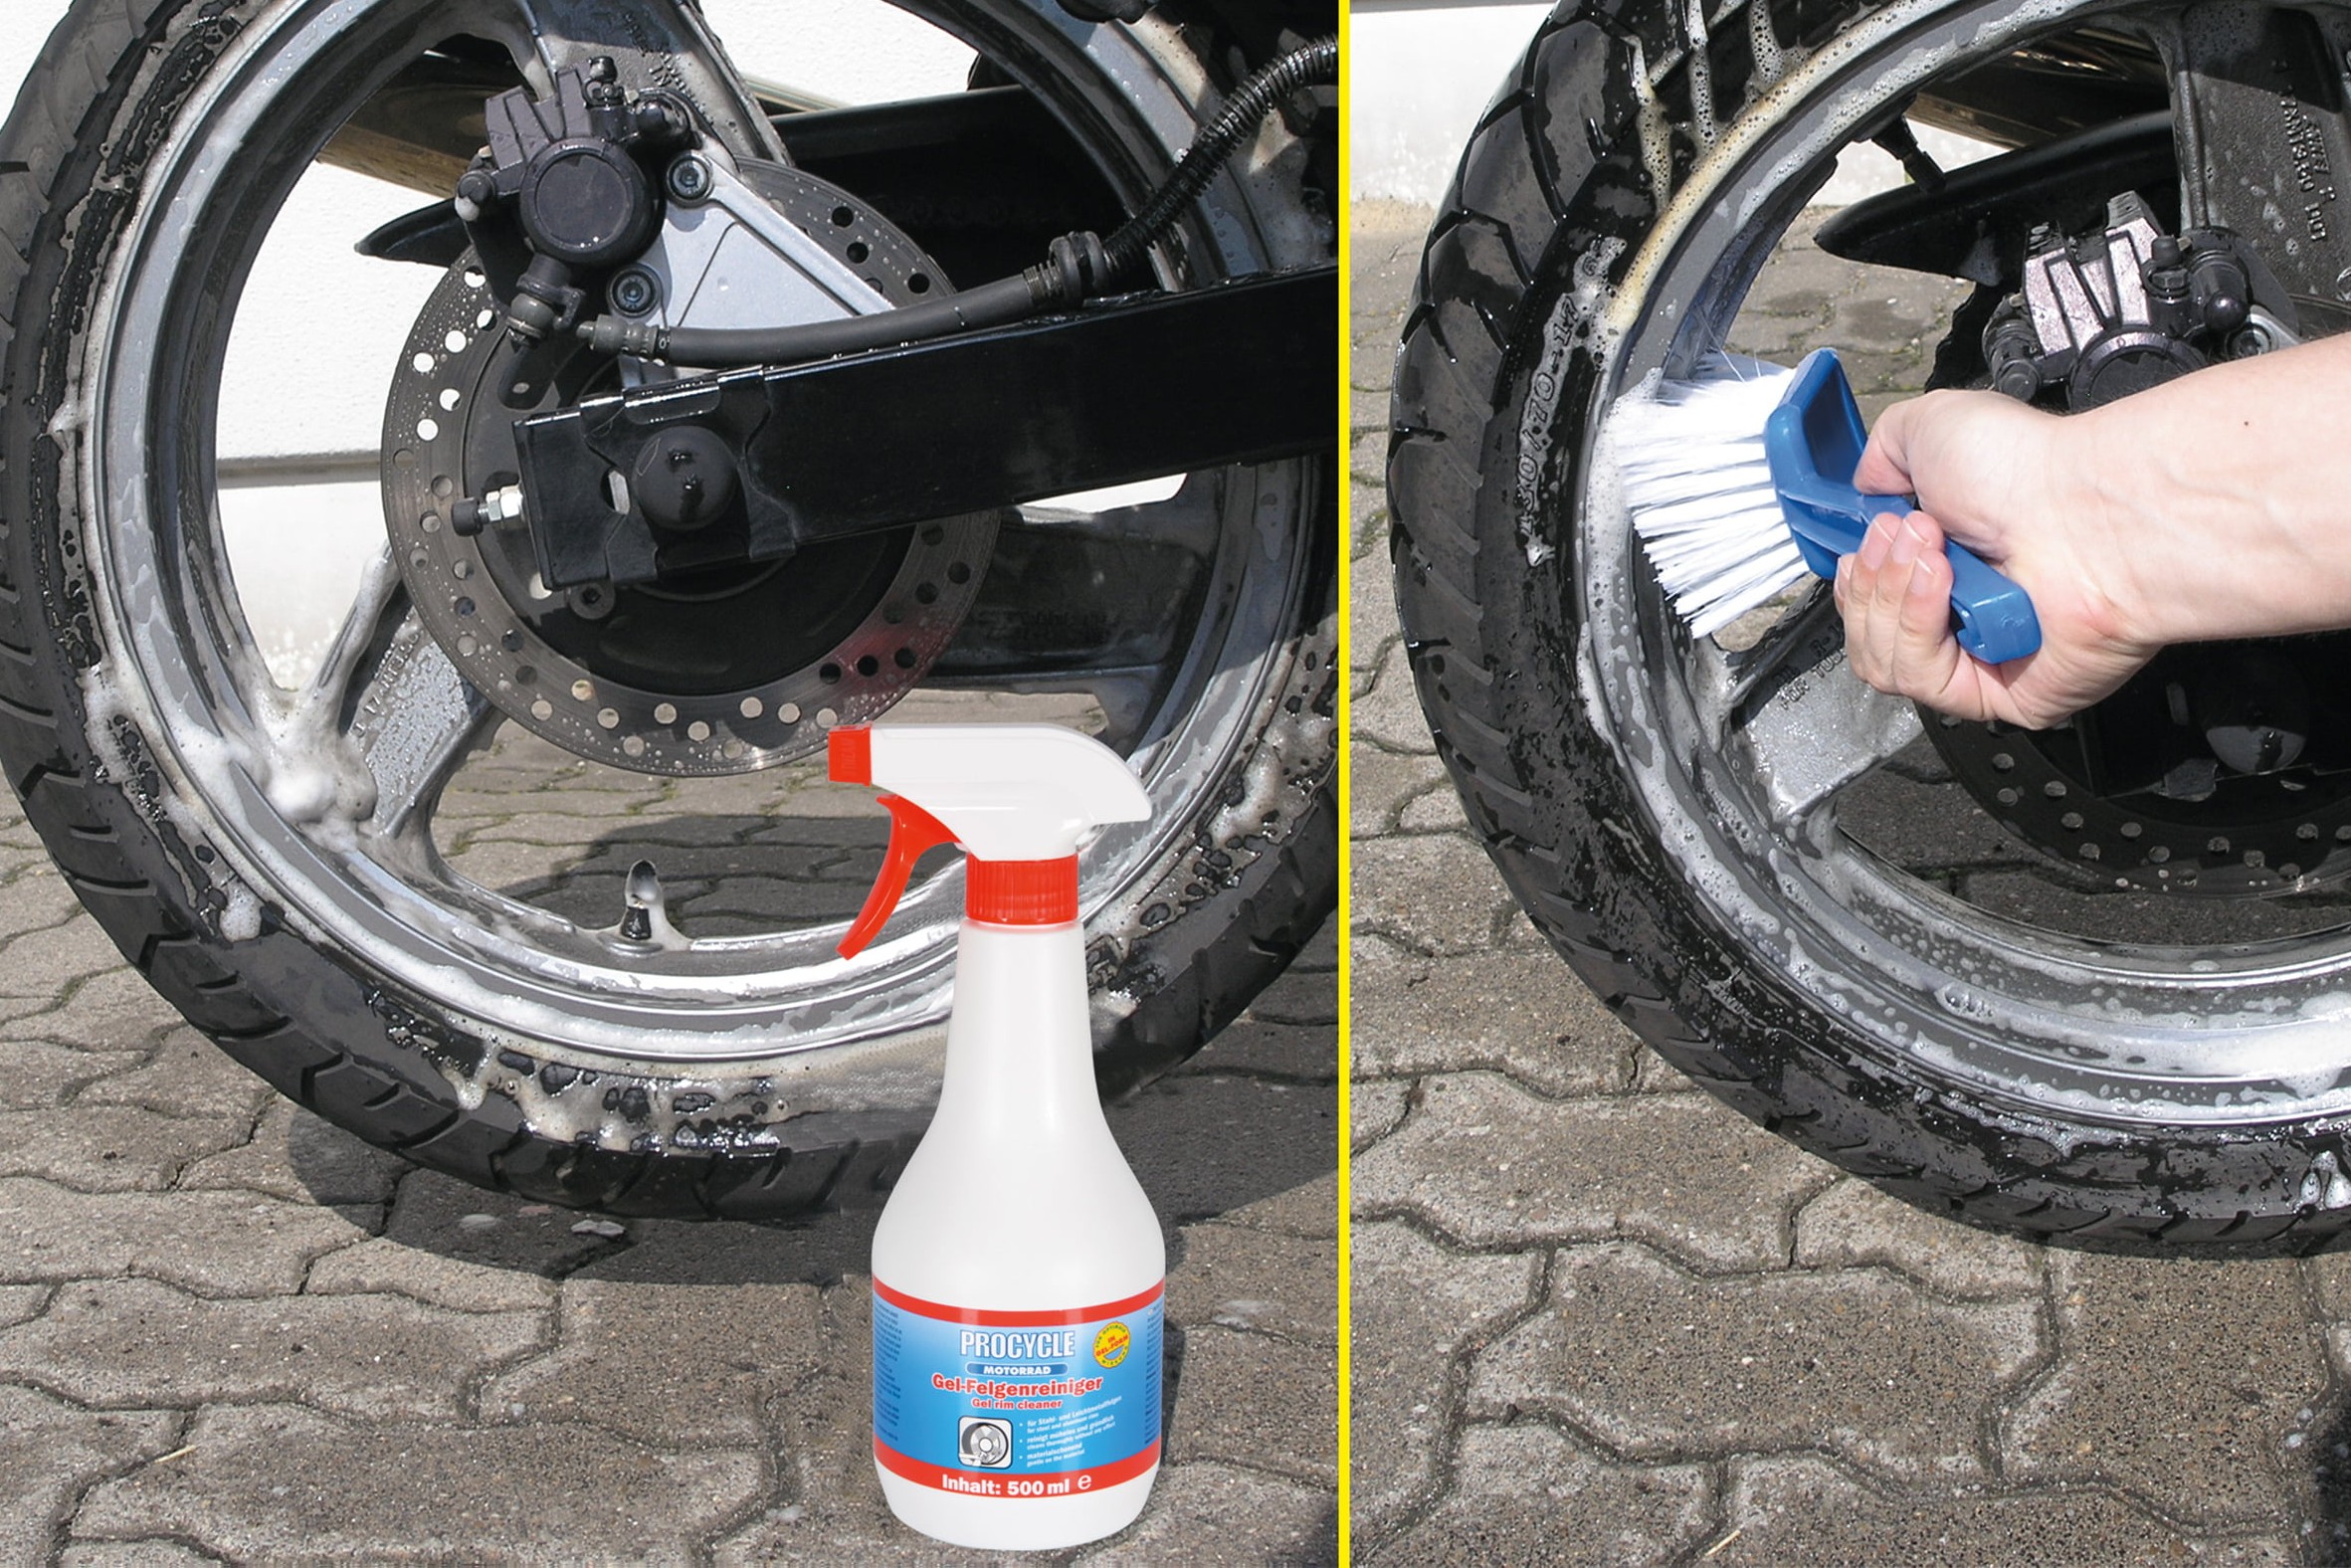
Step 4: Scrub rims if necessary
04 – Scrub the rims
Now clean the wheels if they need it. Stubborn soiling will be much easier to remove if you use our special Procycle Wheel Cleaner. You will need a brush for this too - unless you have chrome rims, of course.
And while you're at it, it's always a good idea to check the brake discs. If they are very dirty, we recommend using Procycle Brake Cleaner.
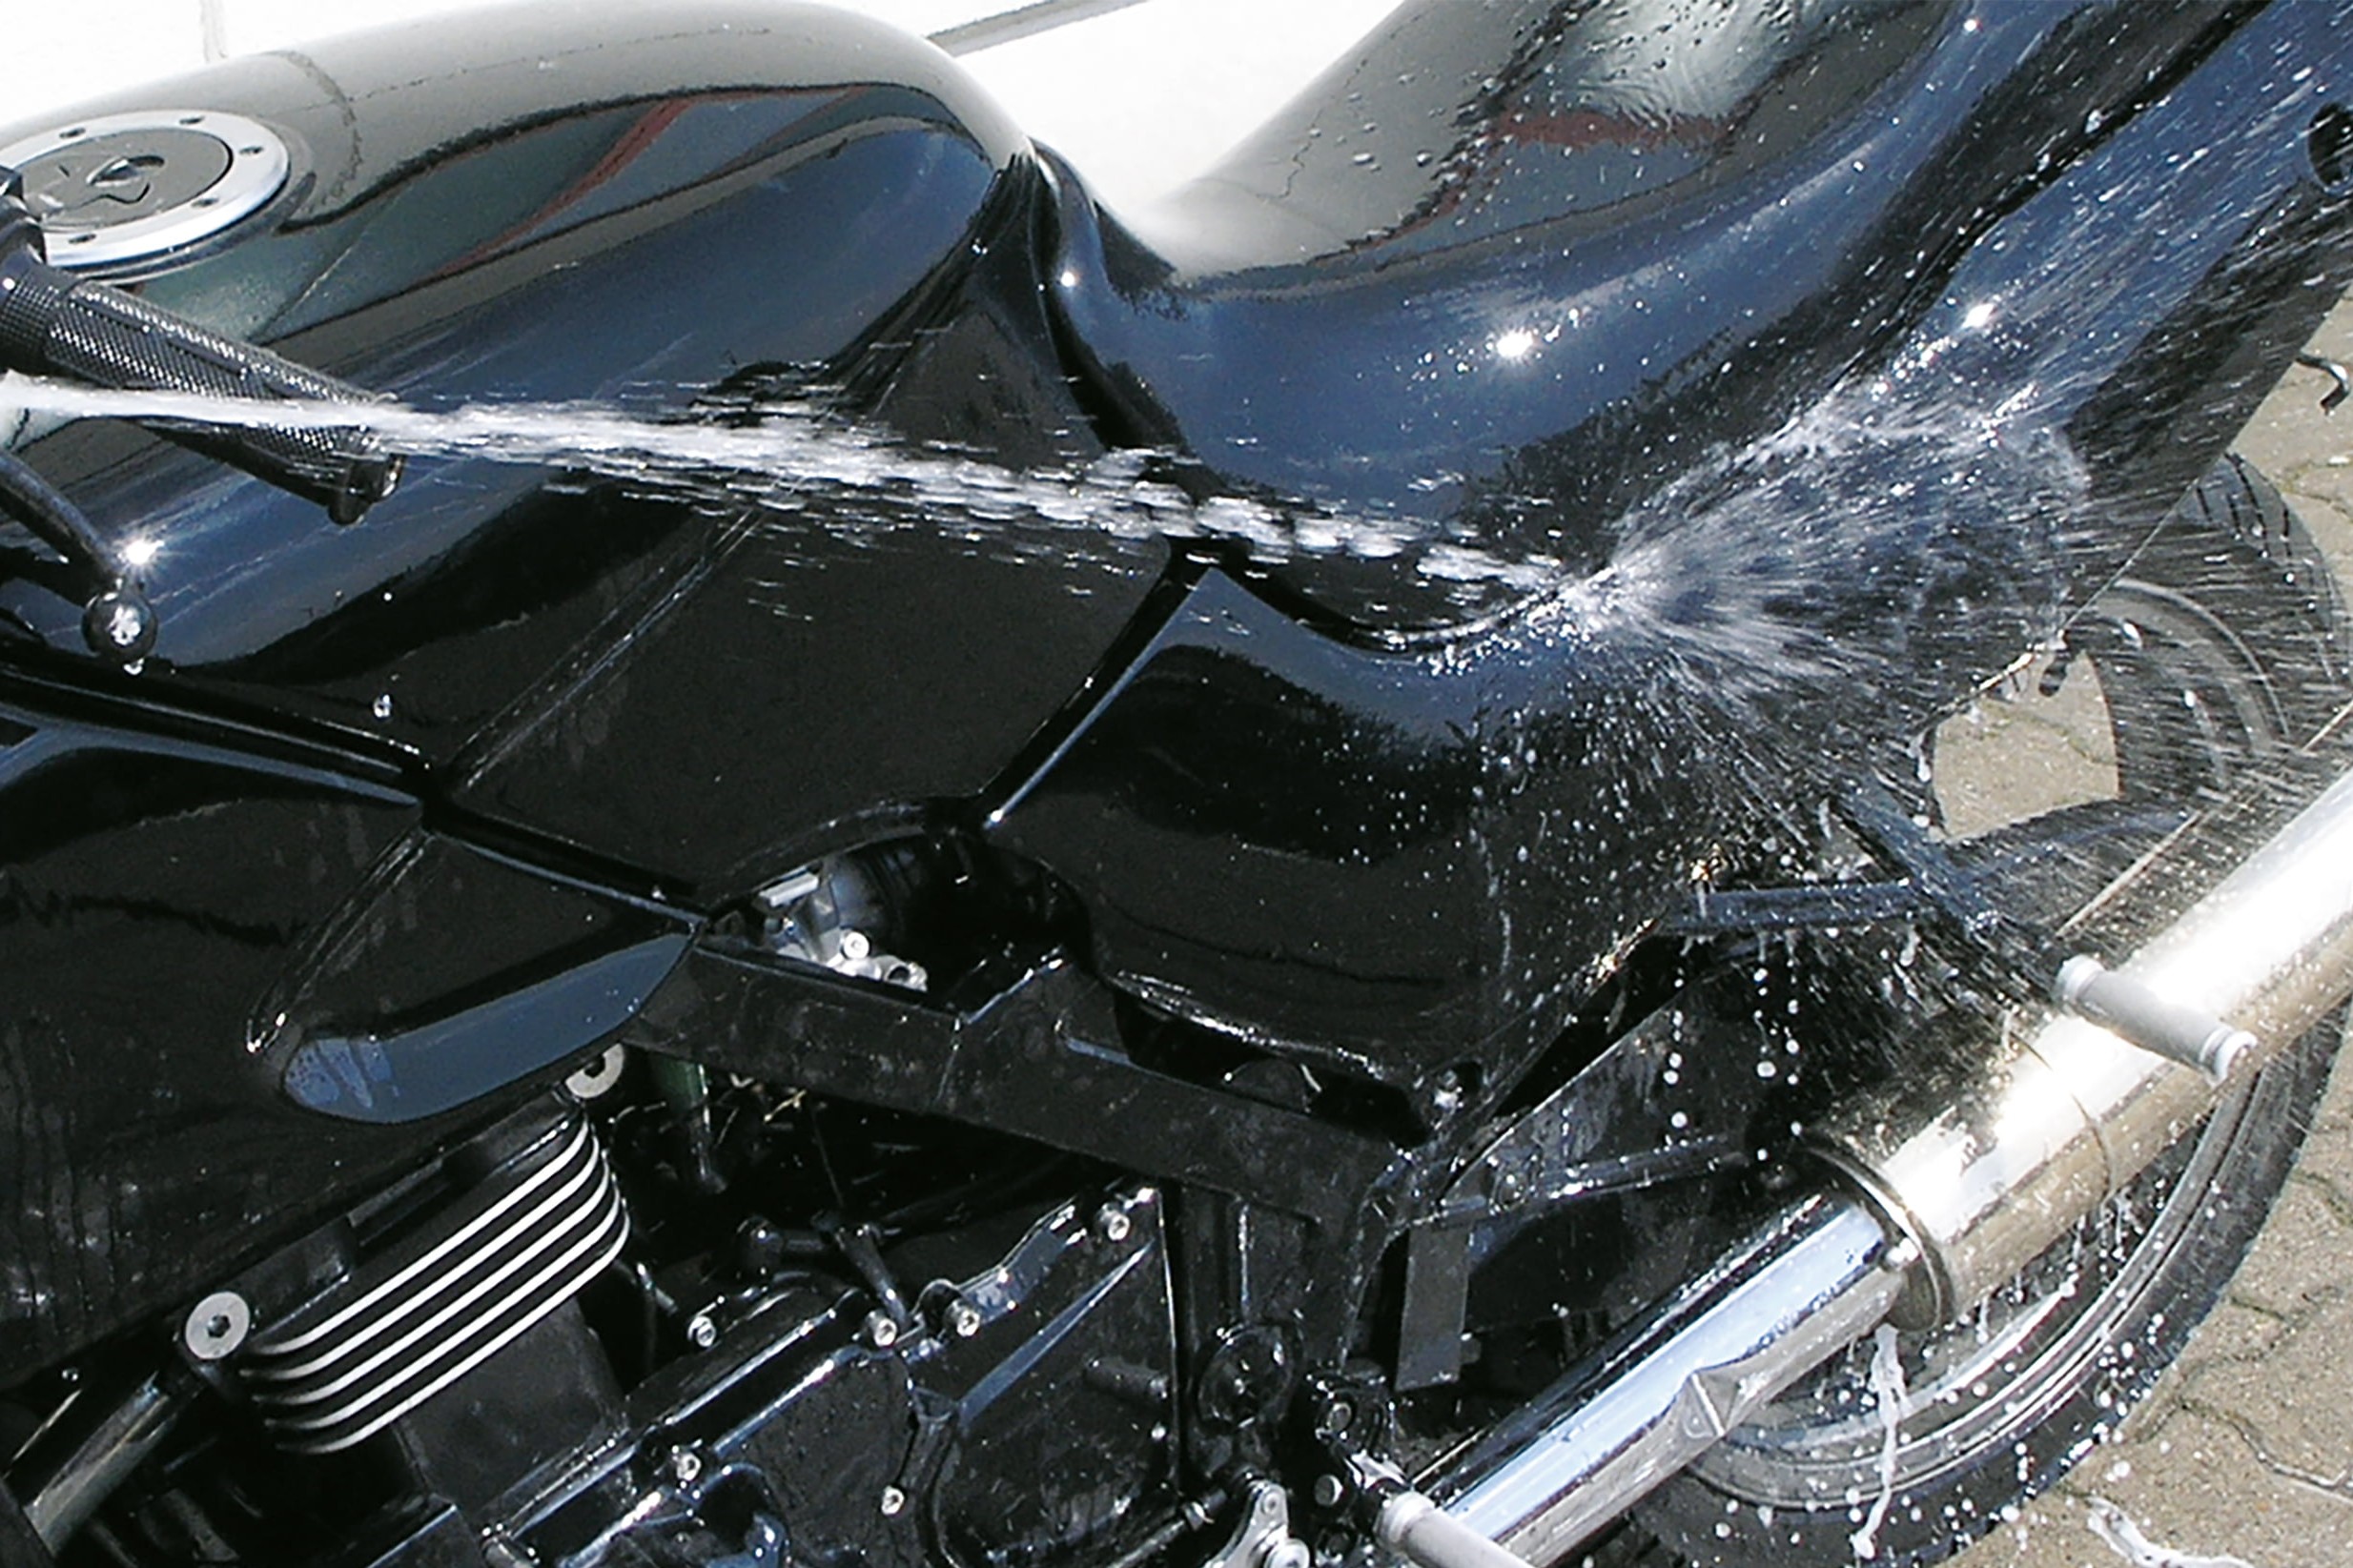
Step 5: Hose down with plenty of clear water
05 – Hose down with clear water
Finish off by hosing down your bike with clear water in order to rinse off any remaining cleaner. And make sure you thoroughly rinse unprotected aluminium parts and screws, as even gentle cleaners can damage them over time.
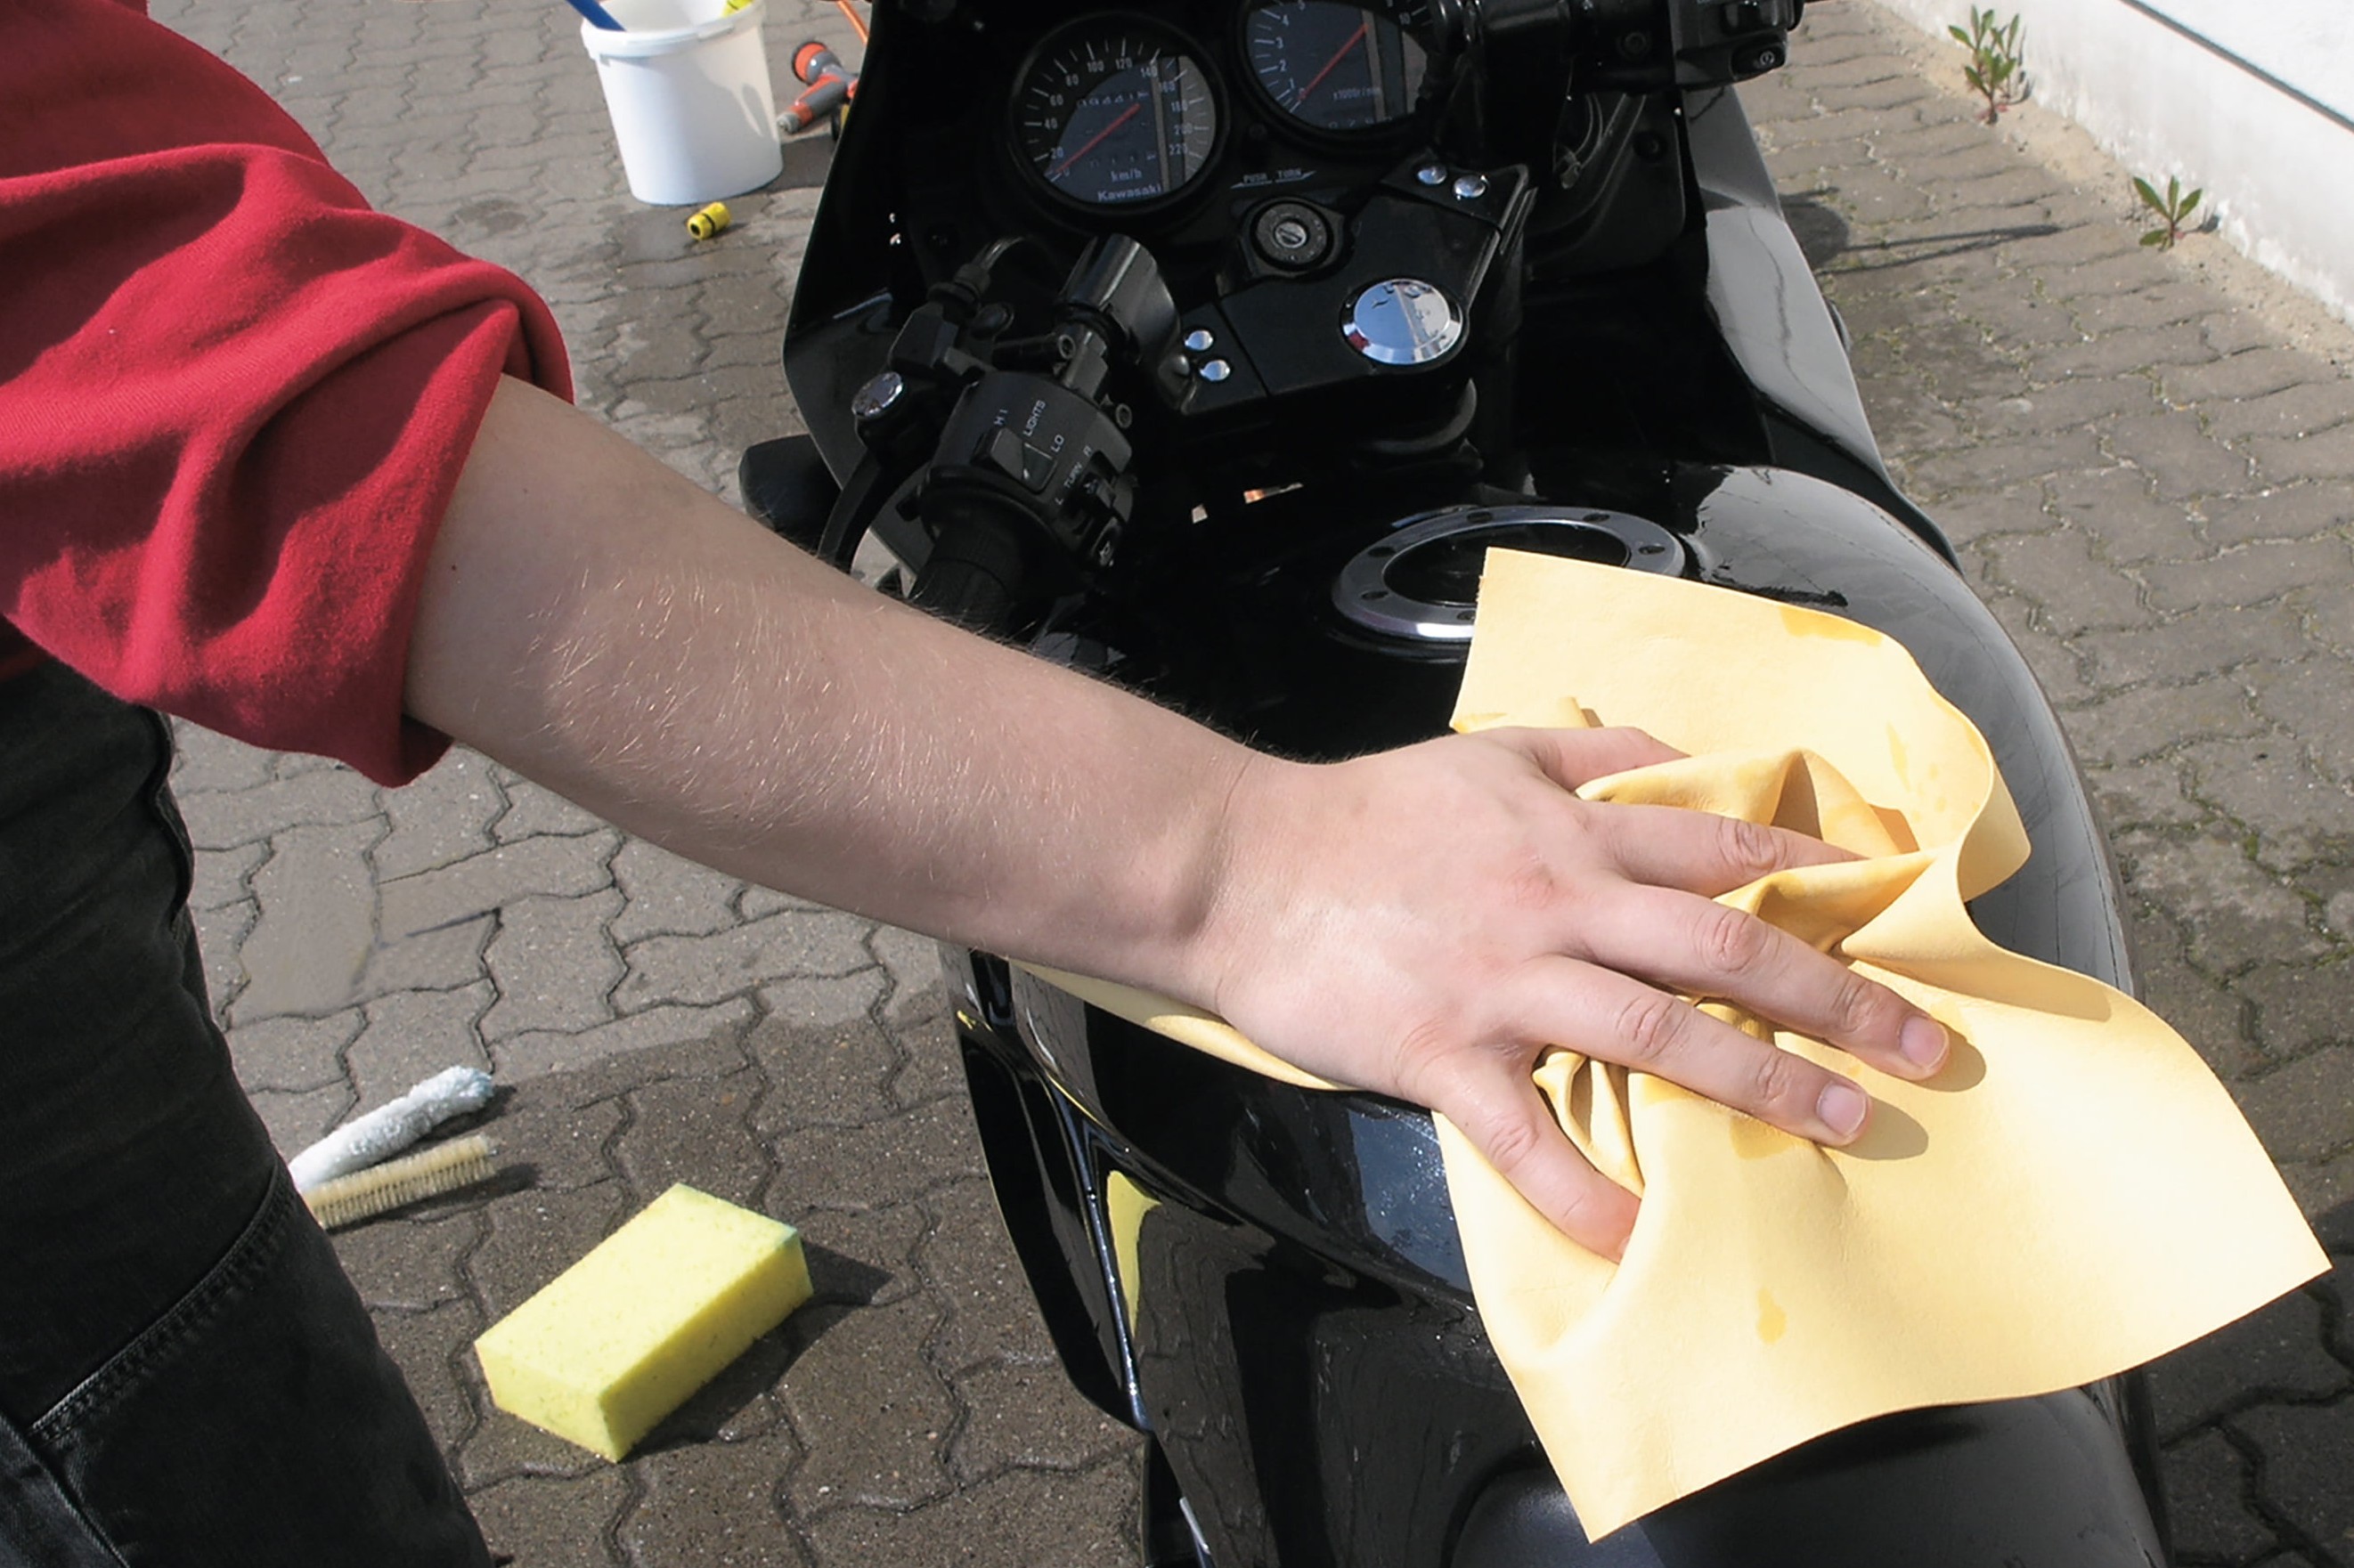
Step 6: Rub down well with a chamois to prevent water spots
06 – Rub down with chamois
Once you’ve rinsed all parts with clear water, dry your bike using a chamois leather. This prevents streaking and water spots. Occasionally rinse the chamois in clean water and wring out well.
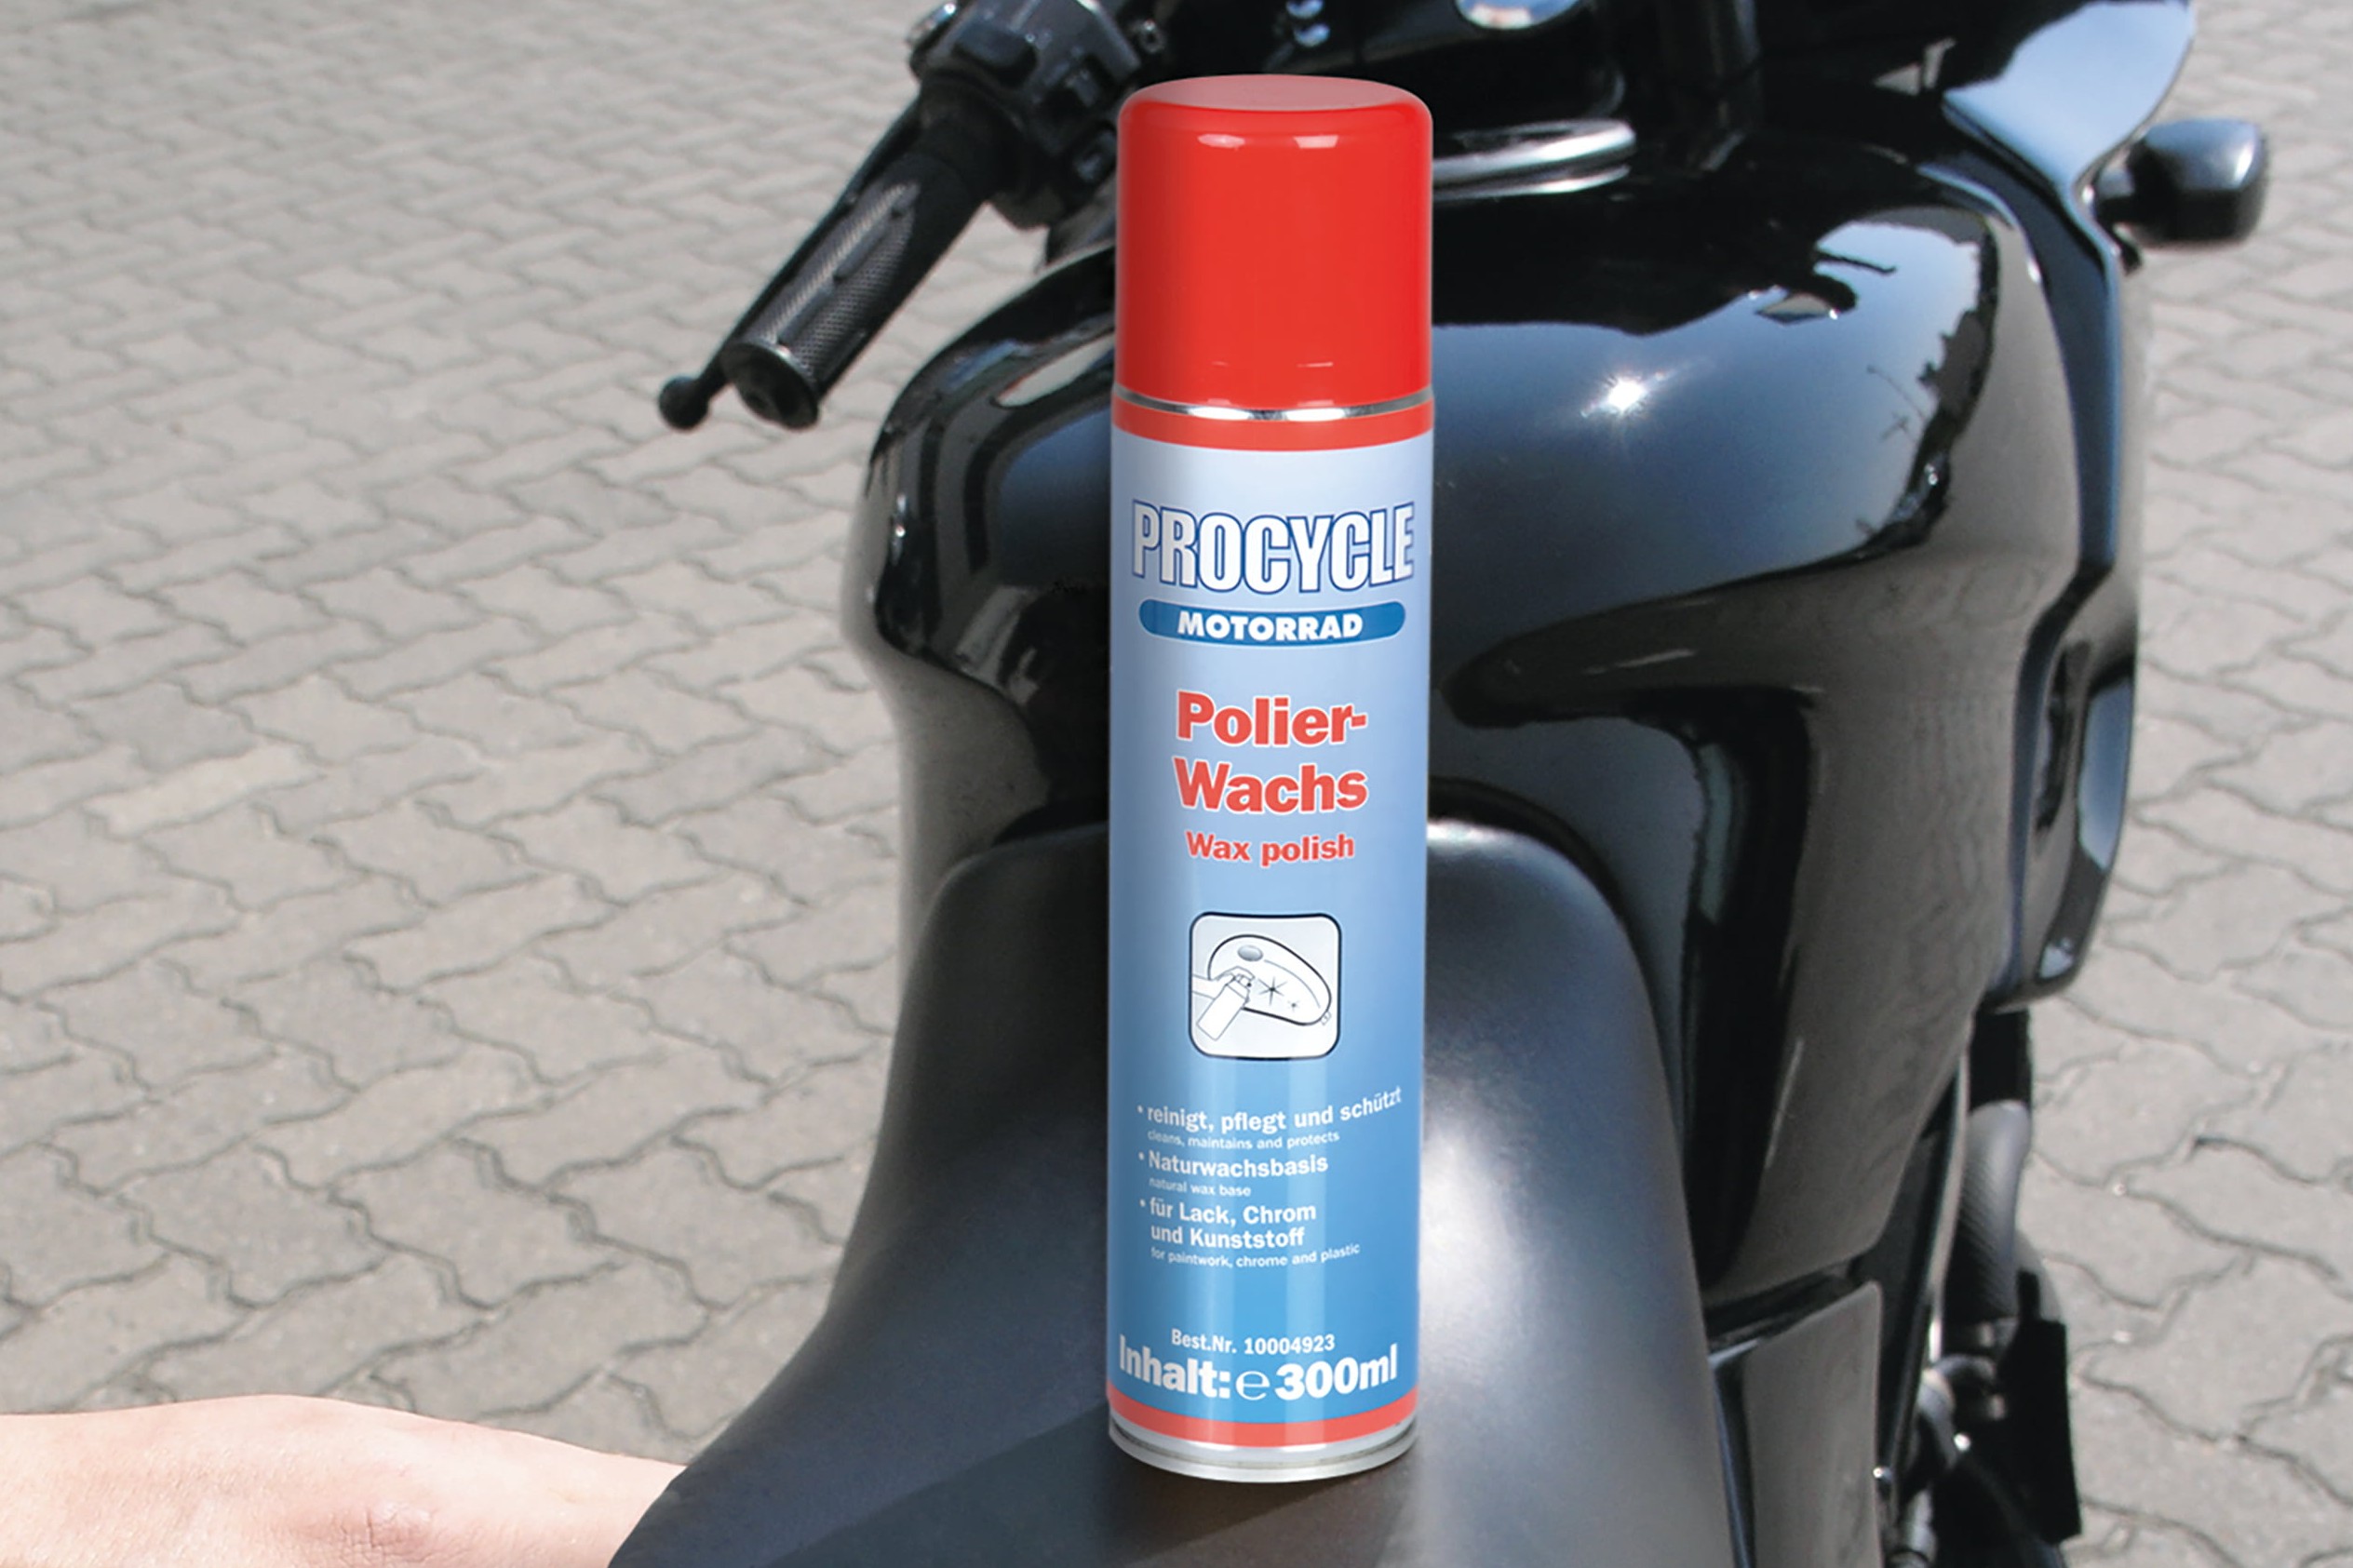
Step 7, Fig. 1: Polishing wax for a super high-gloss finish
07 – Polishing wax and fleece cloth
It's always a good idea to apply a paint care product containing wax to any painted parts. Not only does this make them gleam again, it also protects your paintwork against the elements. Products that clean as well as polishing are particularly practical. And they can also be used to clean under the seat or tank. Larger areas are probably easier to clean if you use special polish pads.
If your paintwork is scratched, we recommend using a special polish, such as S100 Paint + Plastic Polish. It contains fine abrasive particles that will remove light scratches. And if you have any minor scuffs and scrapes, S100 Scratch Polish may just save you that expensive trip to the paint shop. Wax-based cleaning agents are also great for chrome and bare metal, as they help protect against rust, and water simply pearls off. But they must not be used on surfaces that get hot.
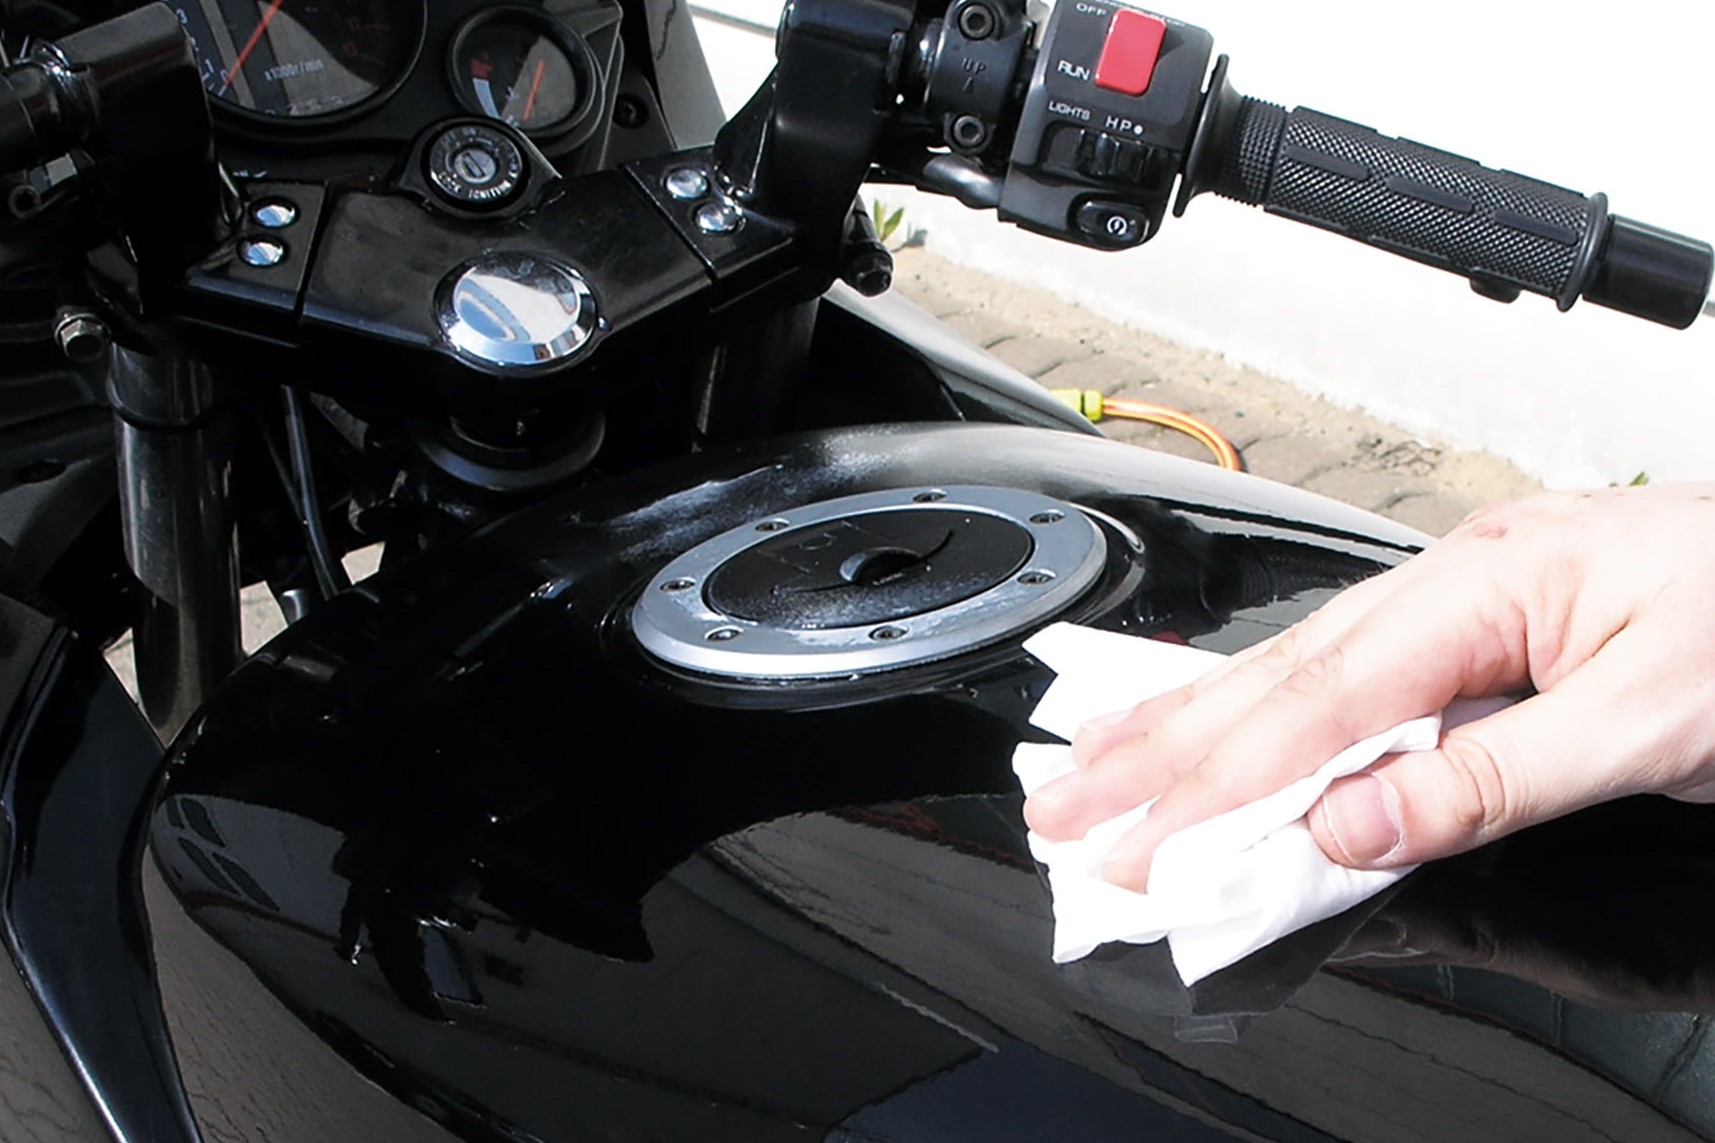
Step 7, Fig. 2: Fleece cloths prevent polishing scratches
Milky polishes are often unsuitable for unpainted, slightly rough plastics, as they can be absorbed into the surface, leaving permanent ugly white marks.
Allow the polish to dry for approx. 10 mins and then buff gently with a clean, ultra-soft cloth or a special microfibre cloth. The gentlest way is to only polish a small area at a time and always polish in straight lines - NOT in circles!
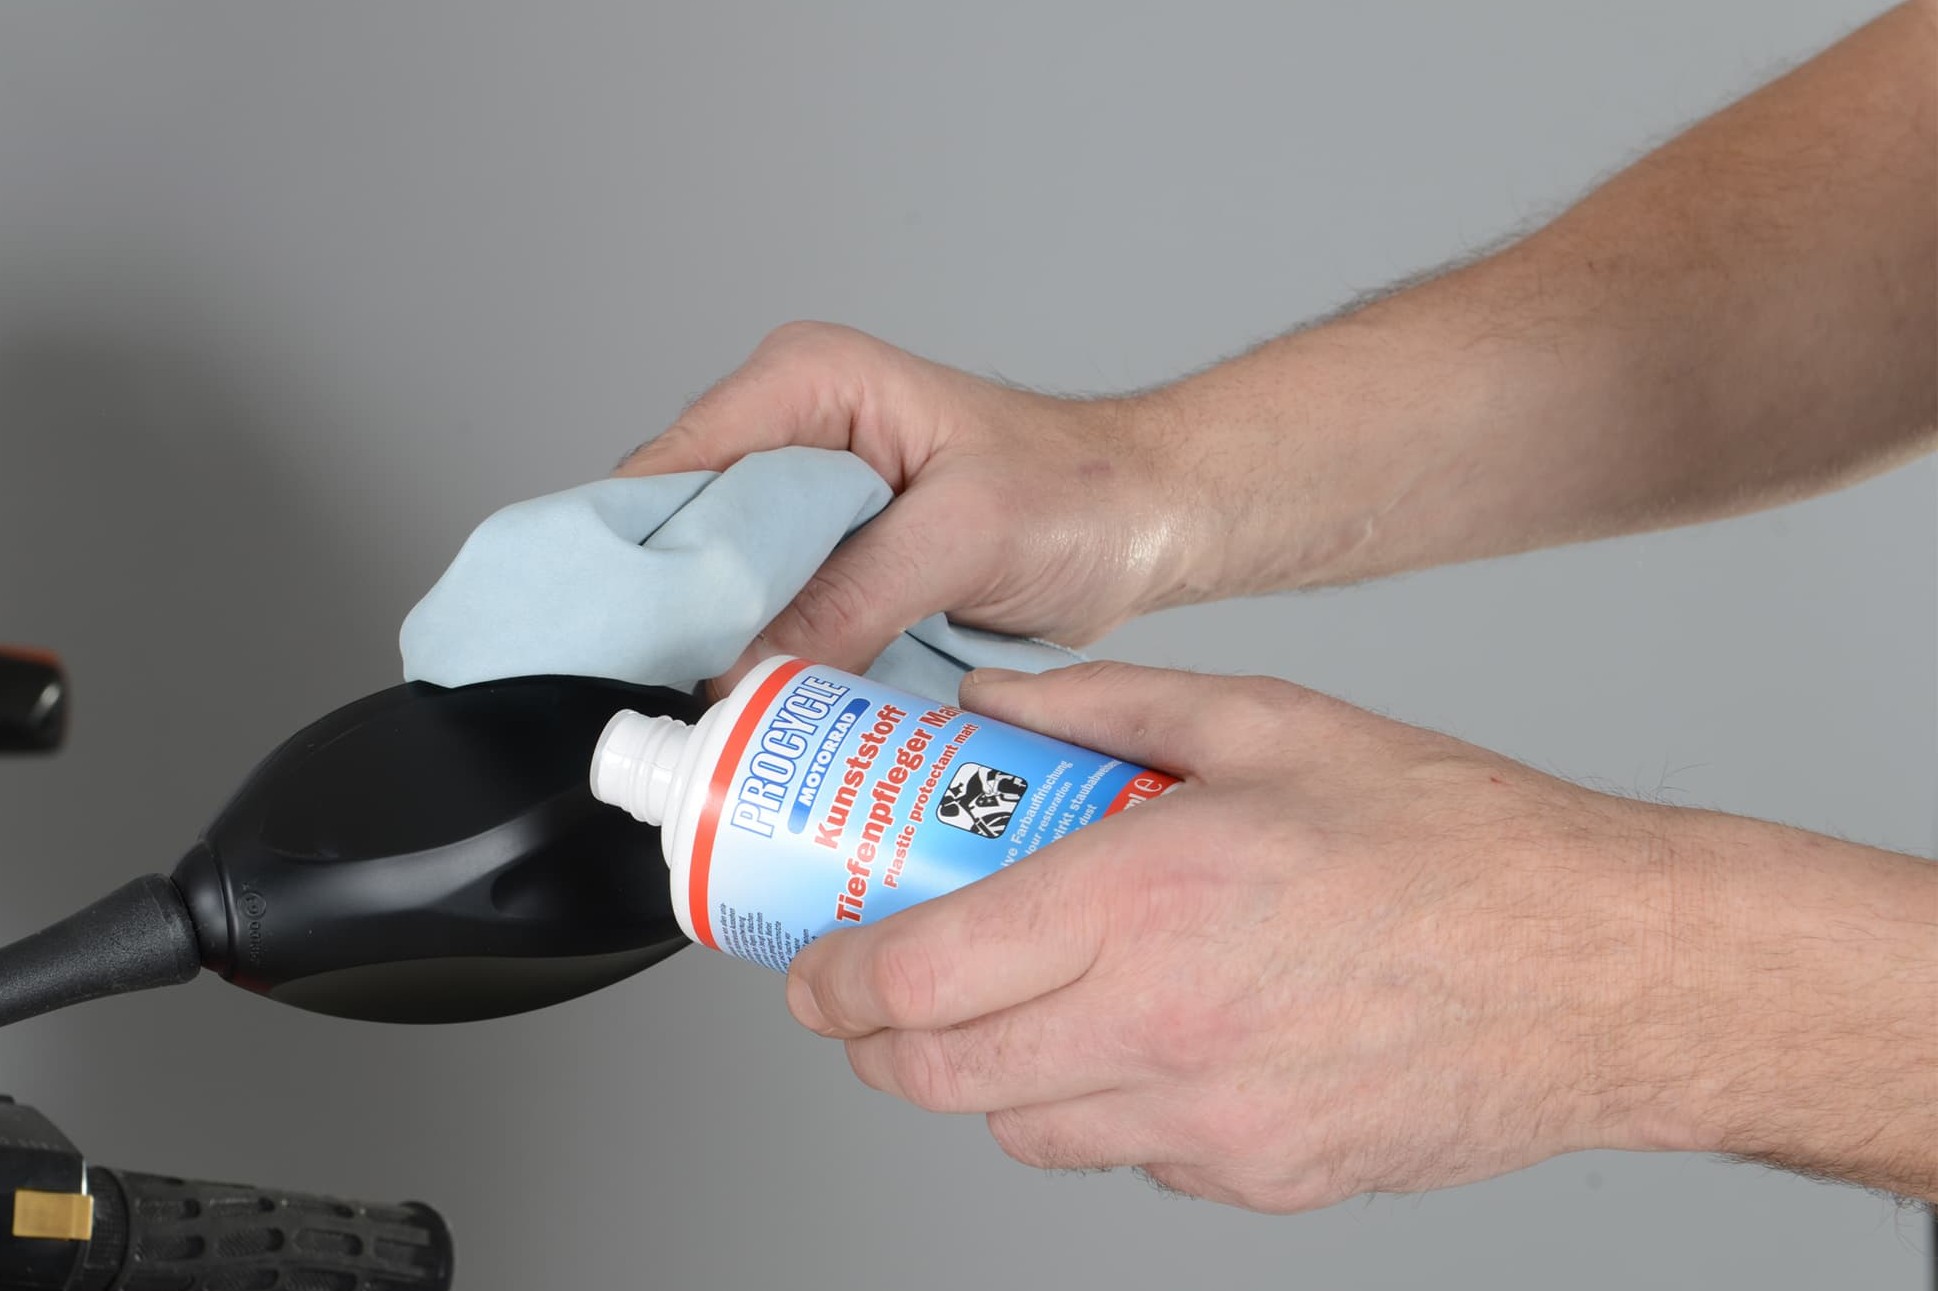
Step 8: Treat plastic parts – not for footrests or seat
08 – Treat plastic parts with special cleaner
Unpainted plastic parts should be treated with a special plastic cleaner (e.g. Procycle Plastic Protectant). It will protect plastic parts against drying out caused by the sun and the elements.
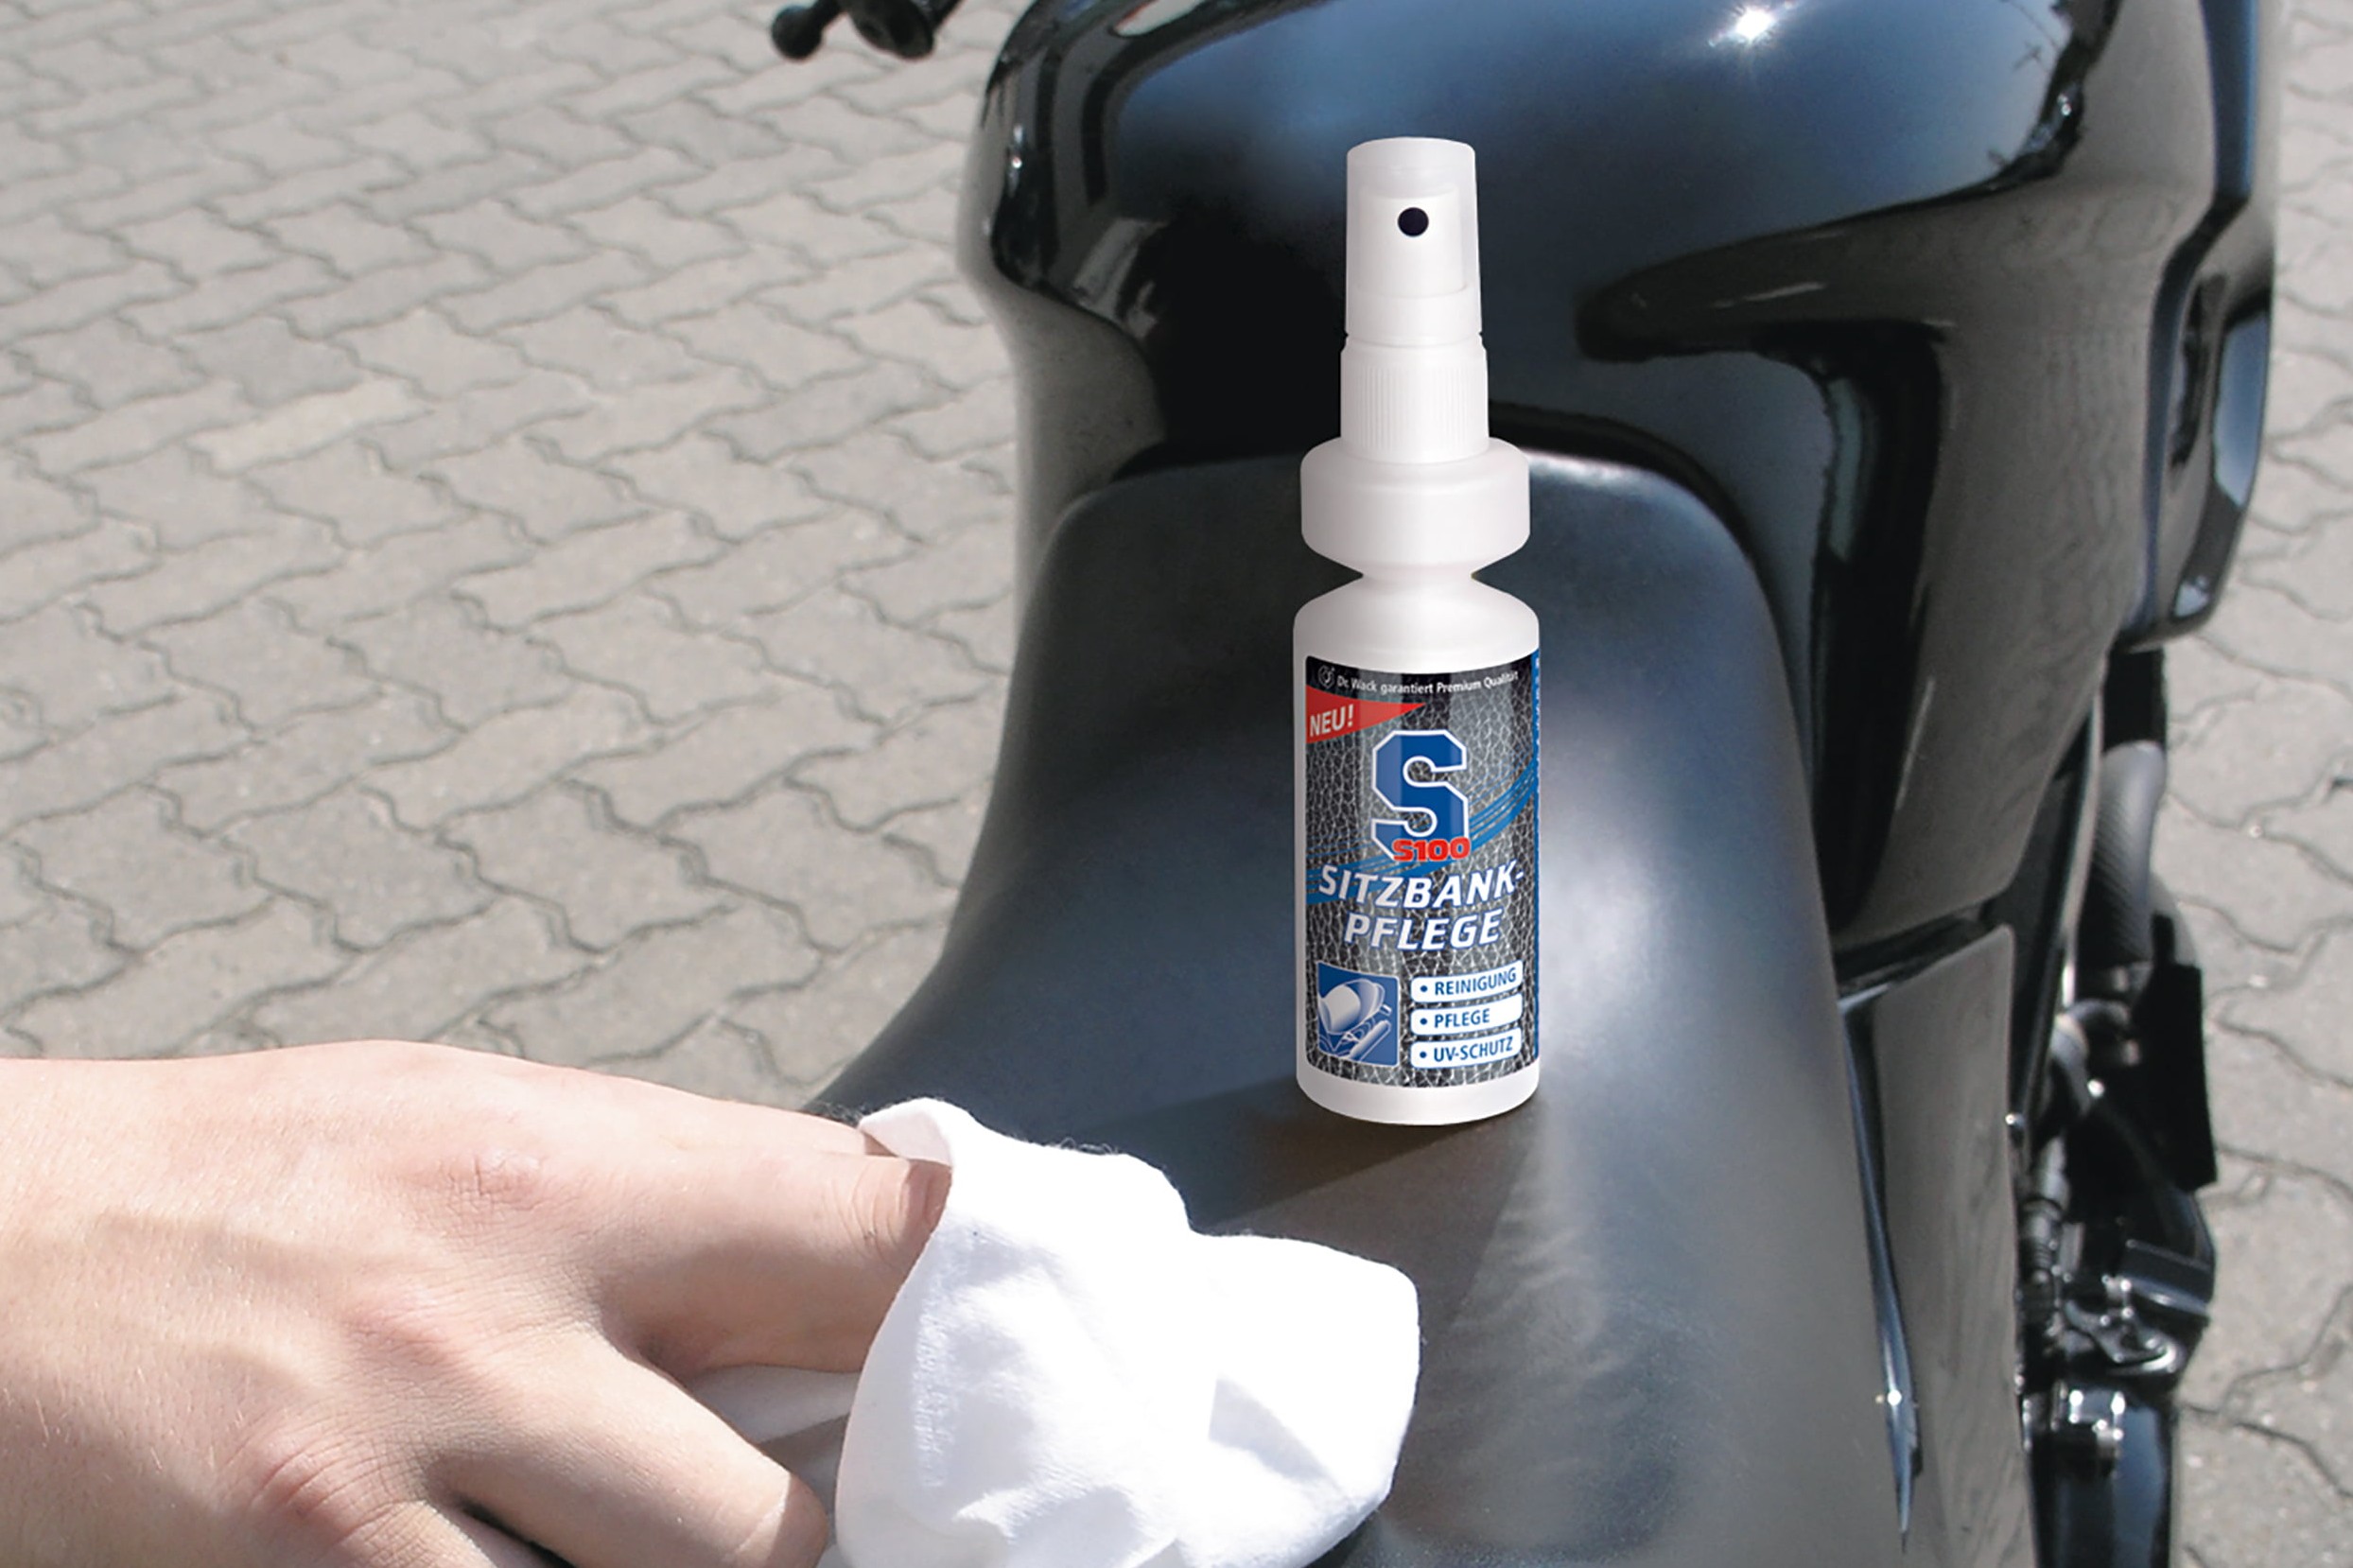
Step 9: Spruce up your seat
09 – Spruce up the seat
Your vinyl or leather seat, however, would much rather a rub down with S100 Seat Care and Clean.
Important: Do not use a plastic cleaner, as it would make the seat slippy!
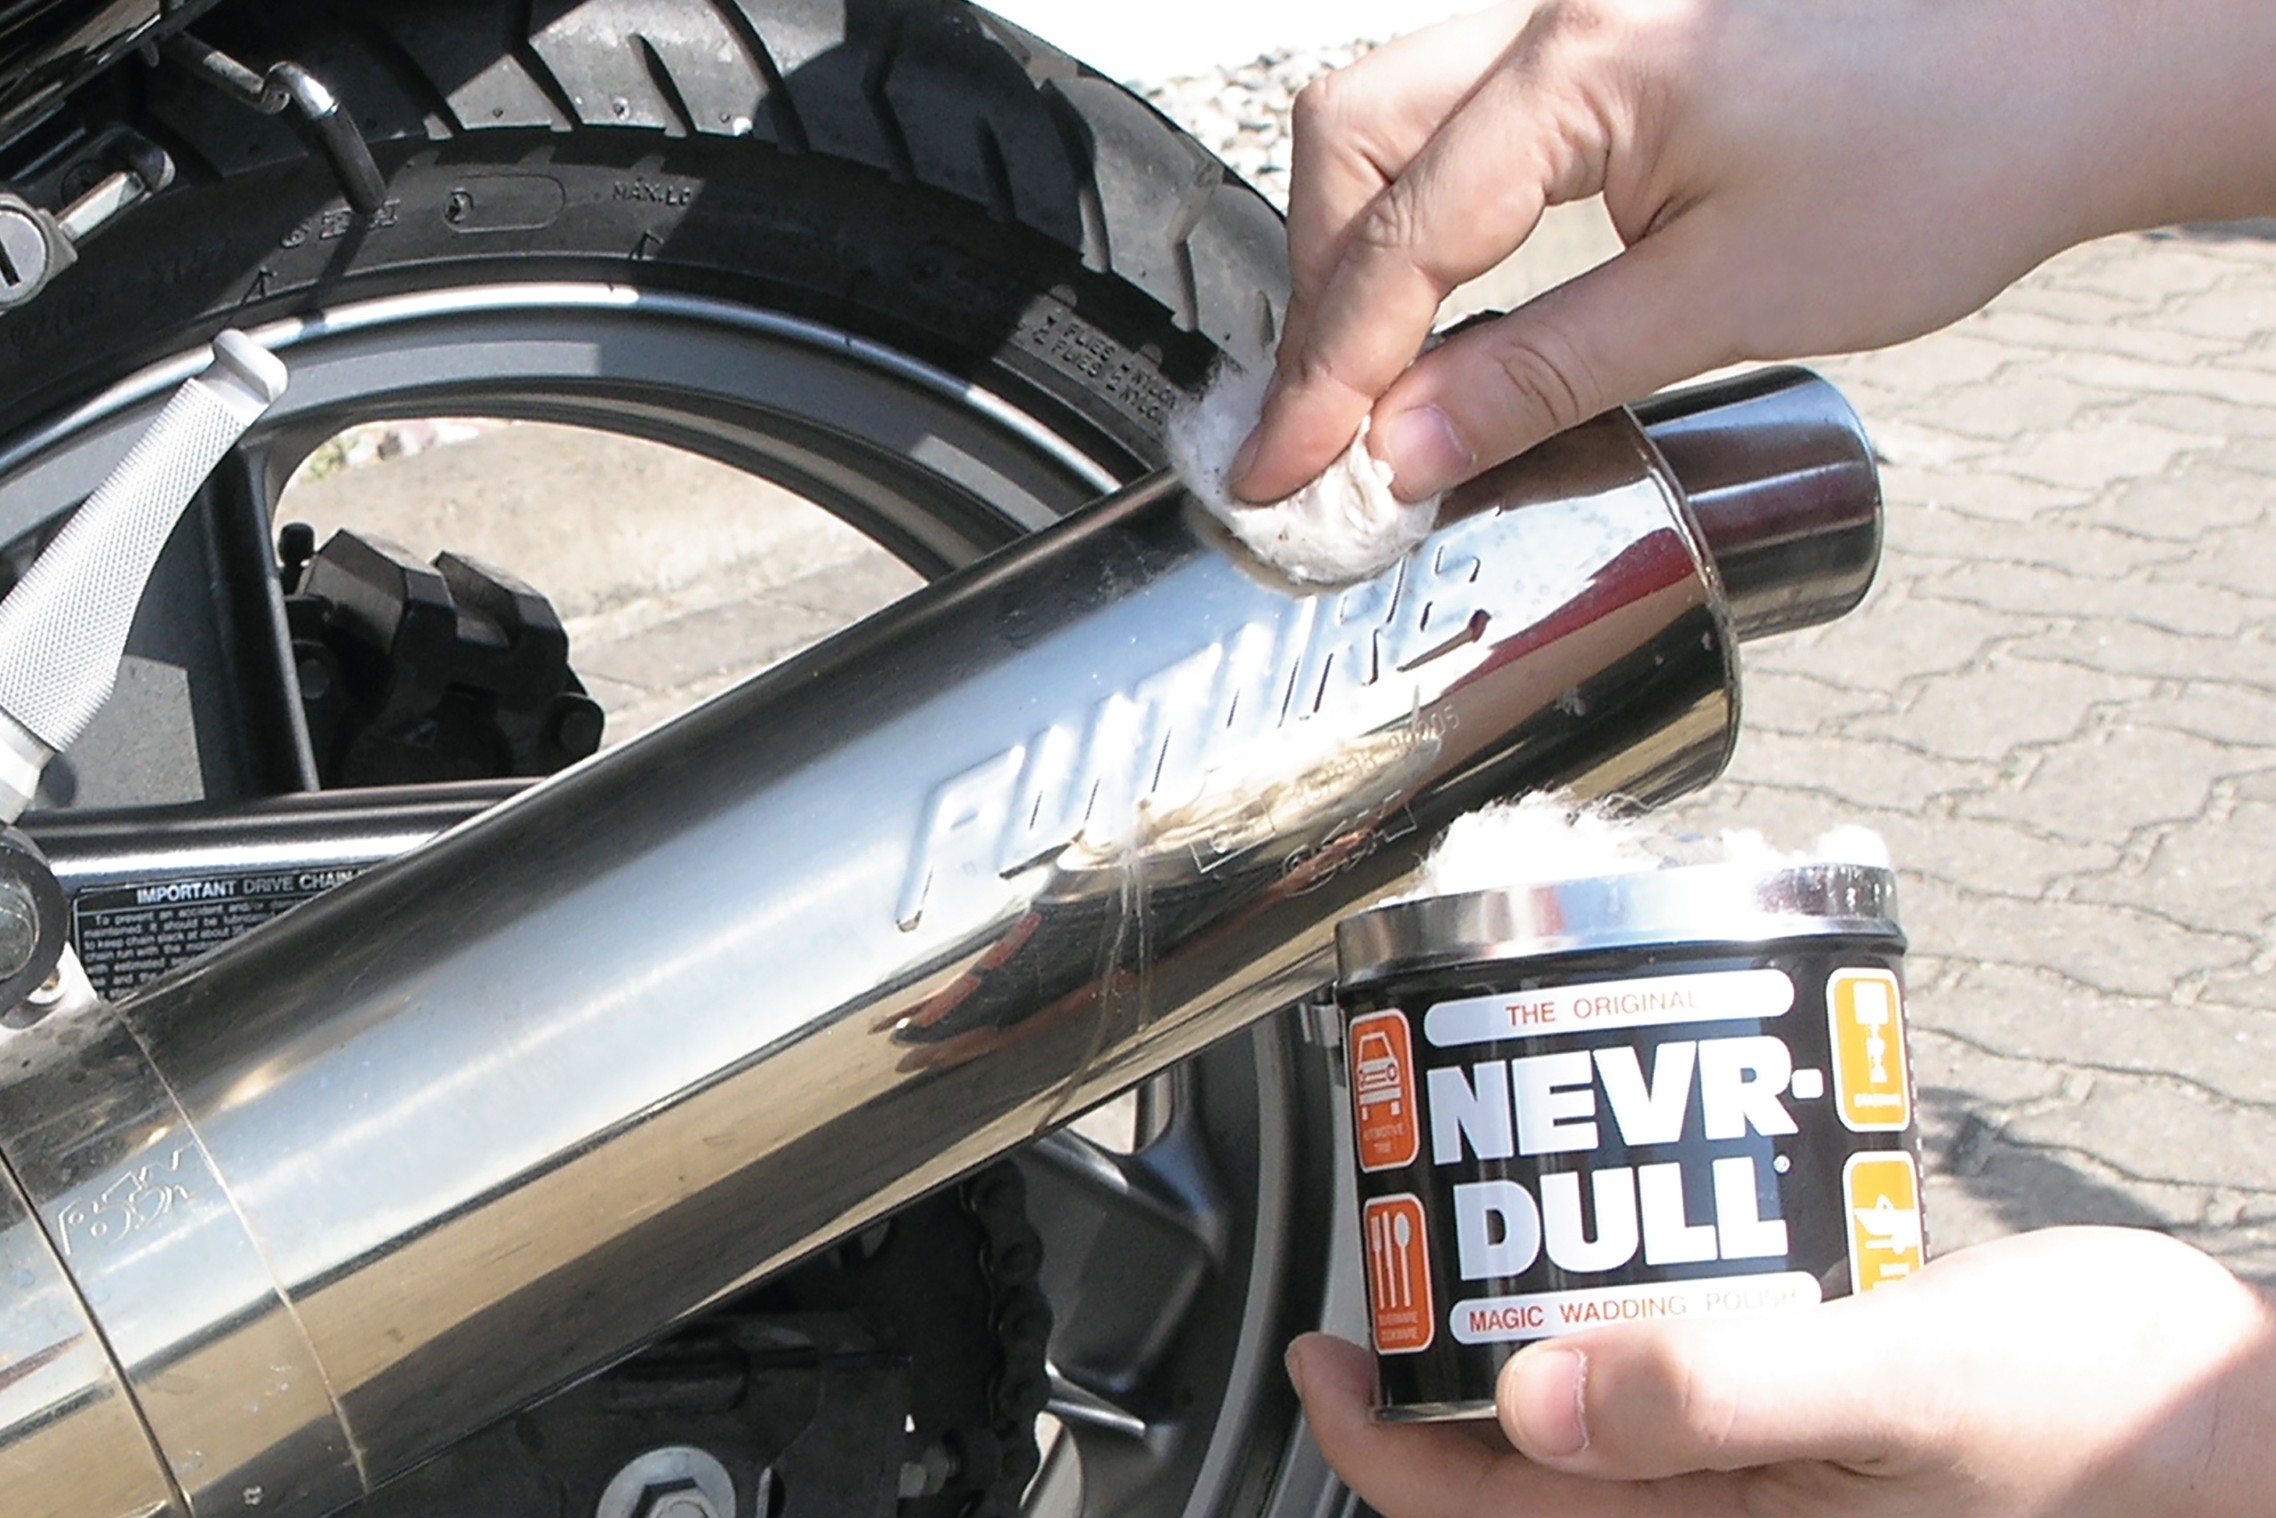
Step 10, Fig. 1: Give chrome & aluminium parts ...
10 – Polish chrome & aluminium parts
Chrome parts such as rear silencers, especially if they're weathered, can be very effectively treated by applying Nevr-Dull Magic Wadding or Procycle Chrome Polish. Don't forget the fork tubes while you're at it, as any adhering dirt may damage the fork seals when the suspension is compressed.
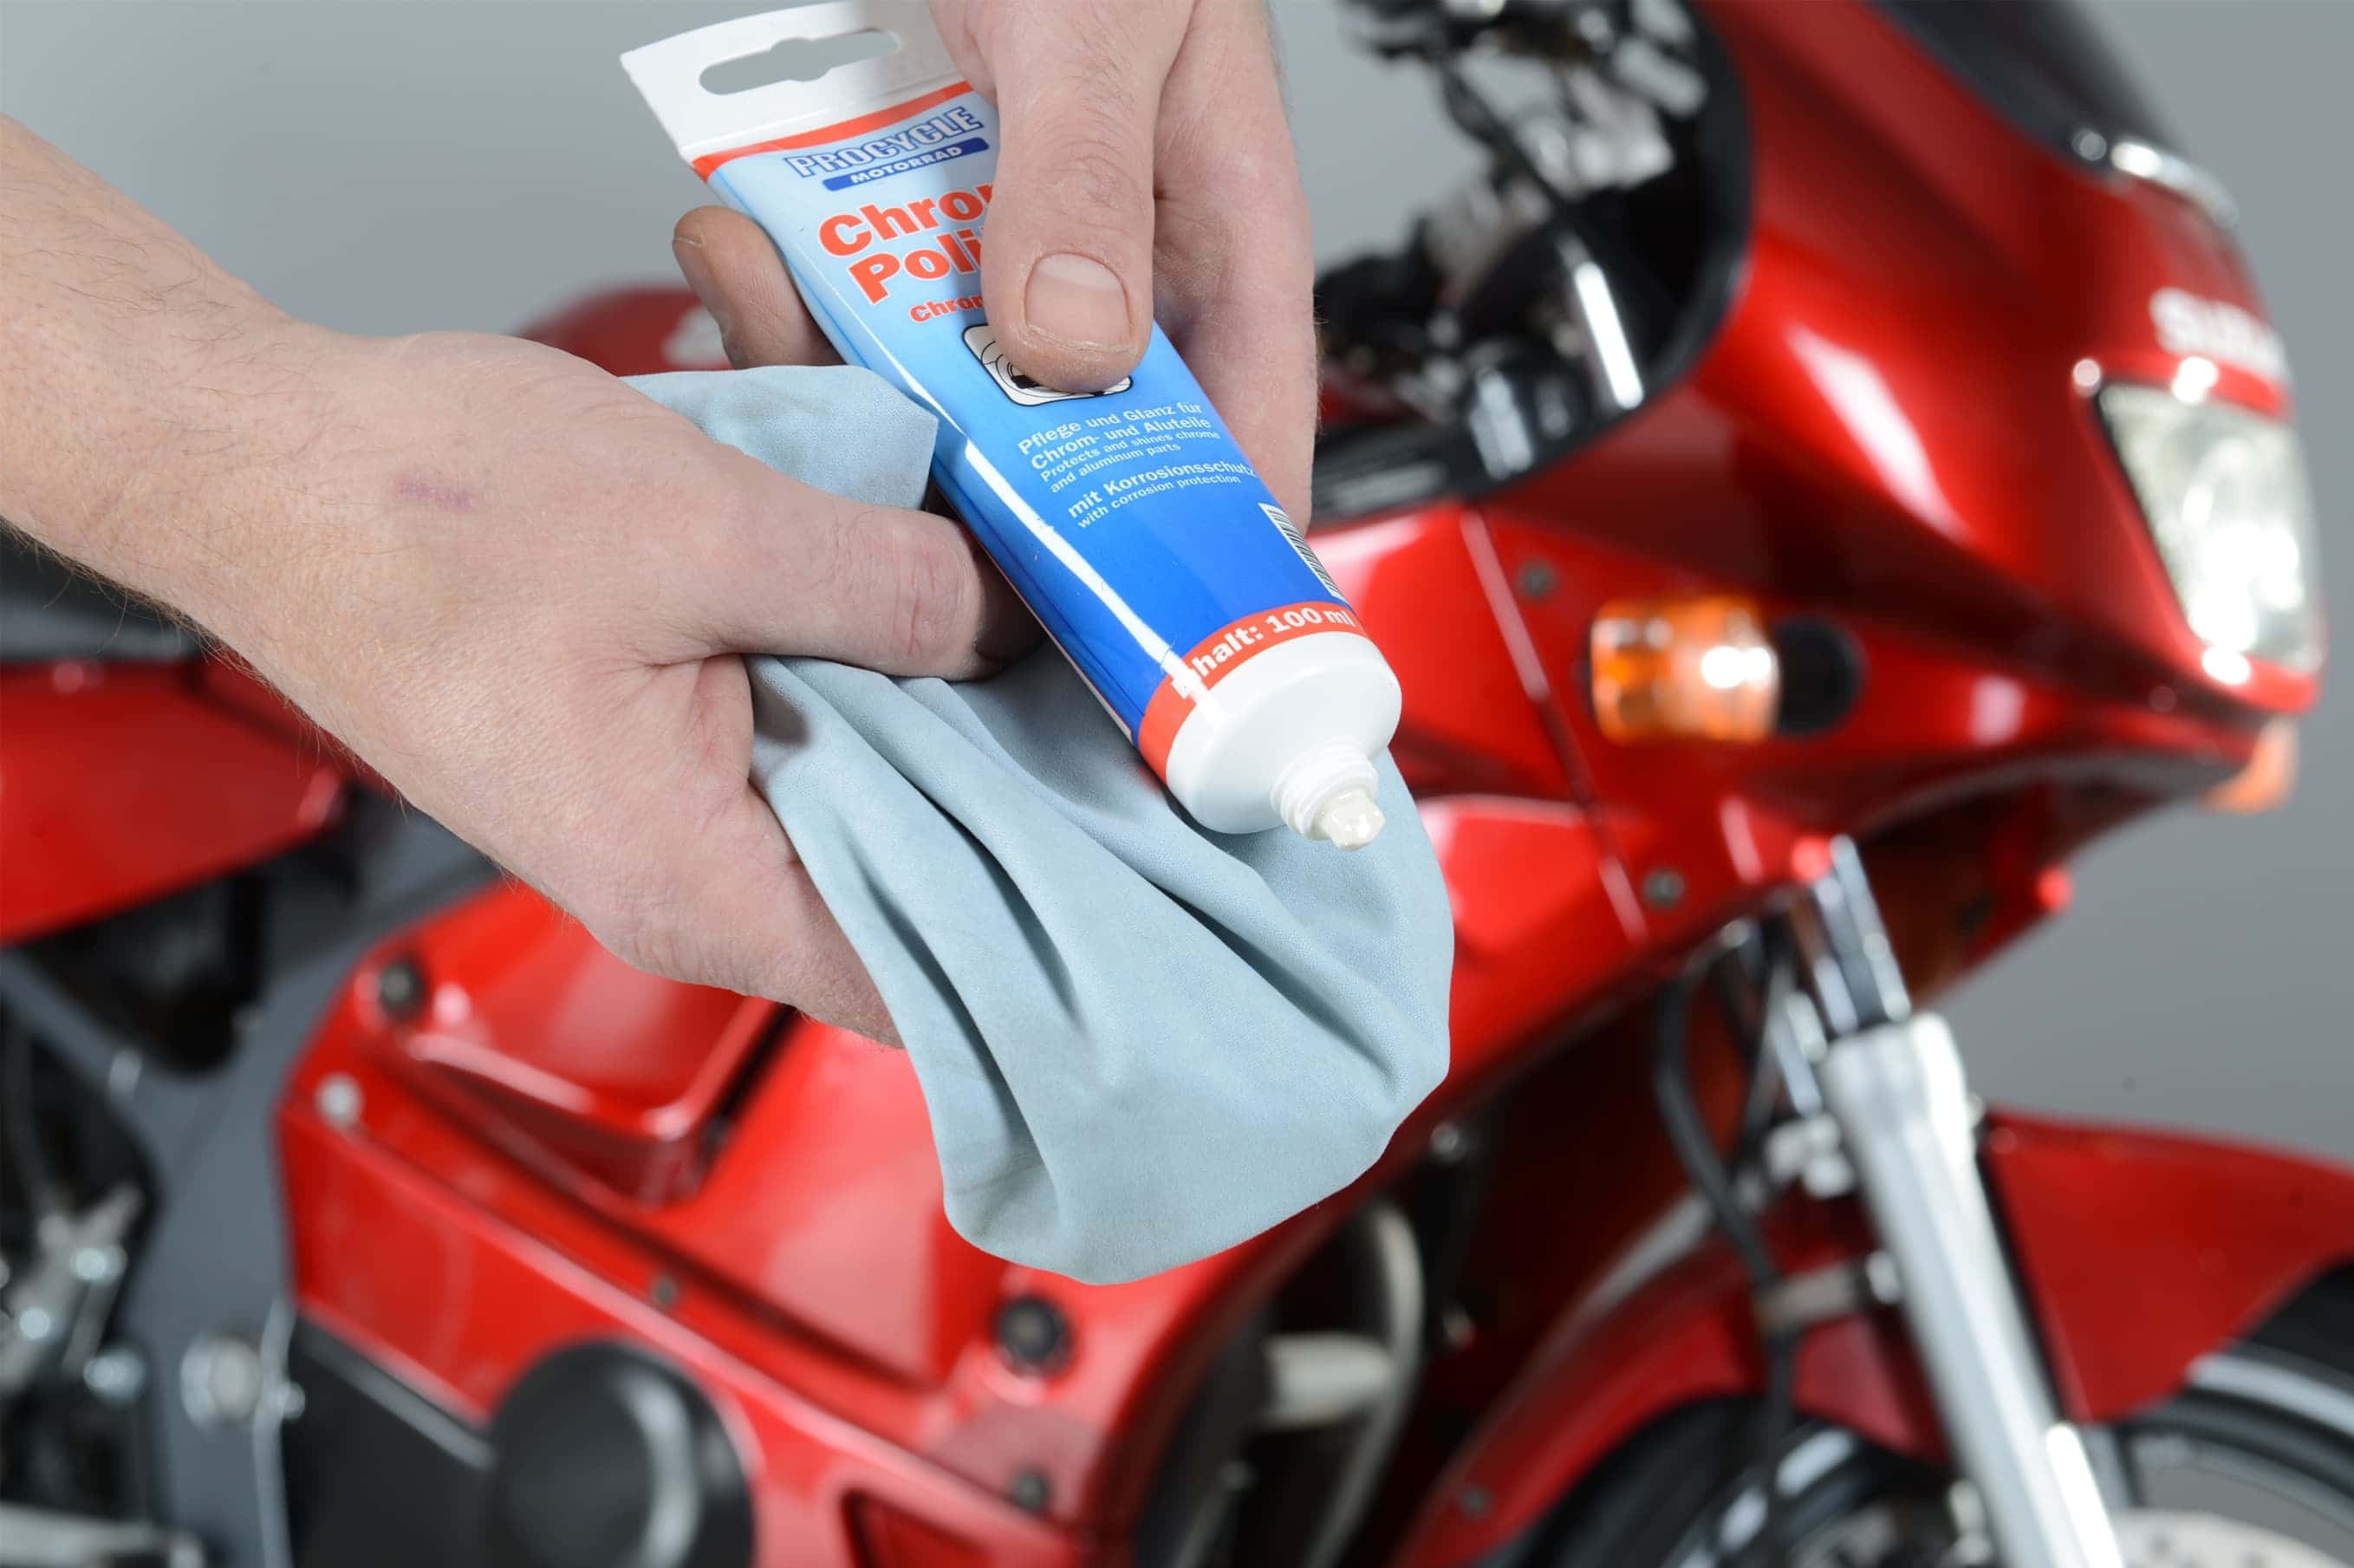
Step 10, Fig. 2: ... a good shine
Chrome parts with surface rust stains and tarnished stainless steel, on the other hand, are best restored back to their original shine with Autosol Metal Polish. Unpainted, polished aluminium can be buffed to a lustrous shine with Alu-Magic. In fact, with intensive polishing, you can get it to shine almost like chrome. All these products are used in the same way as paint polish, i.e. leave to dry and then gently polish off.
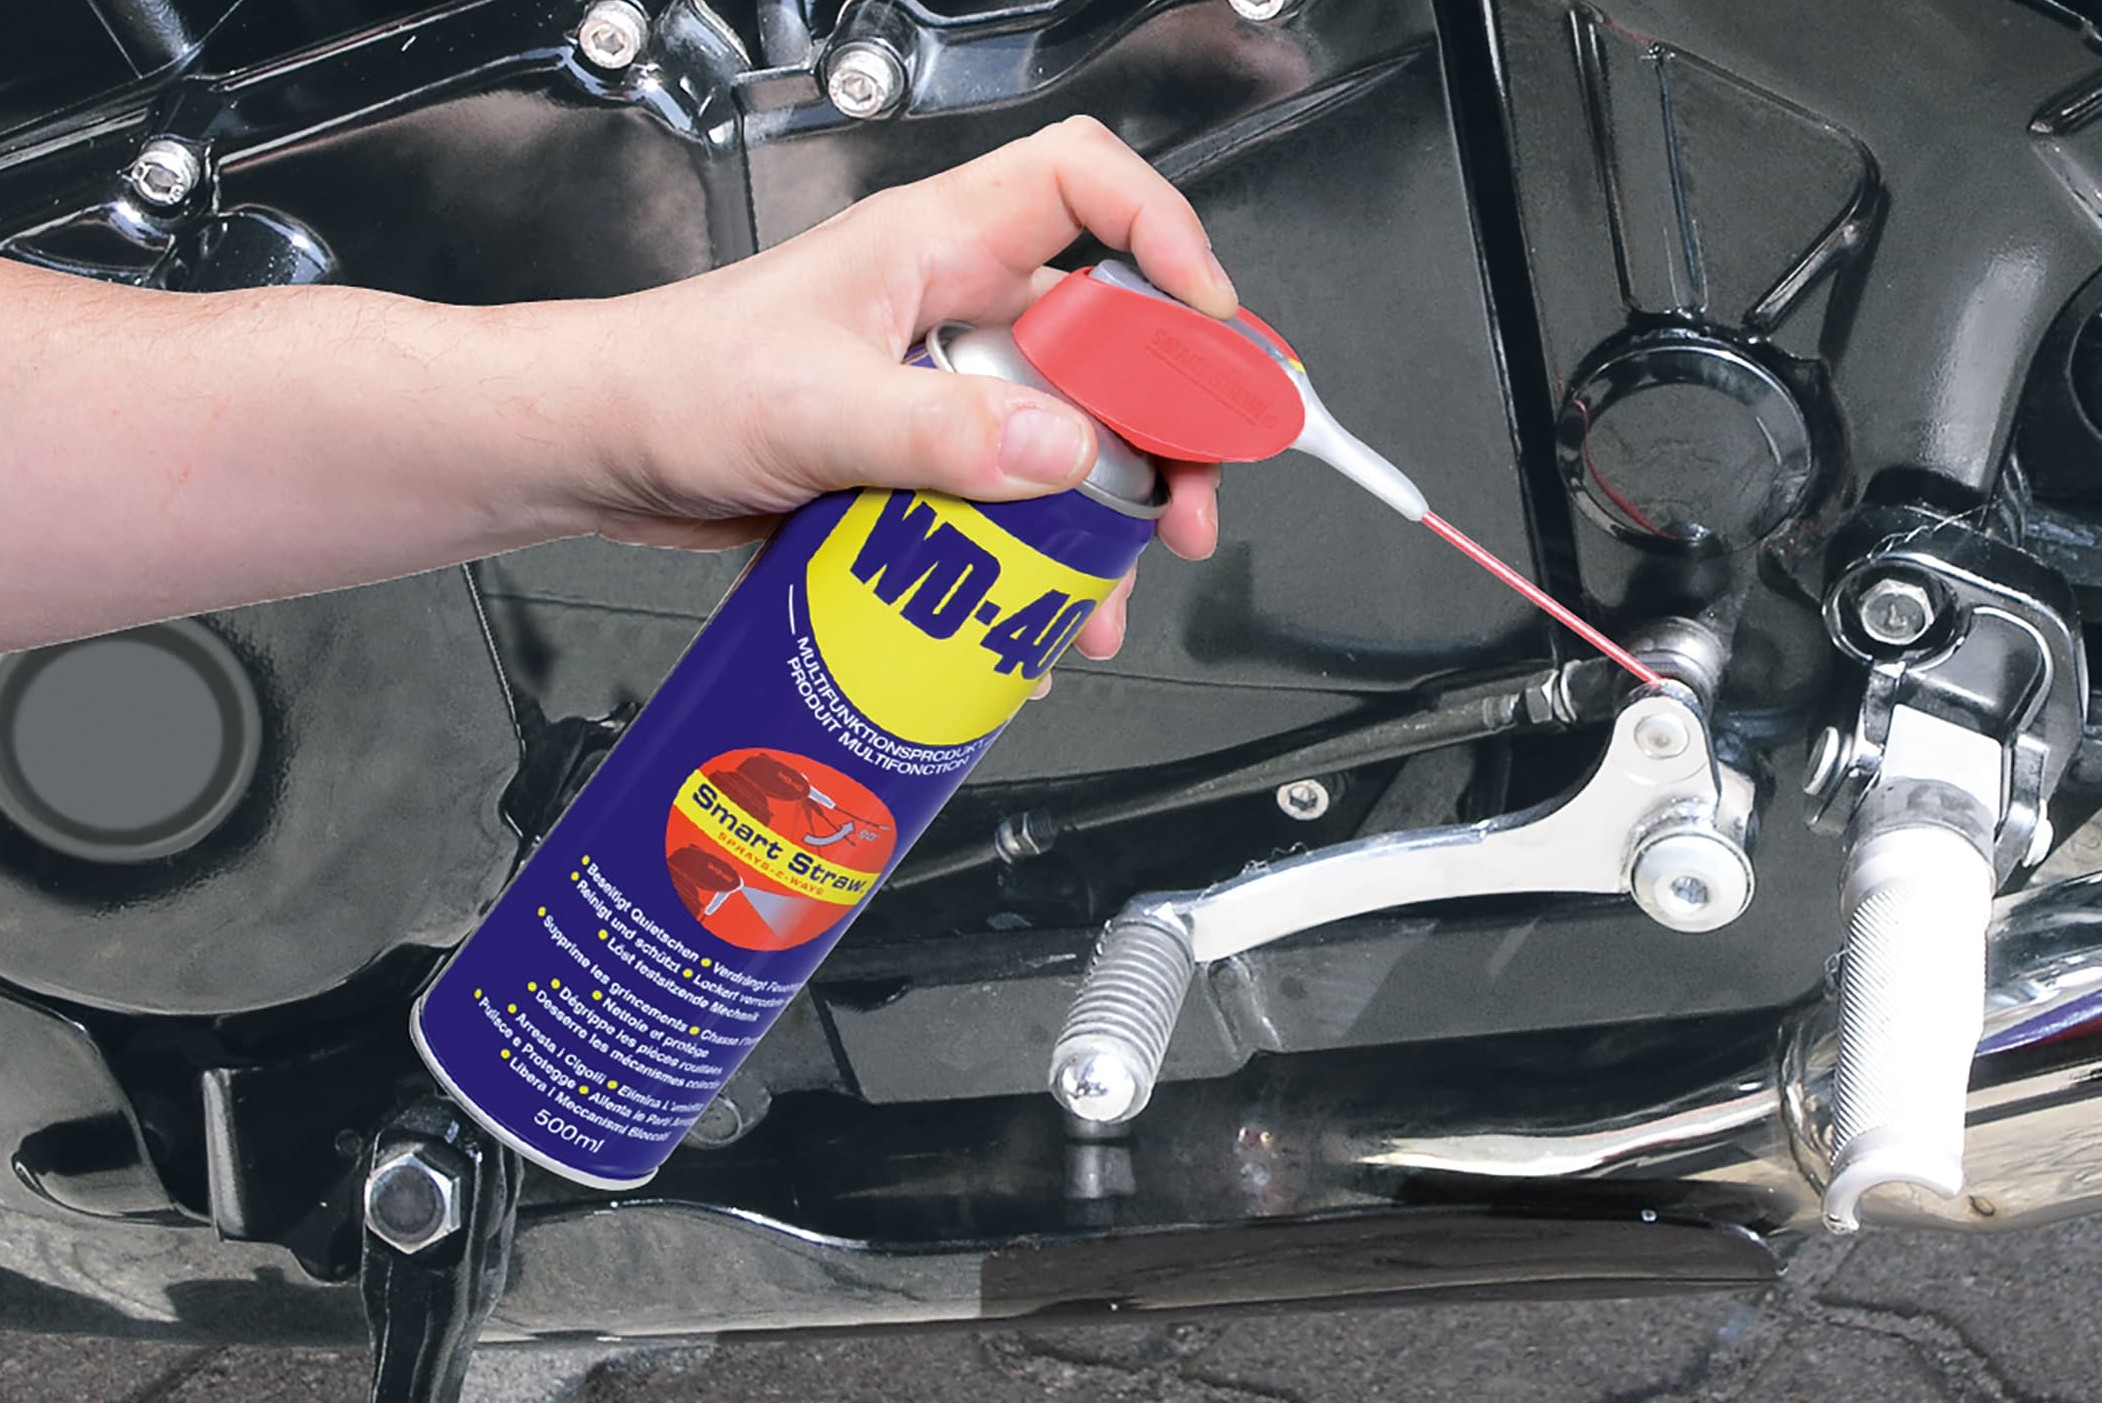
Step 11: Protect screw heads against aluminium corrosion and lubricate joints & levers with multipurpose oil
11 – Multipurpose oil for screw heads
Apply a little WD-40 multipurpose oil to painted engine parts to protect against aluminium corrosion. Wax-based products are not suitable for this job, as the heat from the engine can cause permanent yellowish discolourations. Carburettor casings, screw heads and other galvanised parts will also benefit from a light protective film. Joints and lever systems of the gearshift and brakes should also be lubricated with WD-40. It’s a good idea to occasionally lubricate all control cables on the handlebars. Never apply oil to modern Teflon cables - always use Procycle Cable Spray.
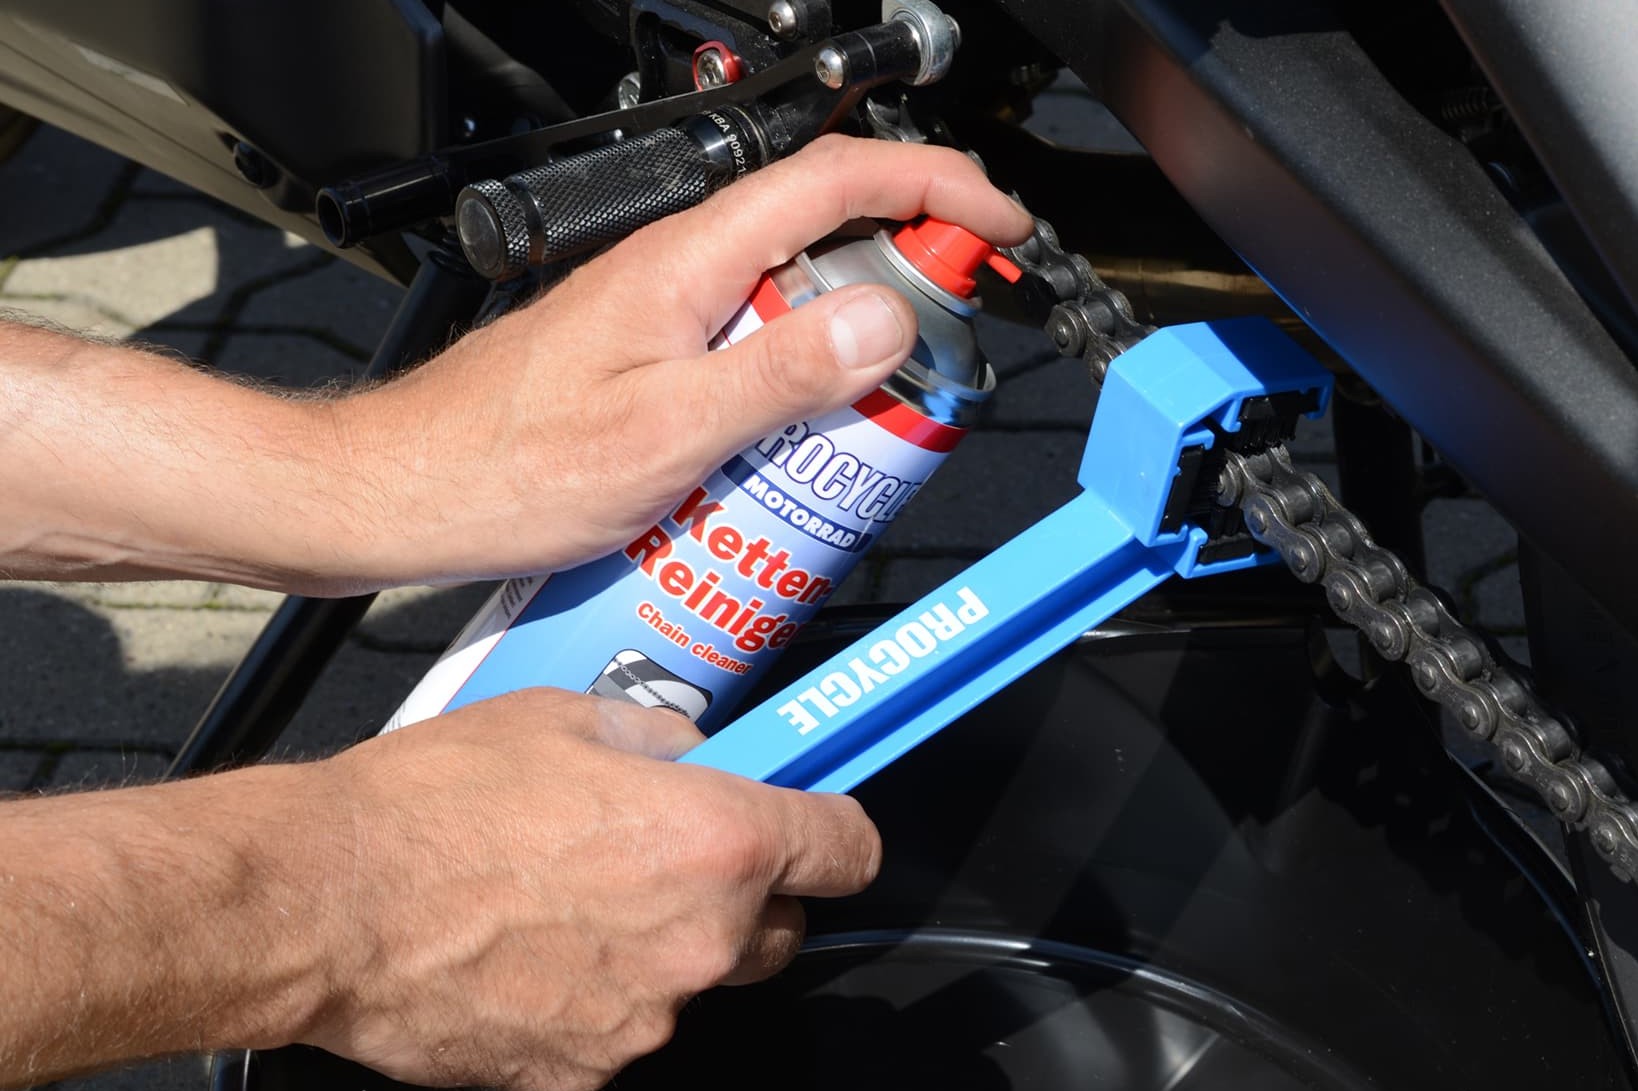
Step 12: Clean the chain if necessary
12 – Clean the chain
If the chain is heavily soiled, we recommend cleaning with a special chain cleaner. However, try not to spray the cleaner on the wheel rims and tyres as well - after all, you've just spent ages washing them! It's always a good idea to put down a suitable underlay, for example, to keep the floor or ground clean.
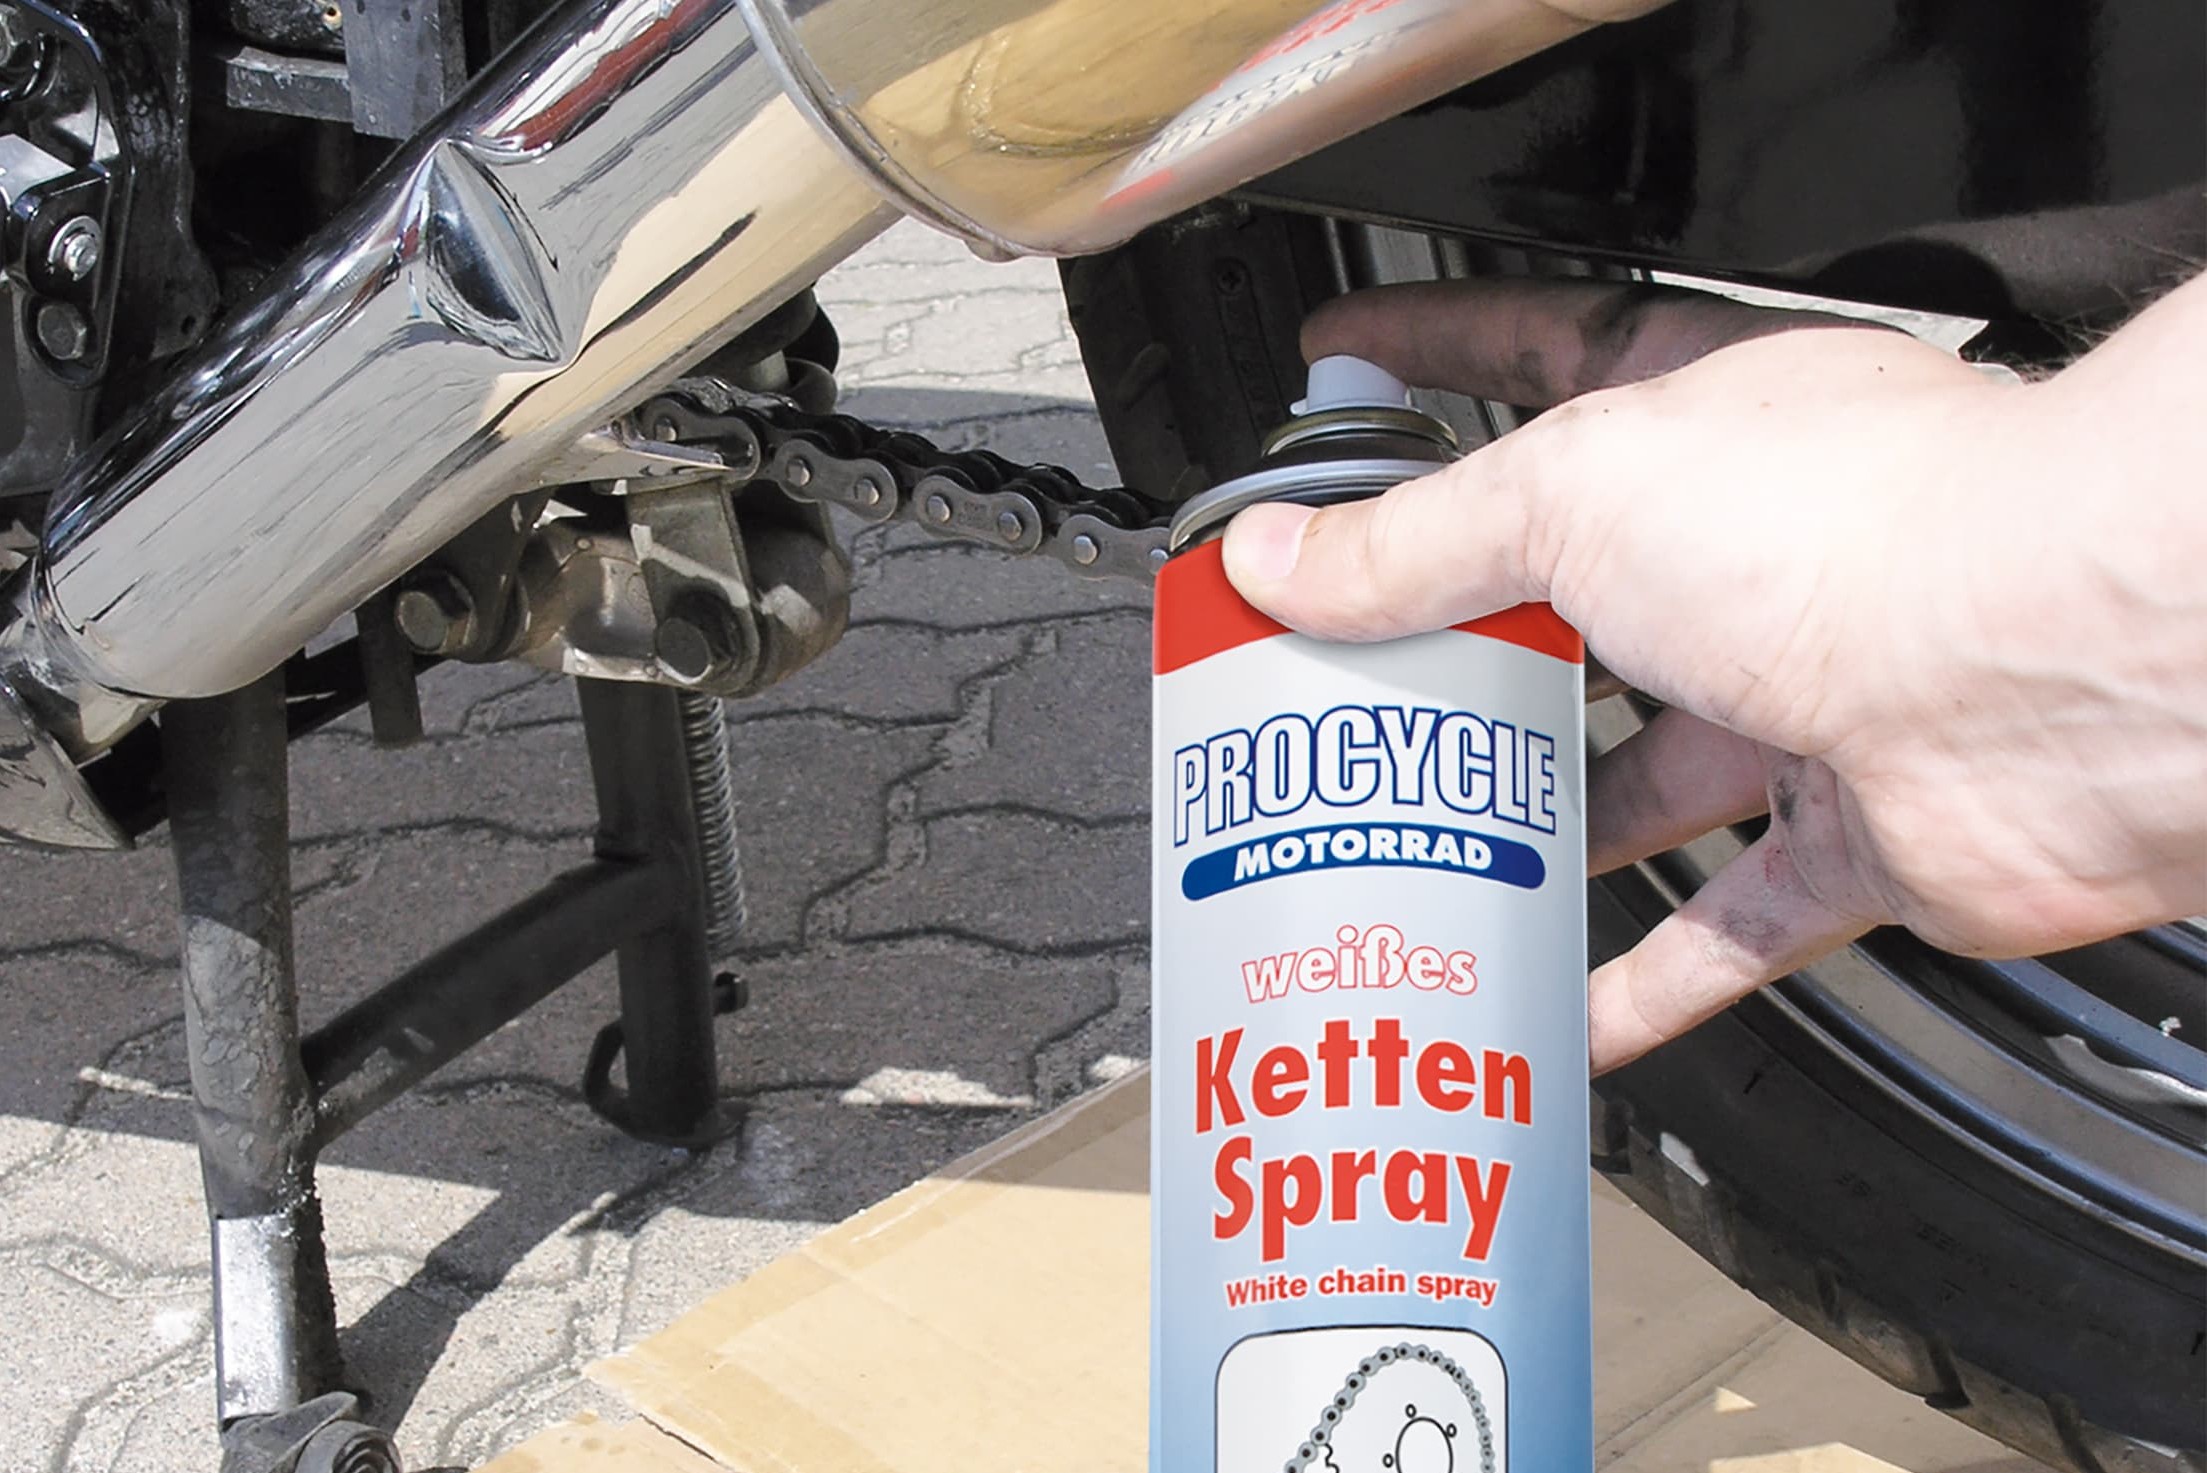
Step 13: Lubricate the chain
13 – Grease the chain
Before lubricating the chain, make sure it's dry. Then apply a thin layer of chain spray to the O, X or Z-ring chain. Always aim at the inside of the chain. This helps the lubricant adhere longer and it won't be thrown off on your very next ride. Do not spray on the rims or tyres. And if you're not a very good shot, just remove any stray lubricant using brake cleaner and a cloth. Important: Do not ride off until you’re sure that the brake cleaner has evaporated.
Important: Do not ride off until you’re sure that the brake cleaner has evaporated.
Important: It's generally easiest to check the chain tension while sitting on the bike. If the slack is correct, you should be able to insert two to three fingers when the suspension is compressed. Finally, you need to check that the tyres, rubber grips, footrests and brake discs are free of all cleaning residues, chain spray, and any other lubricants. If you've been working in the garage, it might be a good idea to push the bike out and check it again by daylight to see if you've missed anything.
Bonus tips for real DIY mechanics
Removing stickers
To remove unwanted stickers, heat them very carefully (!) with a hot-air gun. Clean off any adhesive residues by applying oil (cooking oil will also work) or WD-40 and then rubbing with a cloth. Repeat until you get rid of all traces of adhesive.
The Louis Technical Centre
If you have a technical question about your motorbike, please contact our Technical Centre, where they have endless experience, reference books and contacts.
Please note!
These tips for DIY mechanics contain general recommendations that may not apply to all vehicles or all individual components. As local conditions may vary considerably, we are unable to guarantee the correctness of information in these tips for DIY mechanics.
Thank you for your understanding.


